Overview
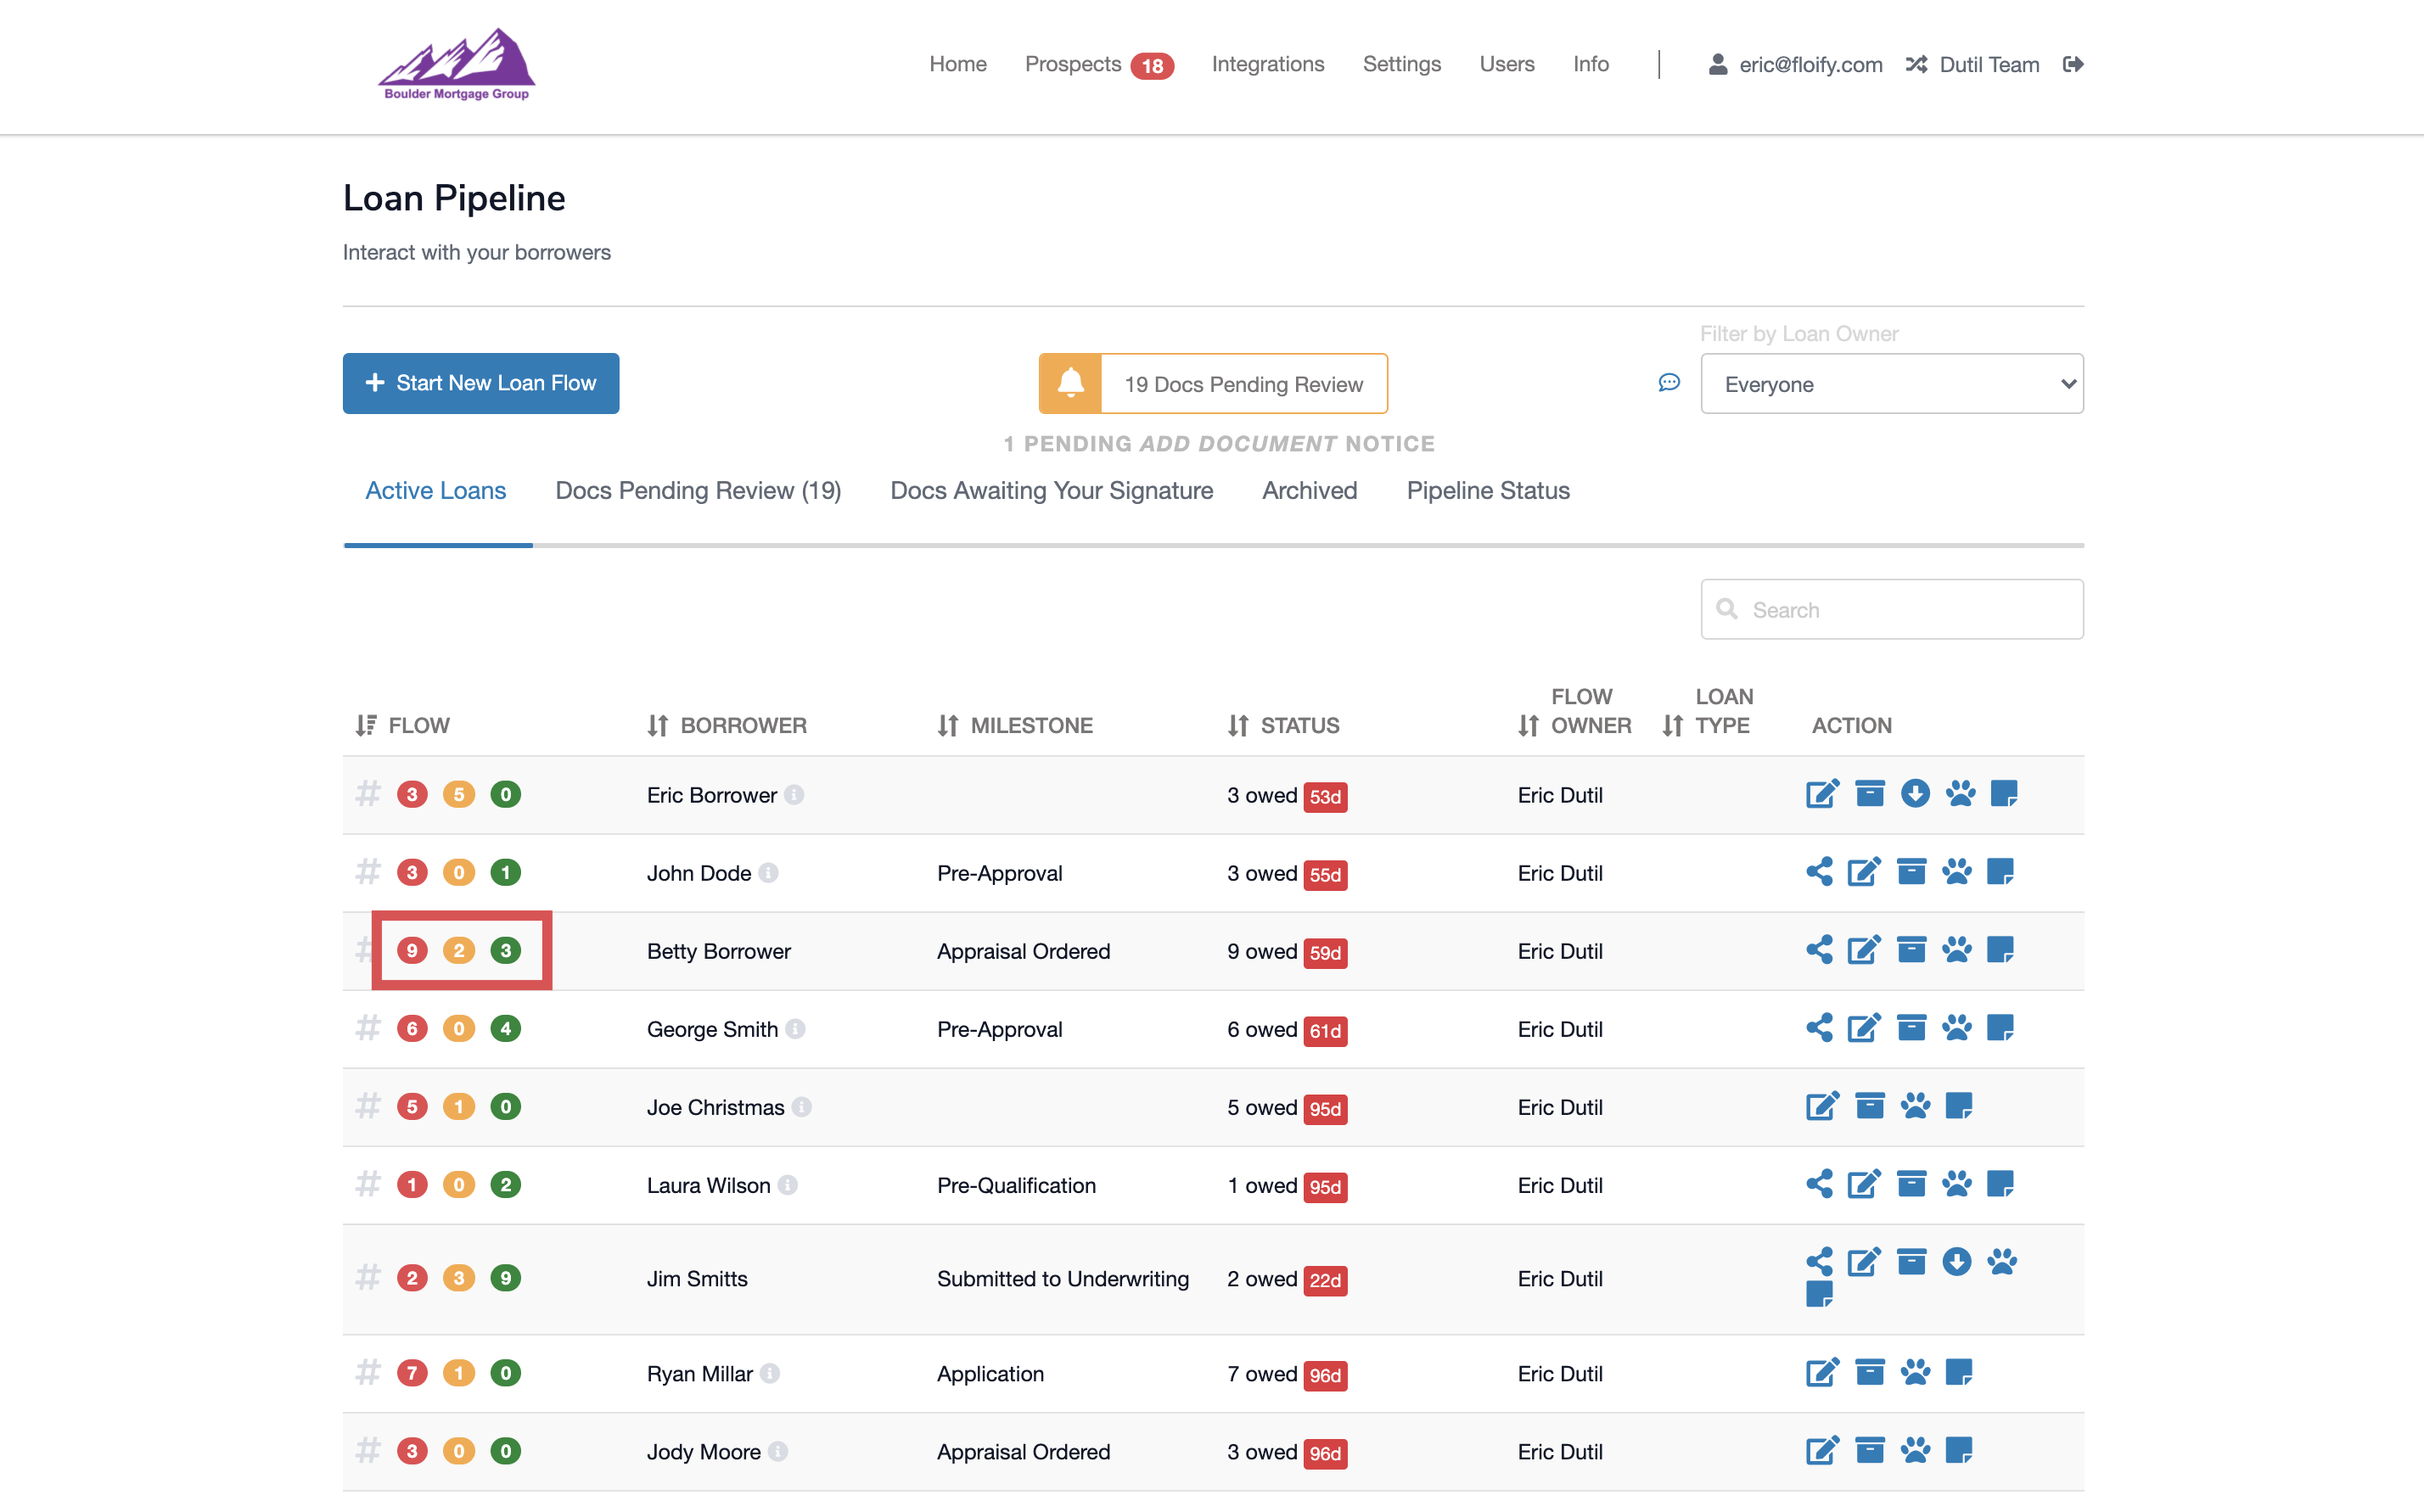
The loan pipeline is where you will manage all of your borrowers, including reviewing application and document data, making adjustments to the loan flow, and locating any additional information regarding the loan.
Among these options, you will have the option to either set up a one off Floify E-Sign request or create a Floify E-Sign template to request.
Compliance
Floify follows the E-Sign Act and UETA. Most vendors, including Fannie Mae, do not require additional approval. If additional approval is requested or you need additional compliance documents, please reach out to support@floify.com.
Request a One-Off Floify E-Signature Request
From your team pipeline, navigate into the borrower's loan flow using the red, yellow, or green icons towards the left hand side of the borrower's name:
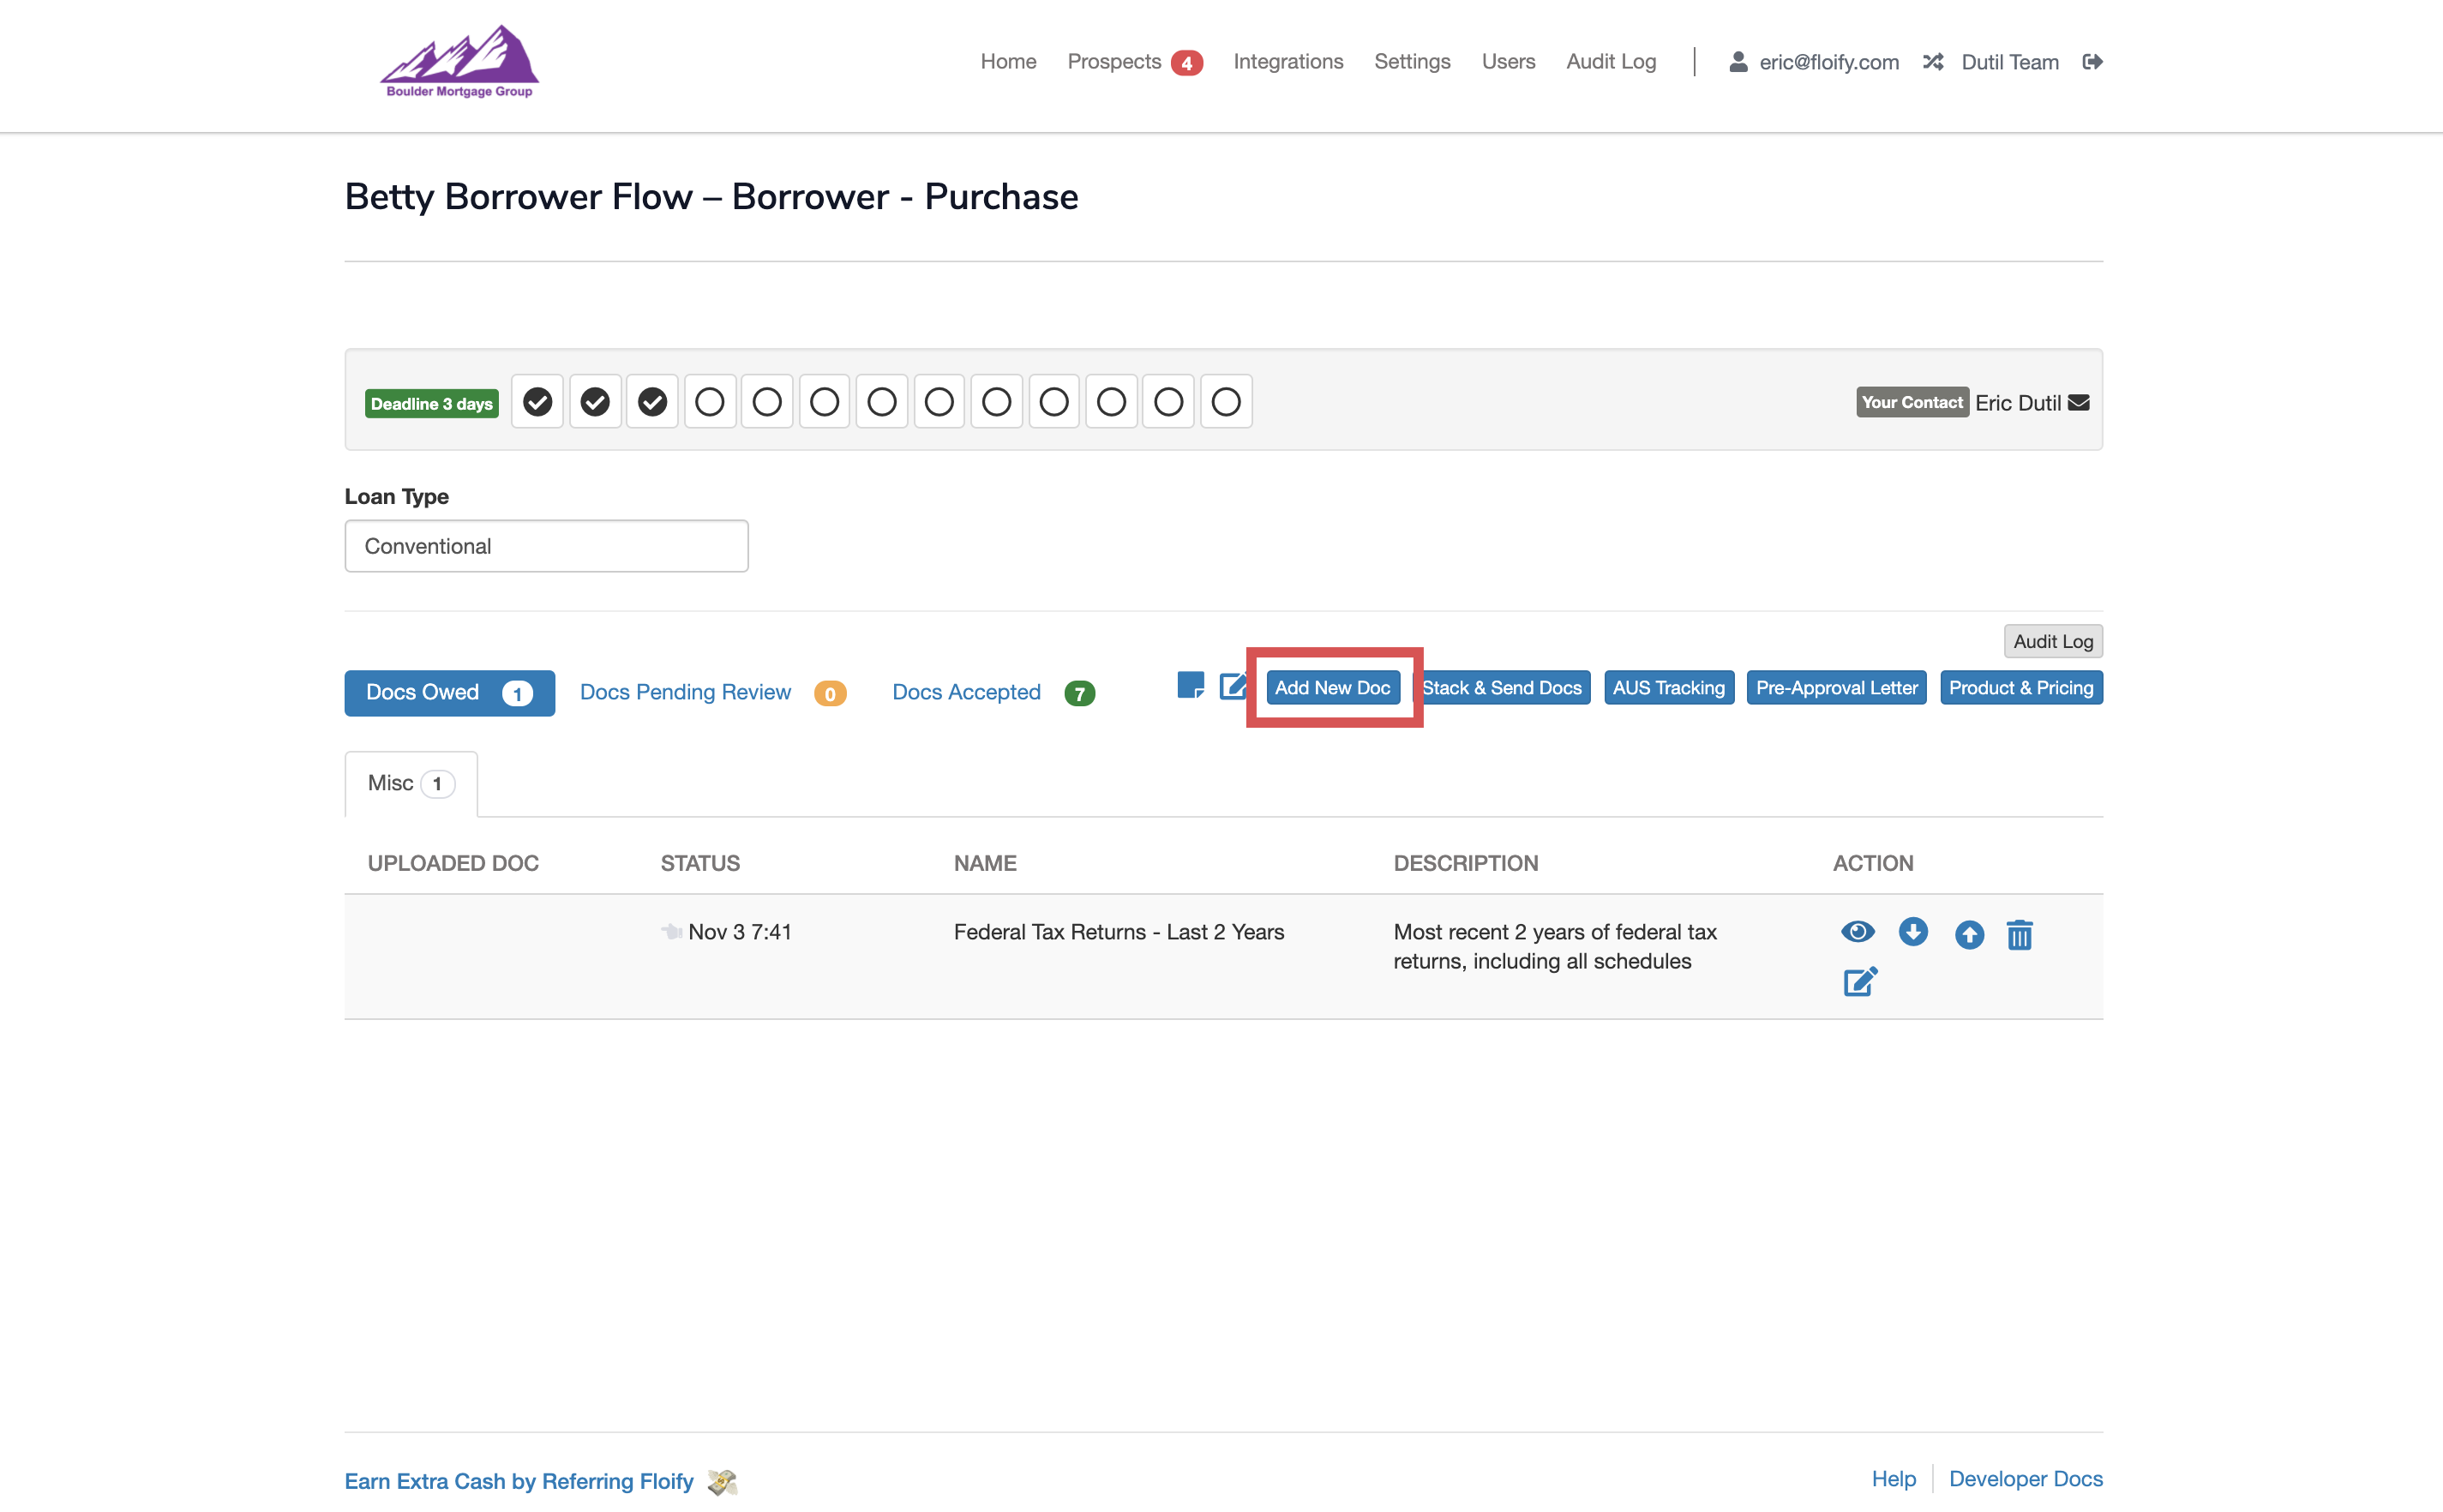
Click on the Add New Doc button:
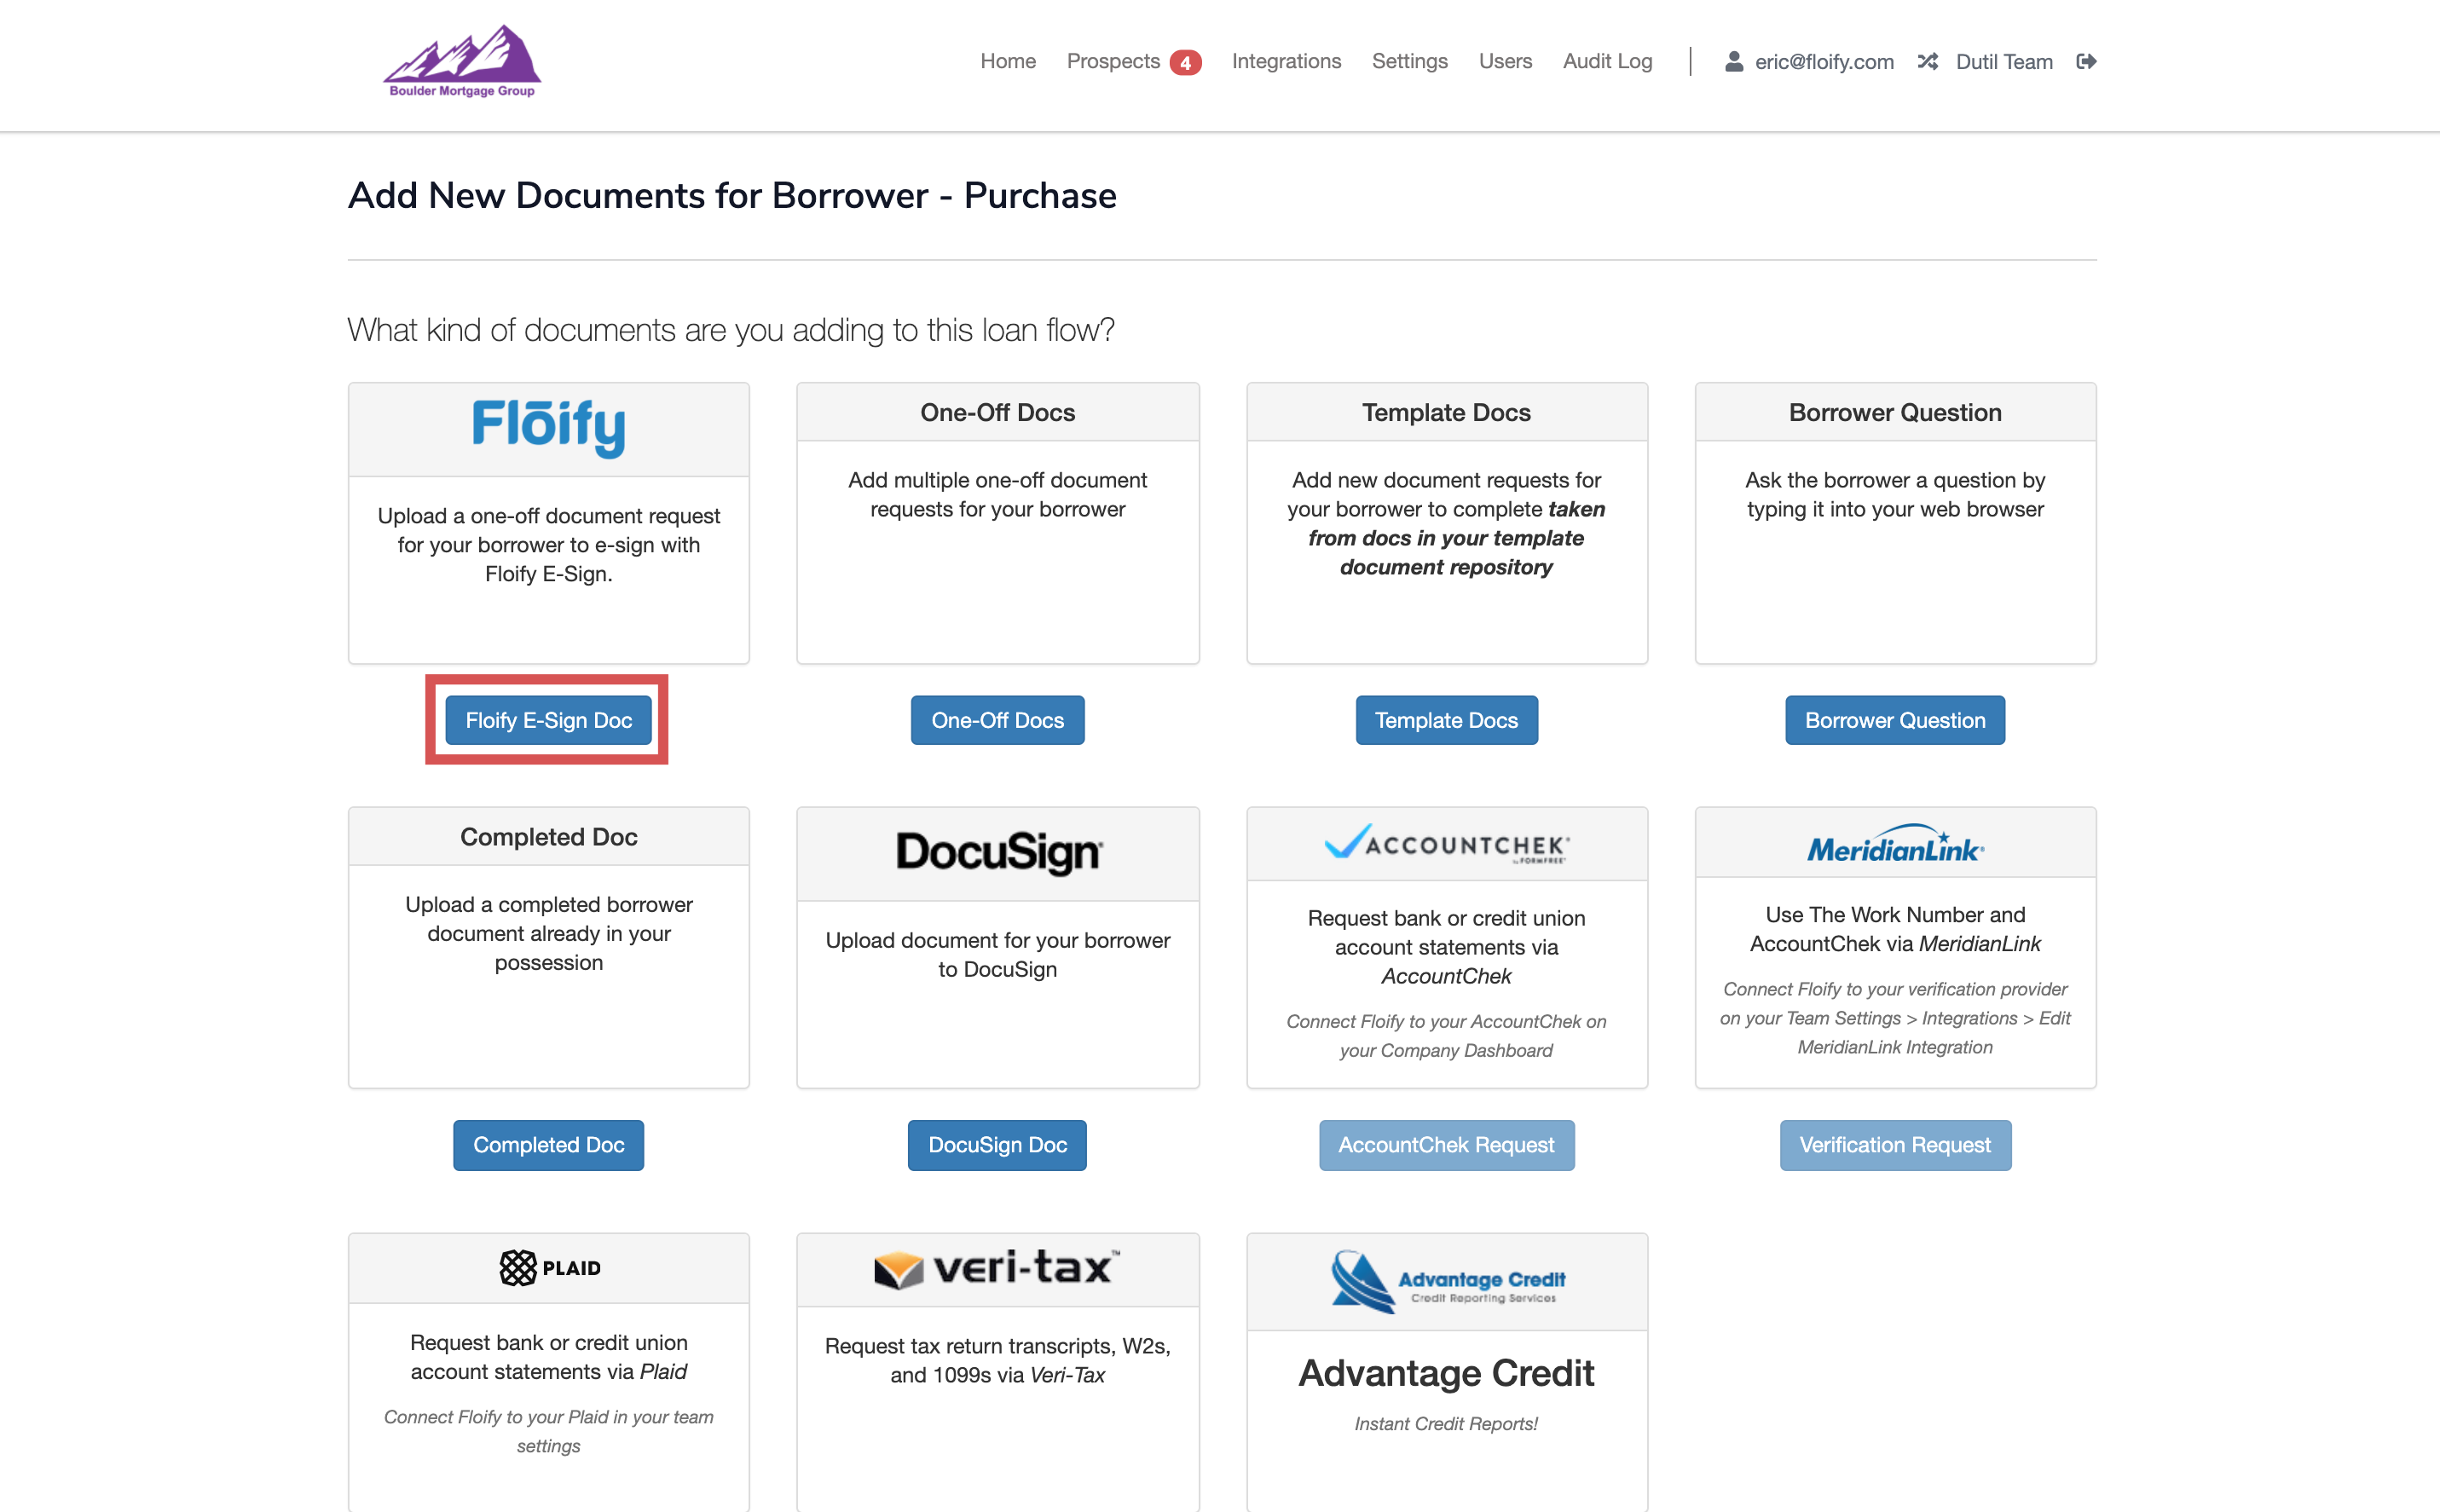
Select the Floify E-Sign Doc option:
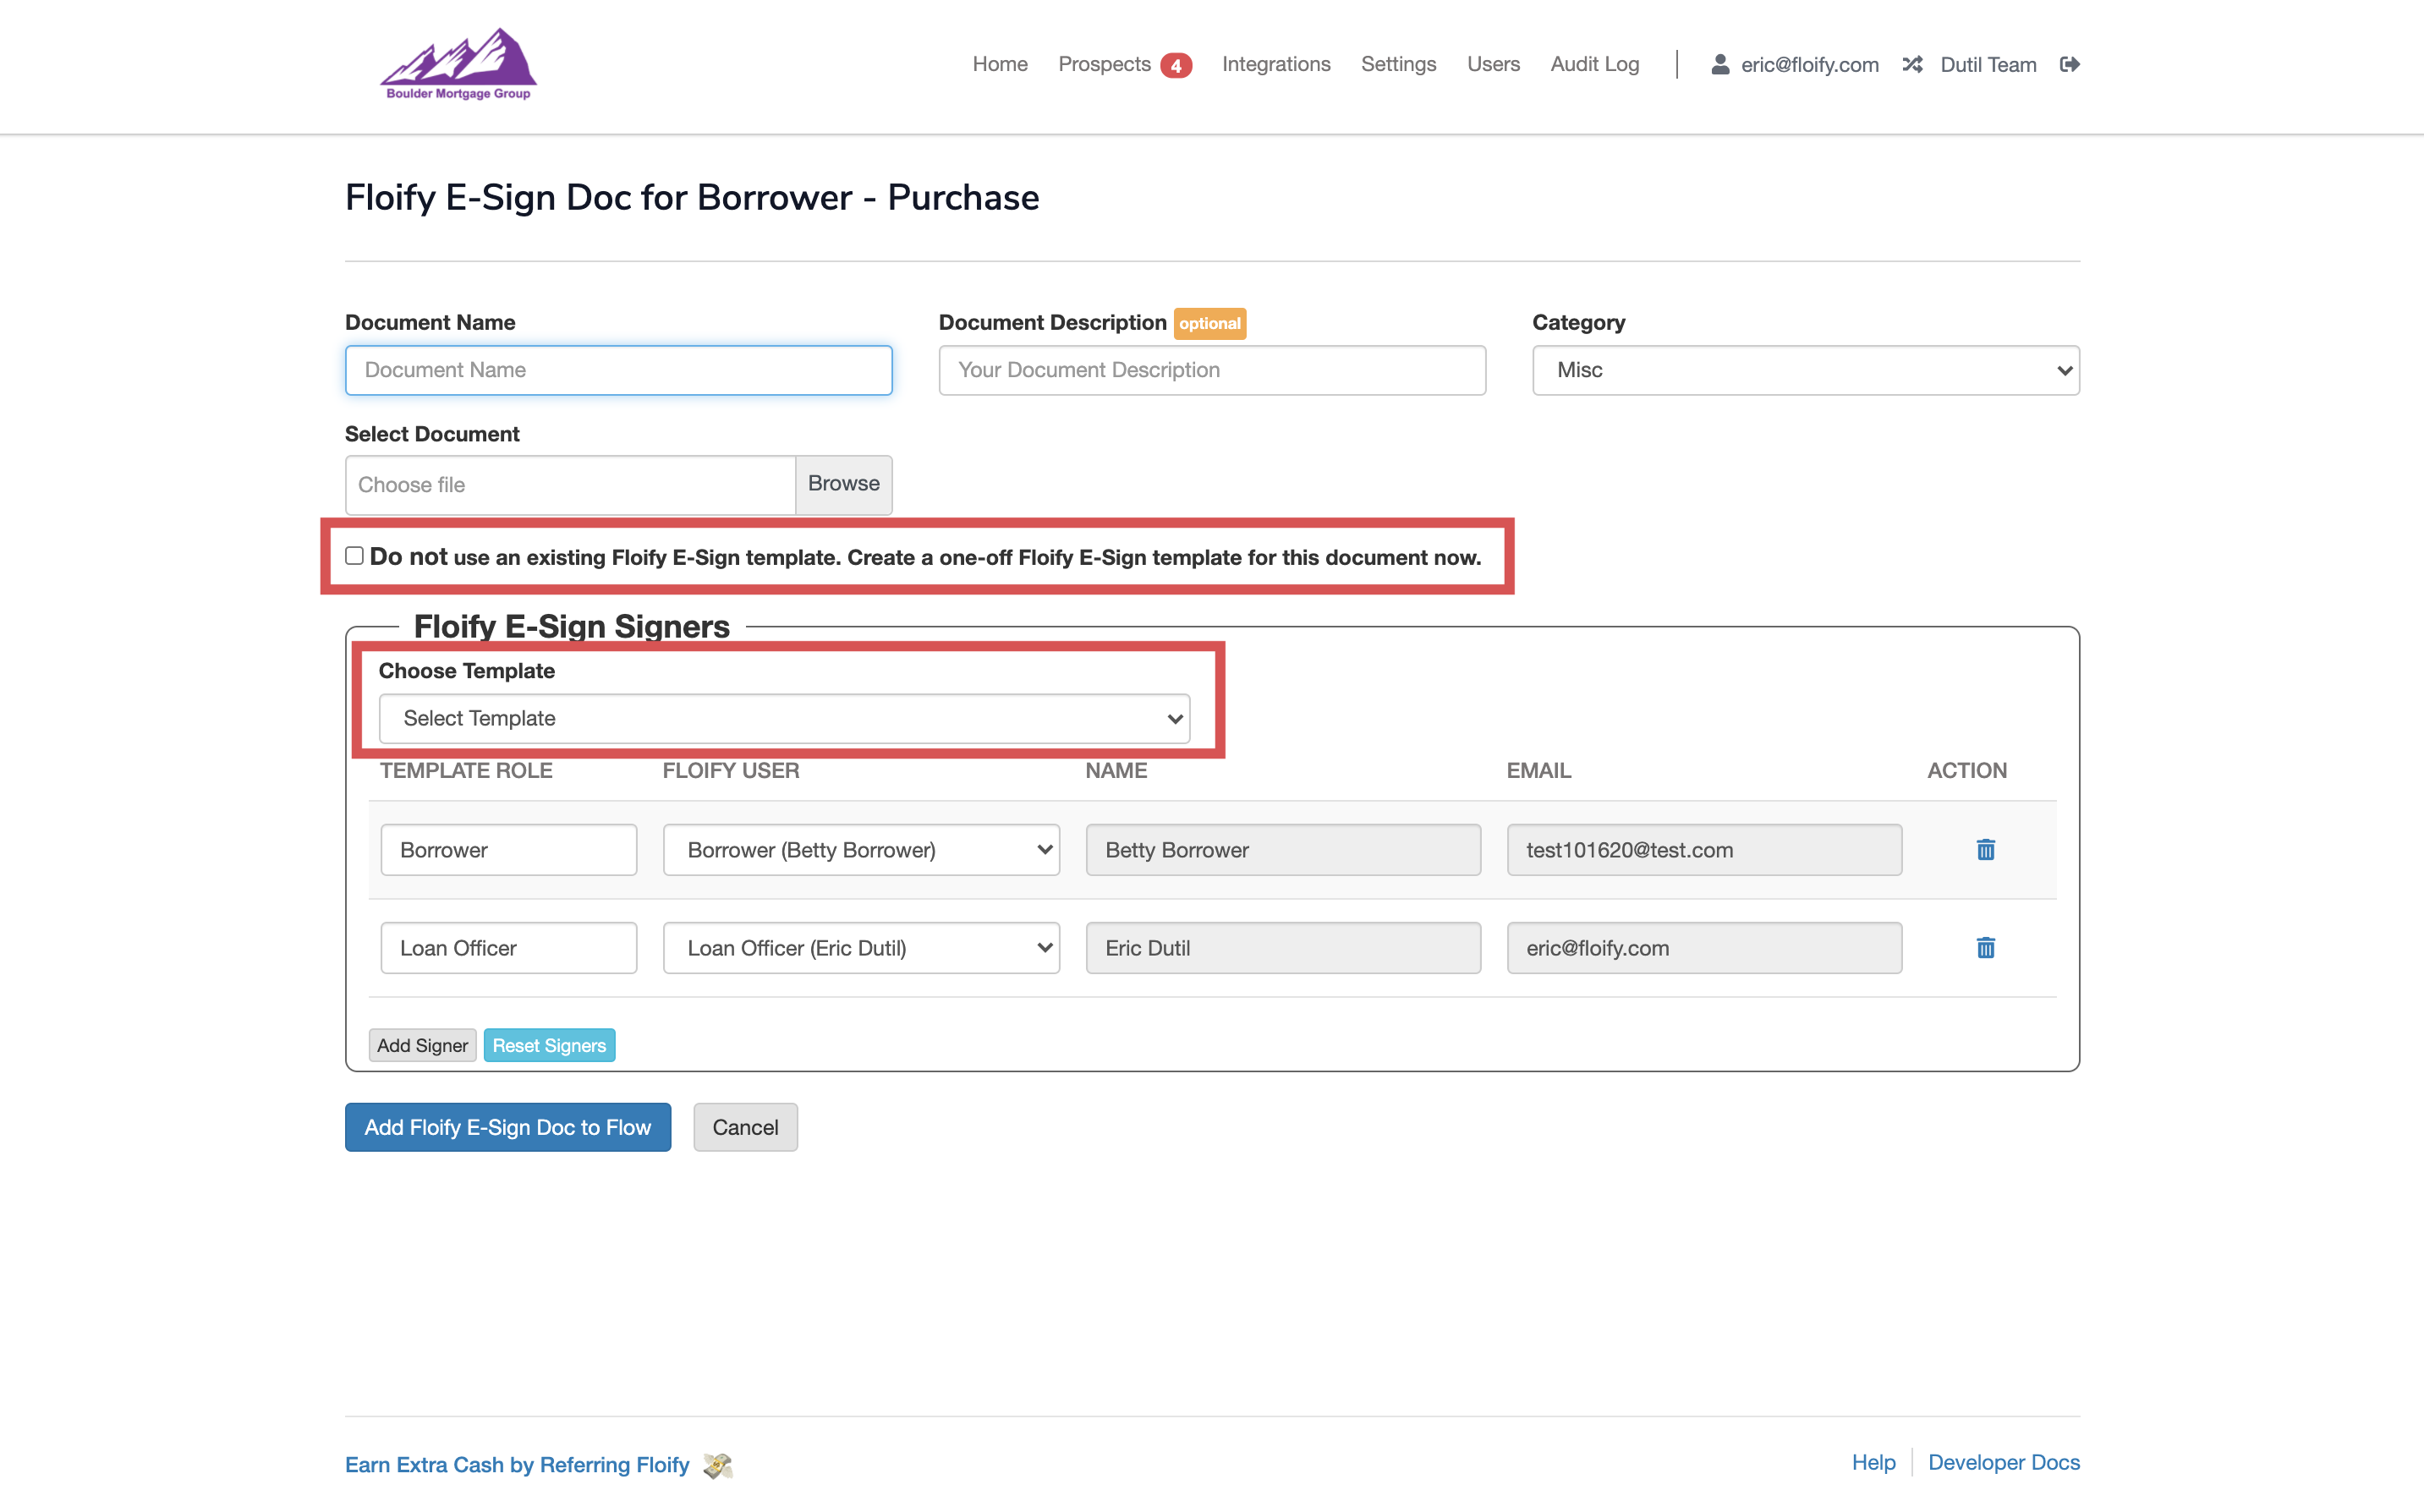
Enter a document name, and select your document from your computer. You can also add an optional document description or select a category if you'd like:
Note: You must upload a PDF to proceed.
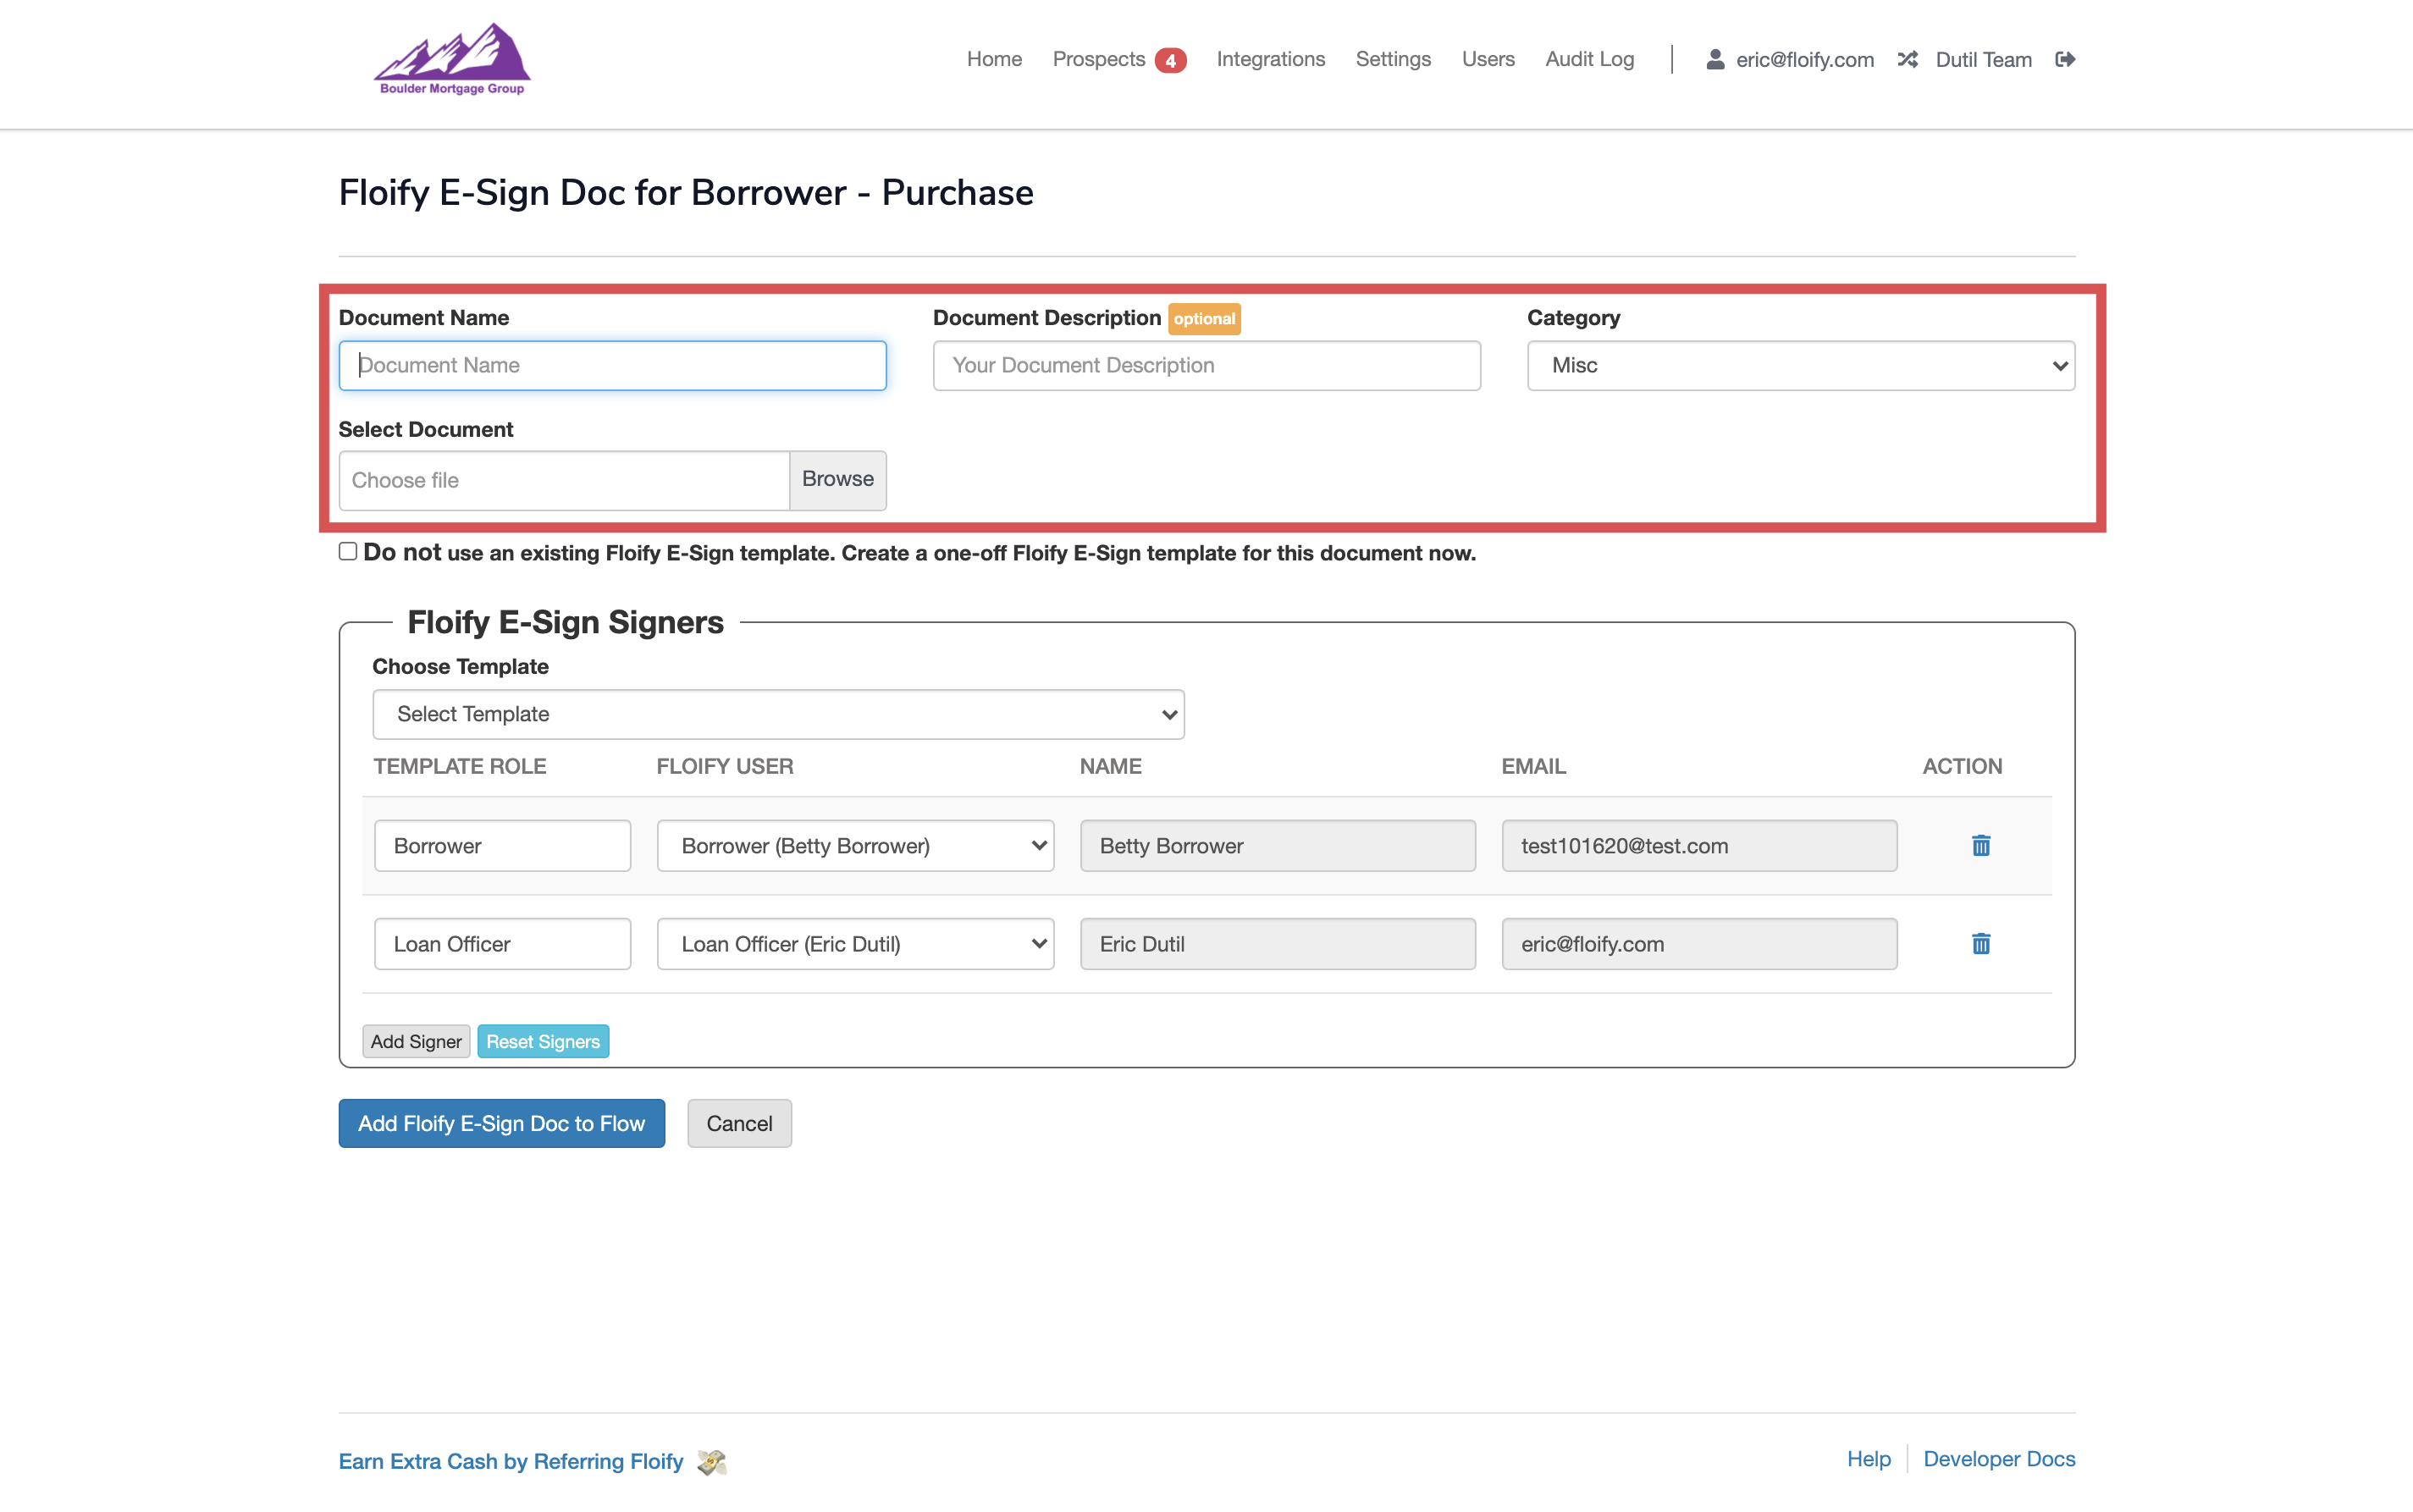
Choose whether or not you'd like to use a Floify E-Sign template. If you aren't using a template, select the checkbox to indicate this. If you are, select a template from the dropdown:
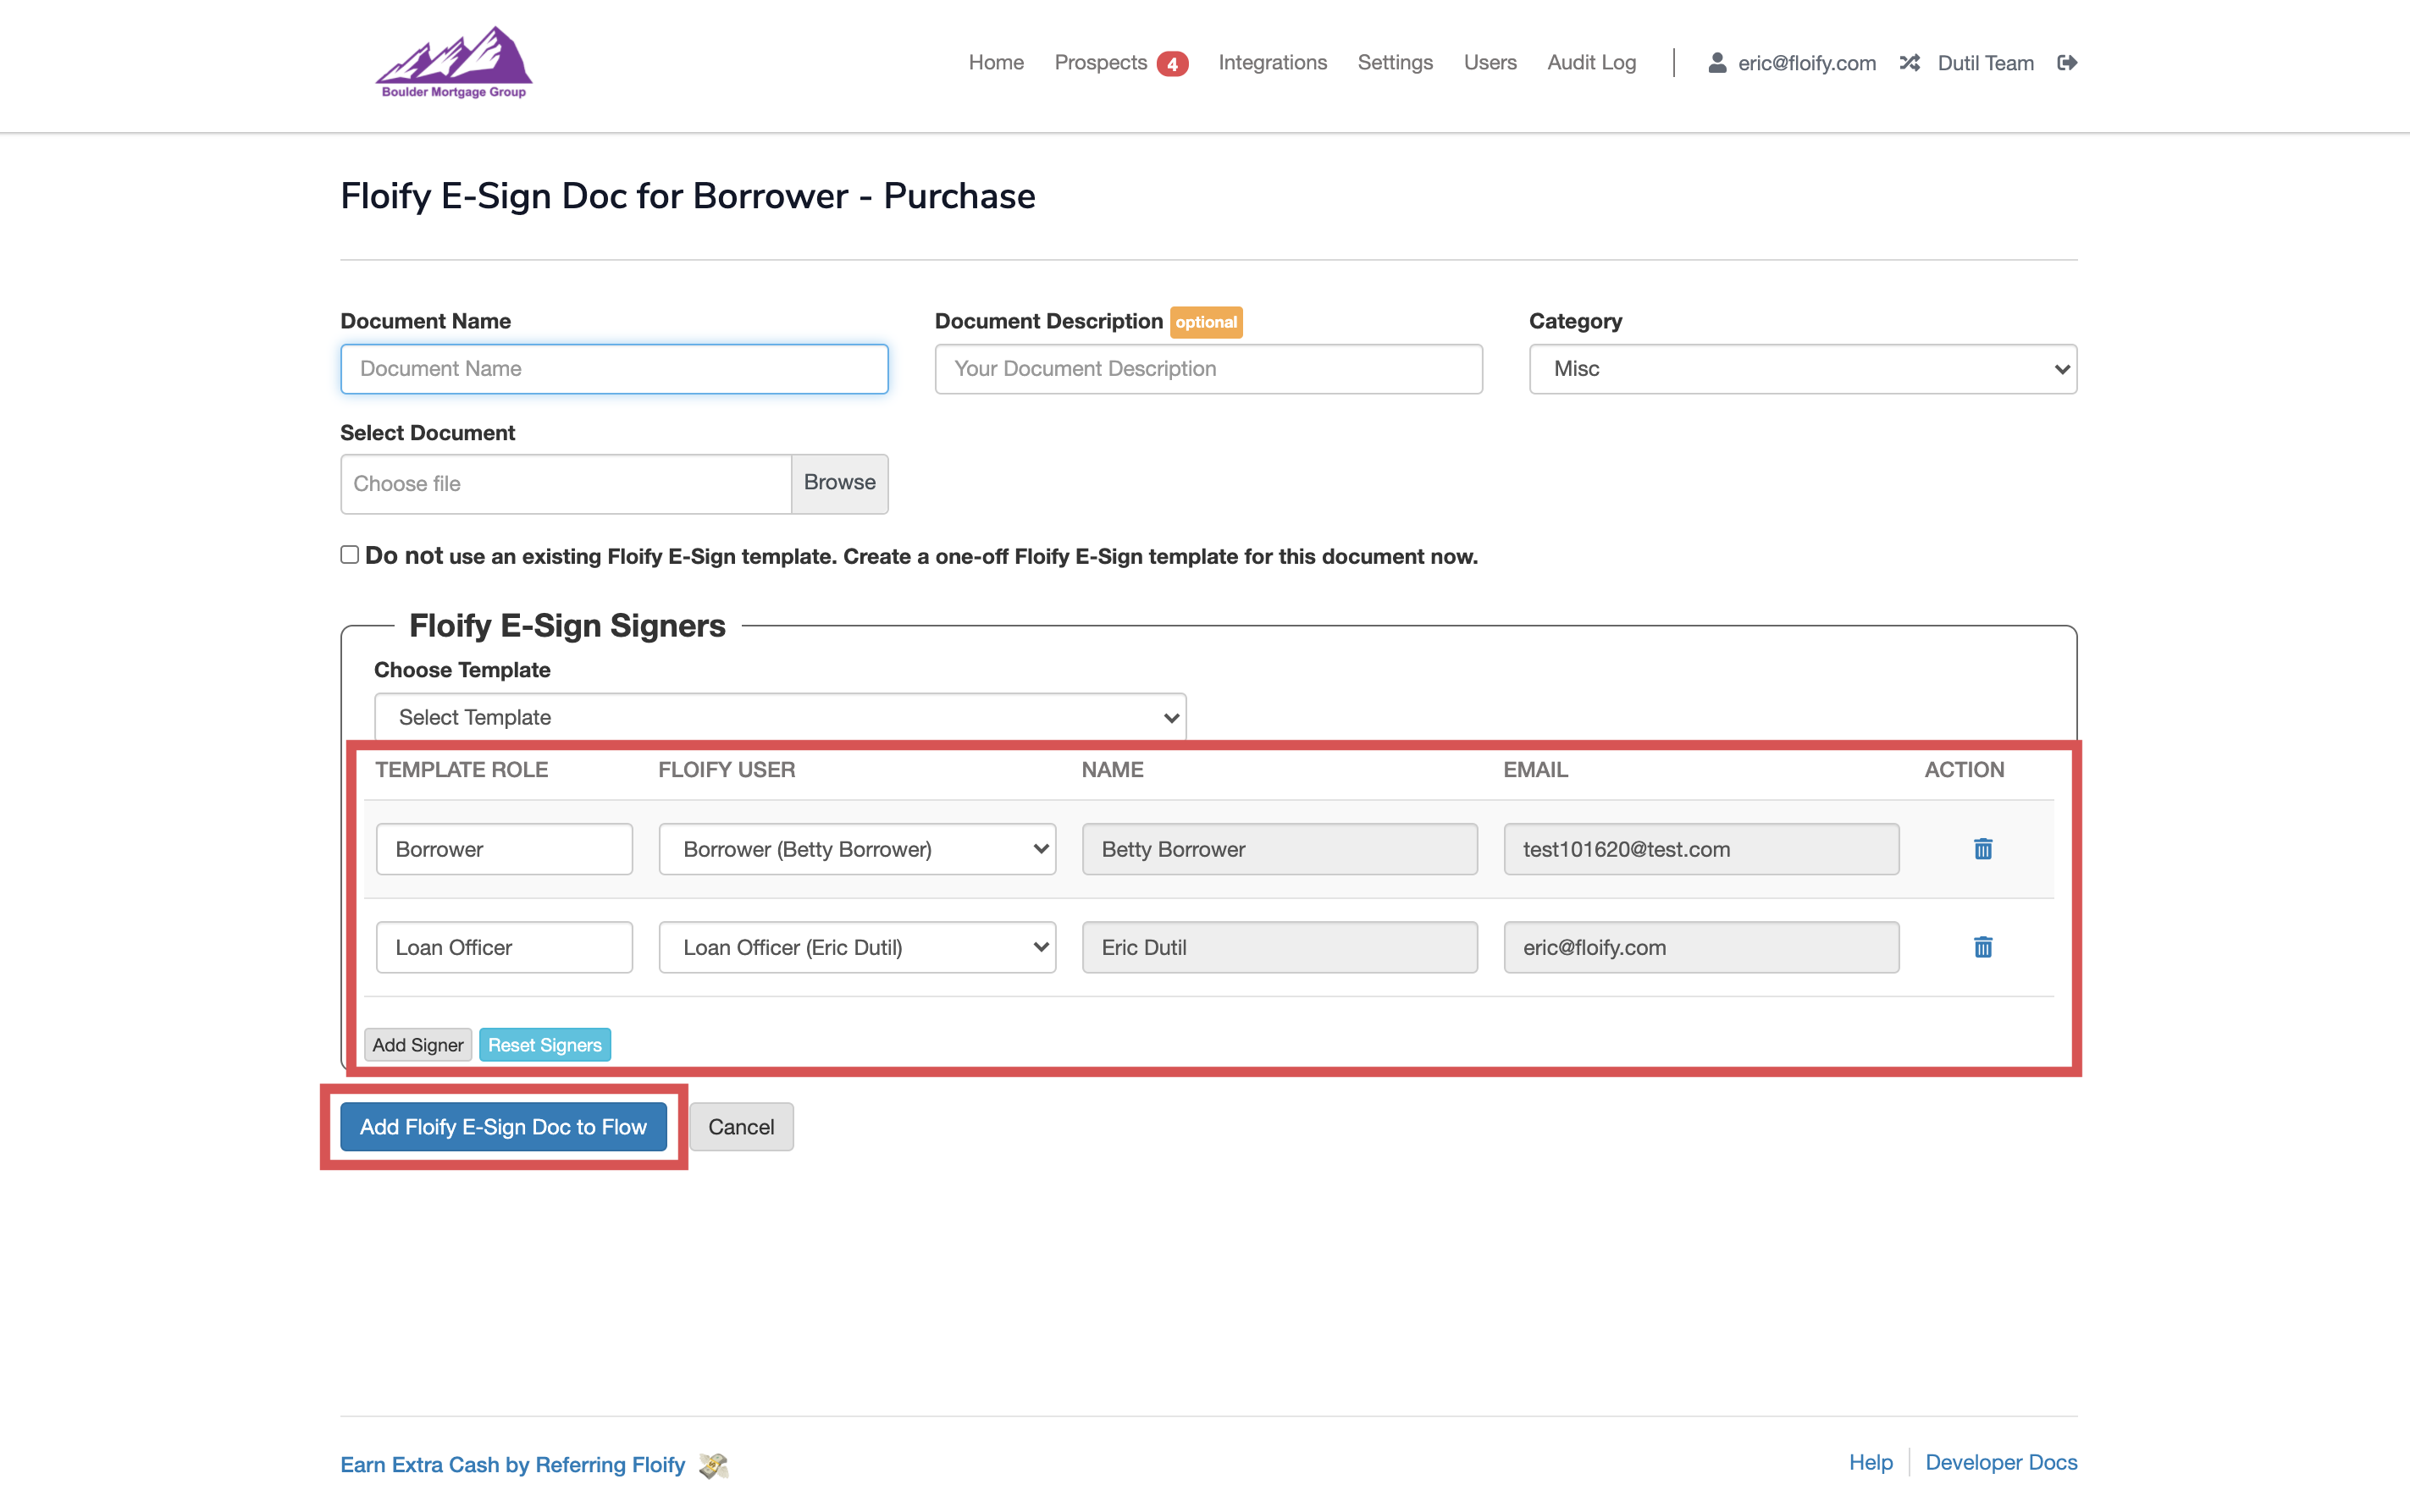
Designate your signers. Make sure you select Add Floify E-Sign Doc to Flow to proceed:
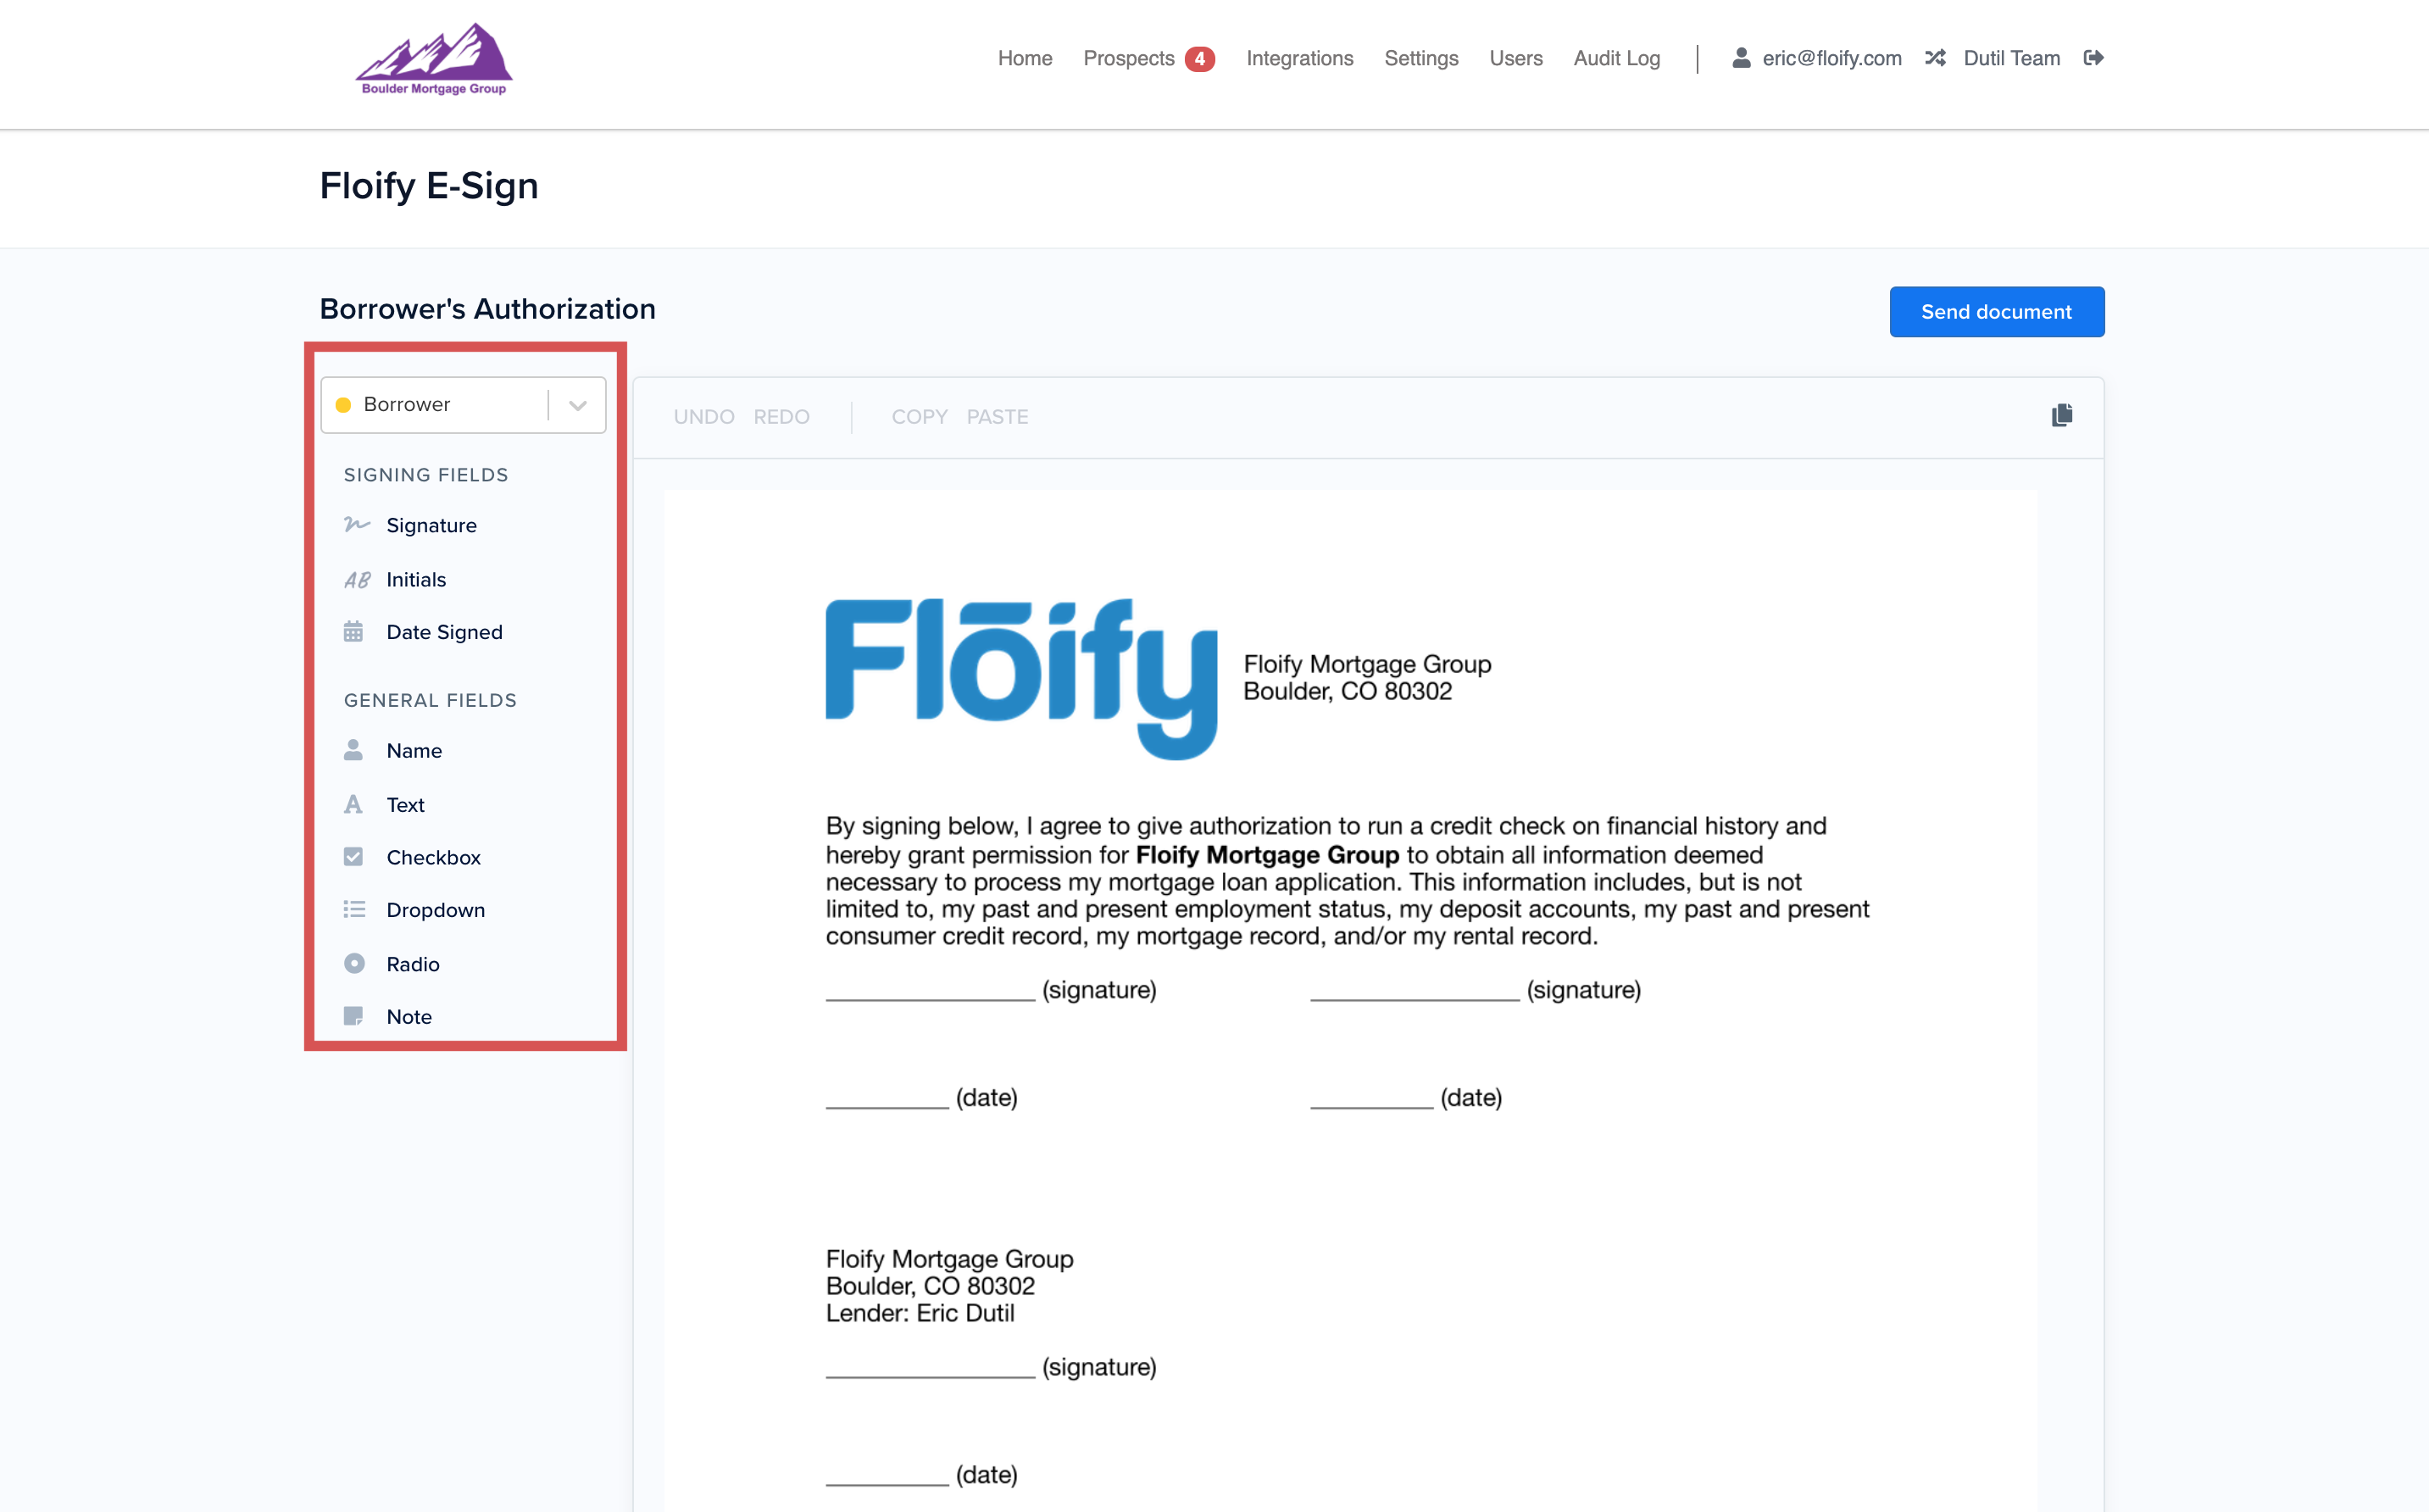
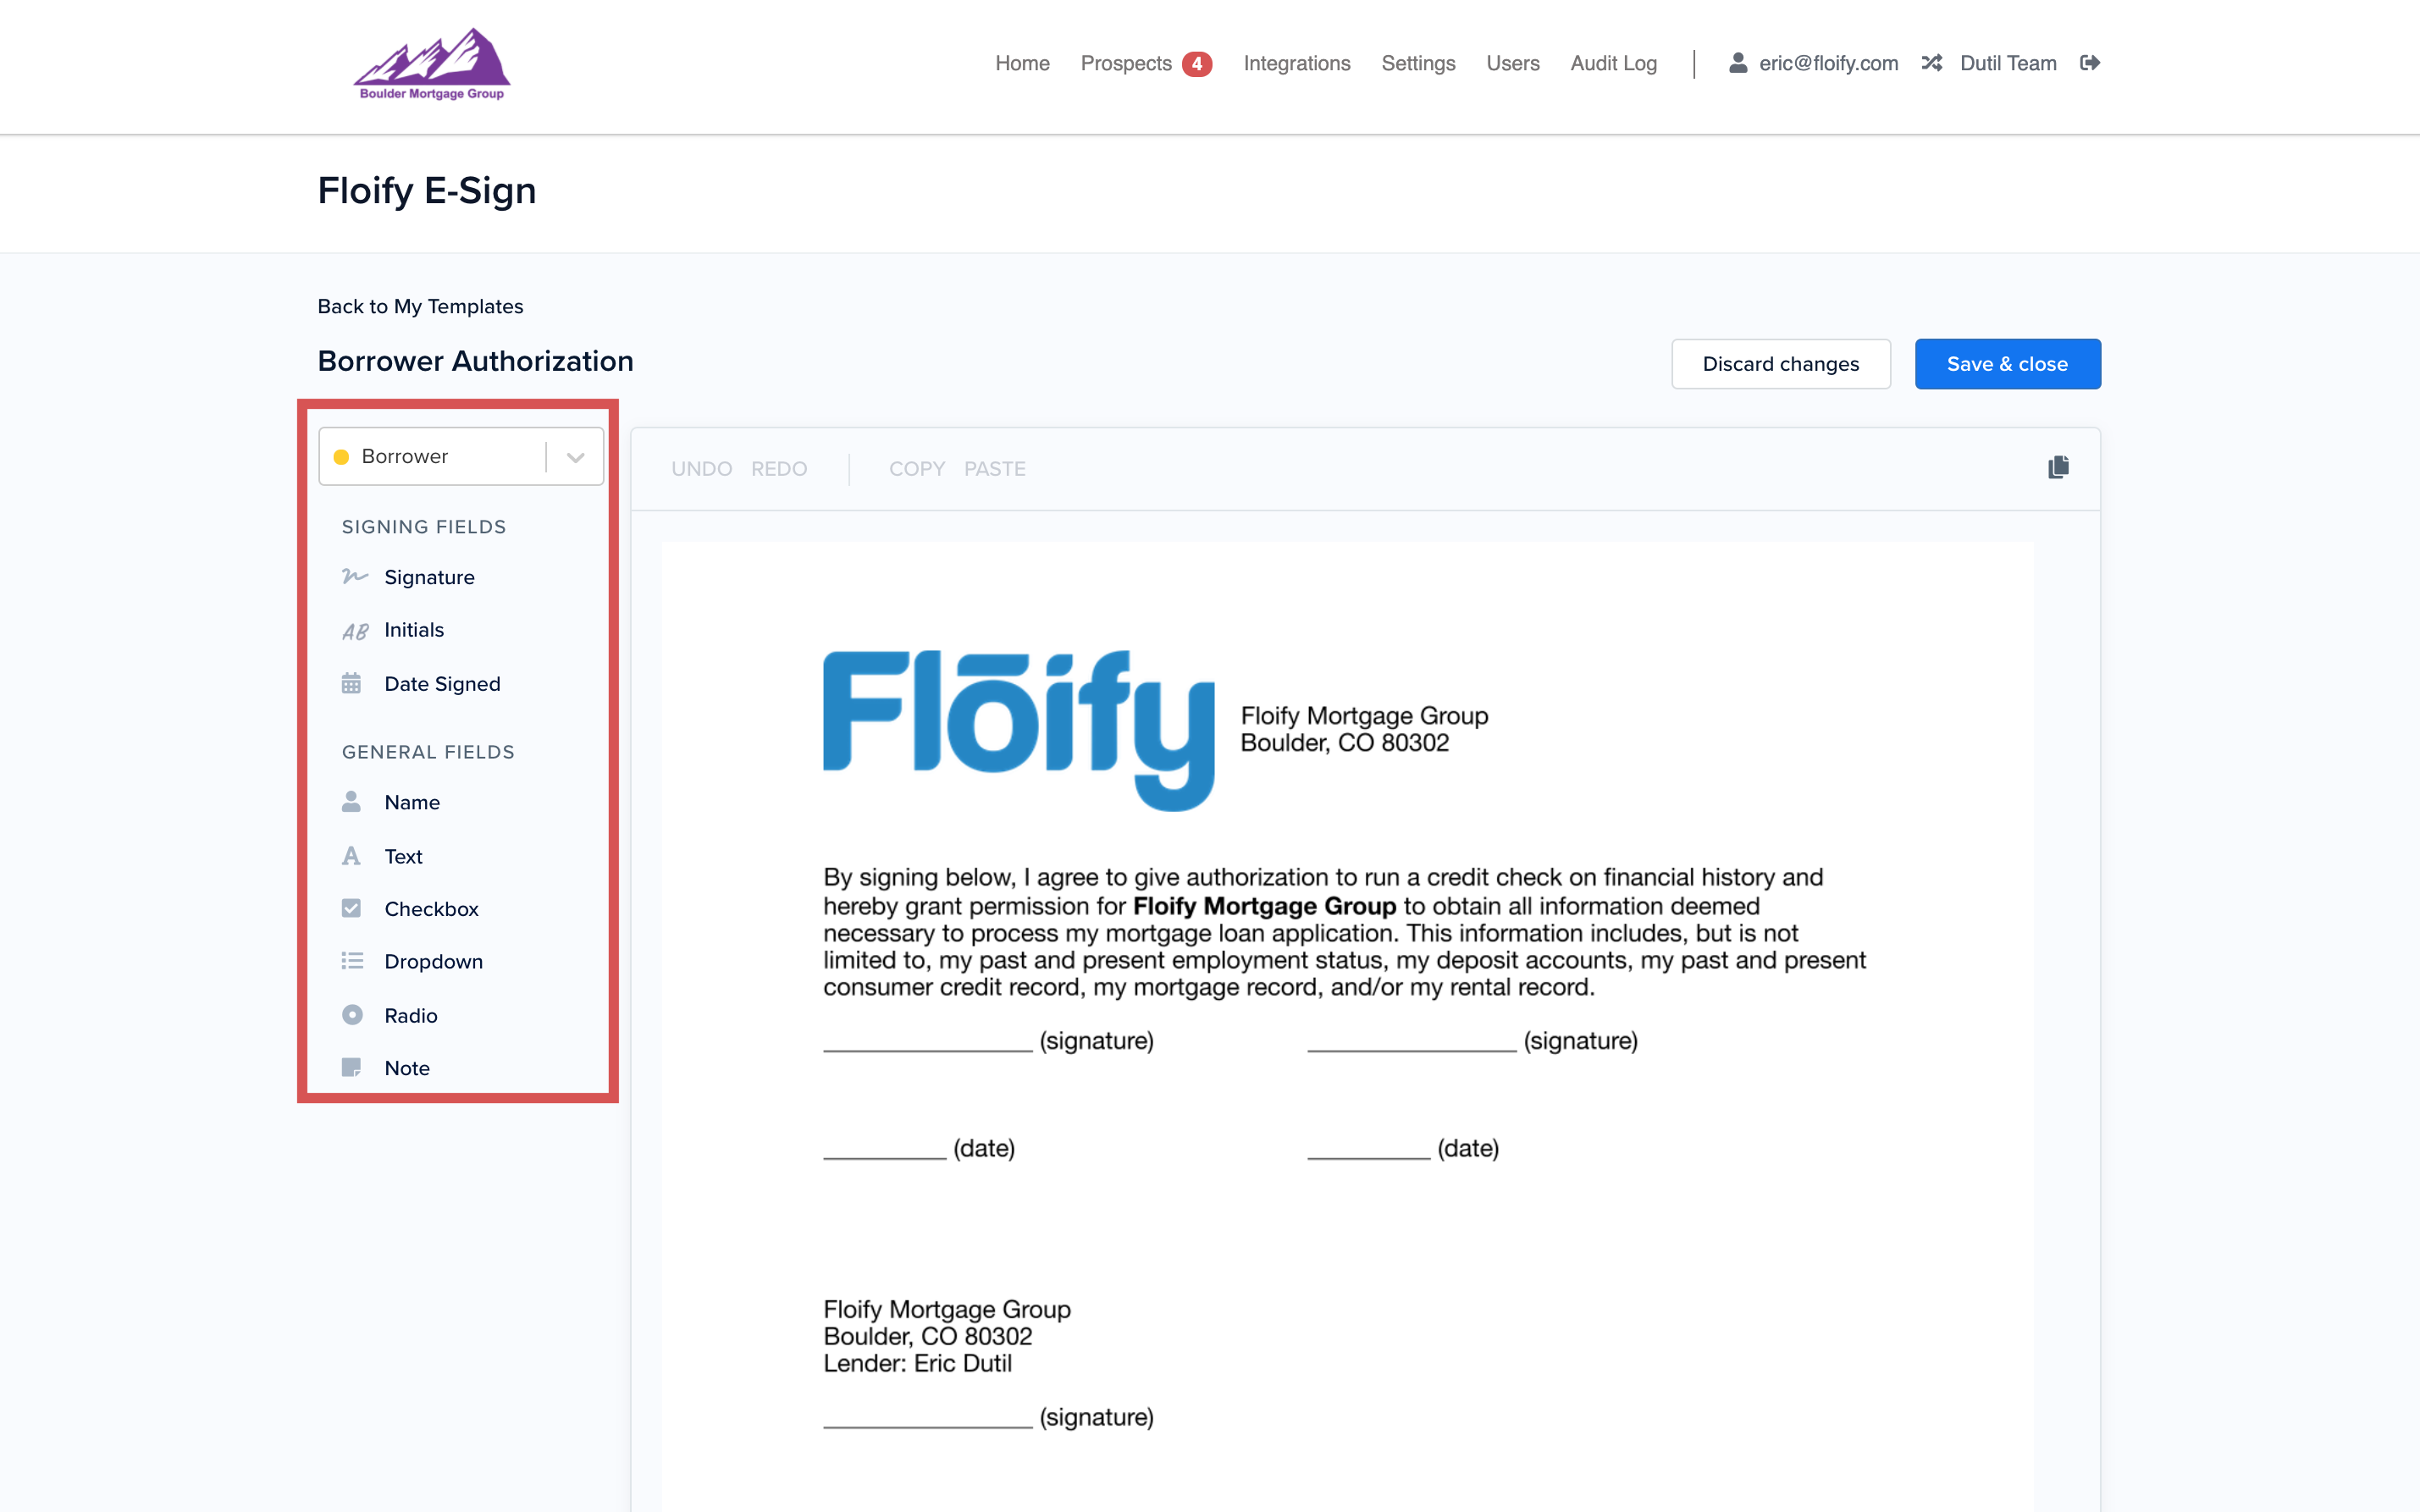
Select the recipient with the dropdown list on the left side of the document. Drag and drop the e-sign fields on the left side onto your template. Follow the guides below to change recipients and delete fields. Each recipient will be designated a specific color:
Note: The fields that are available for use are Signature, Initials, Date Signed, Name, Text, Checkbox, Dropdown, Radio, and Note.
Click a field on the template, and select the Delete option to remove the field from the template:
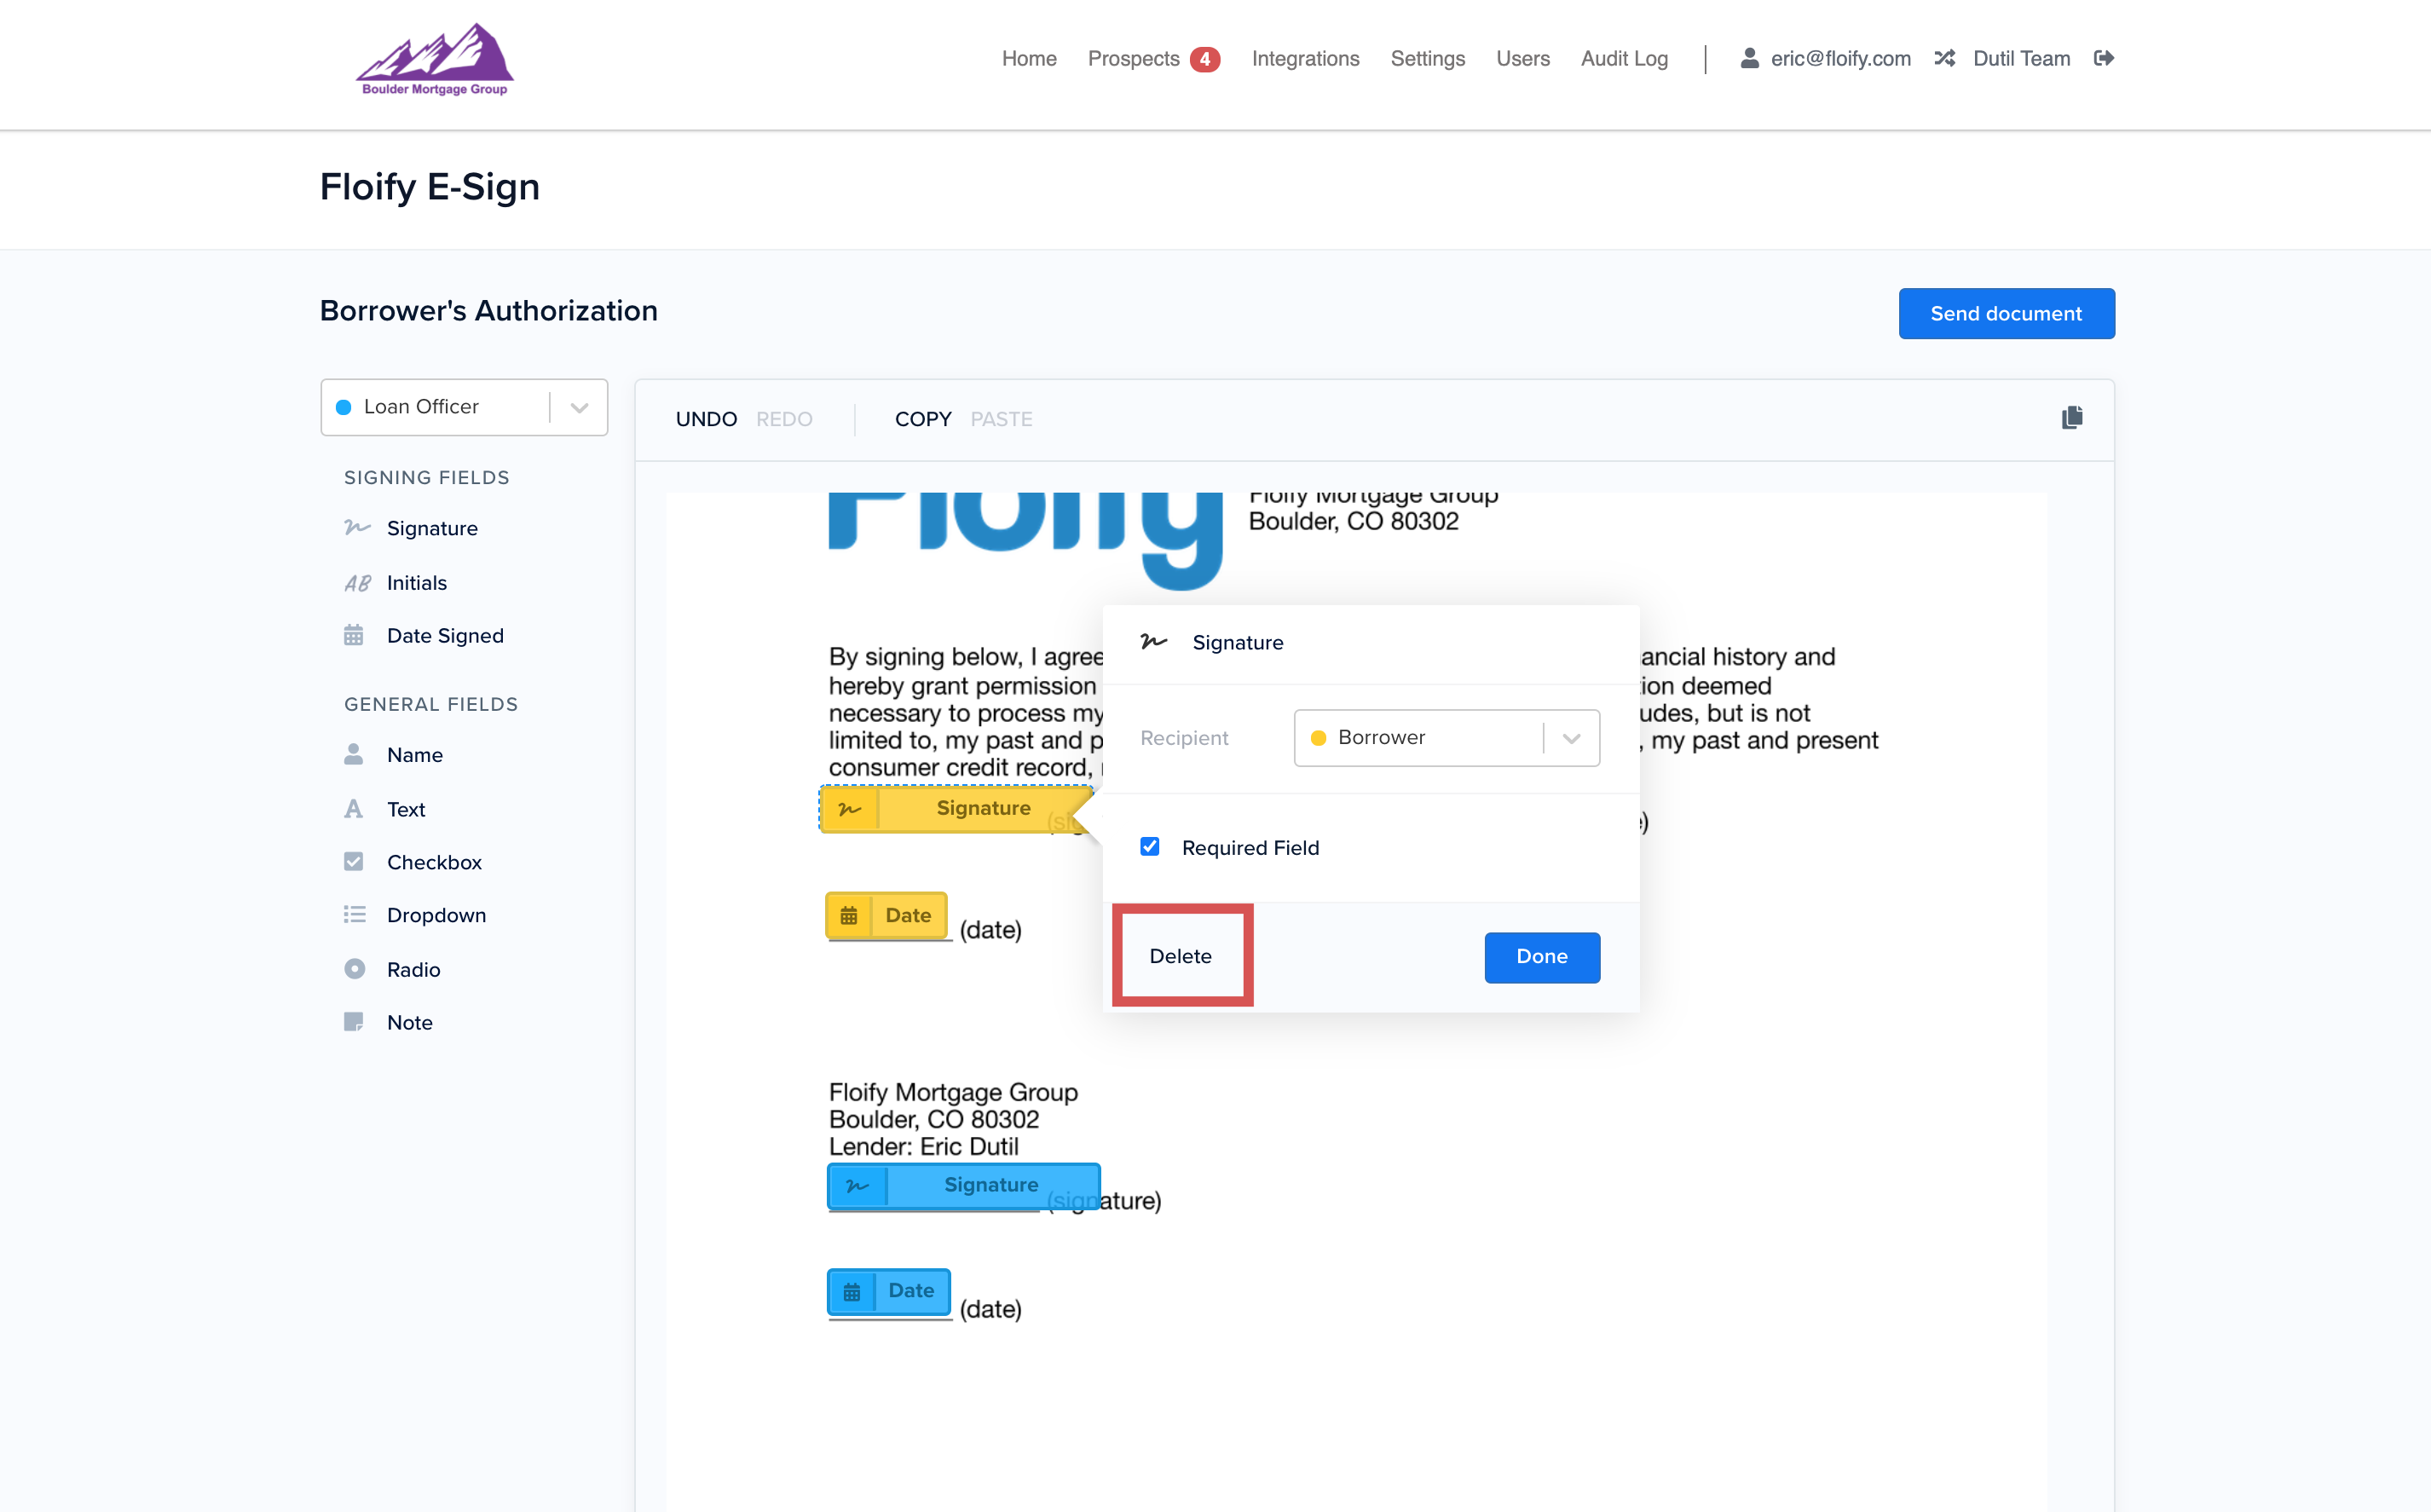
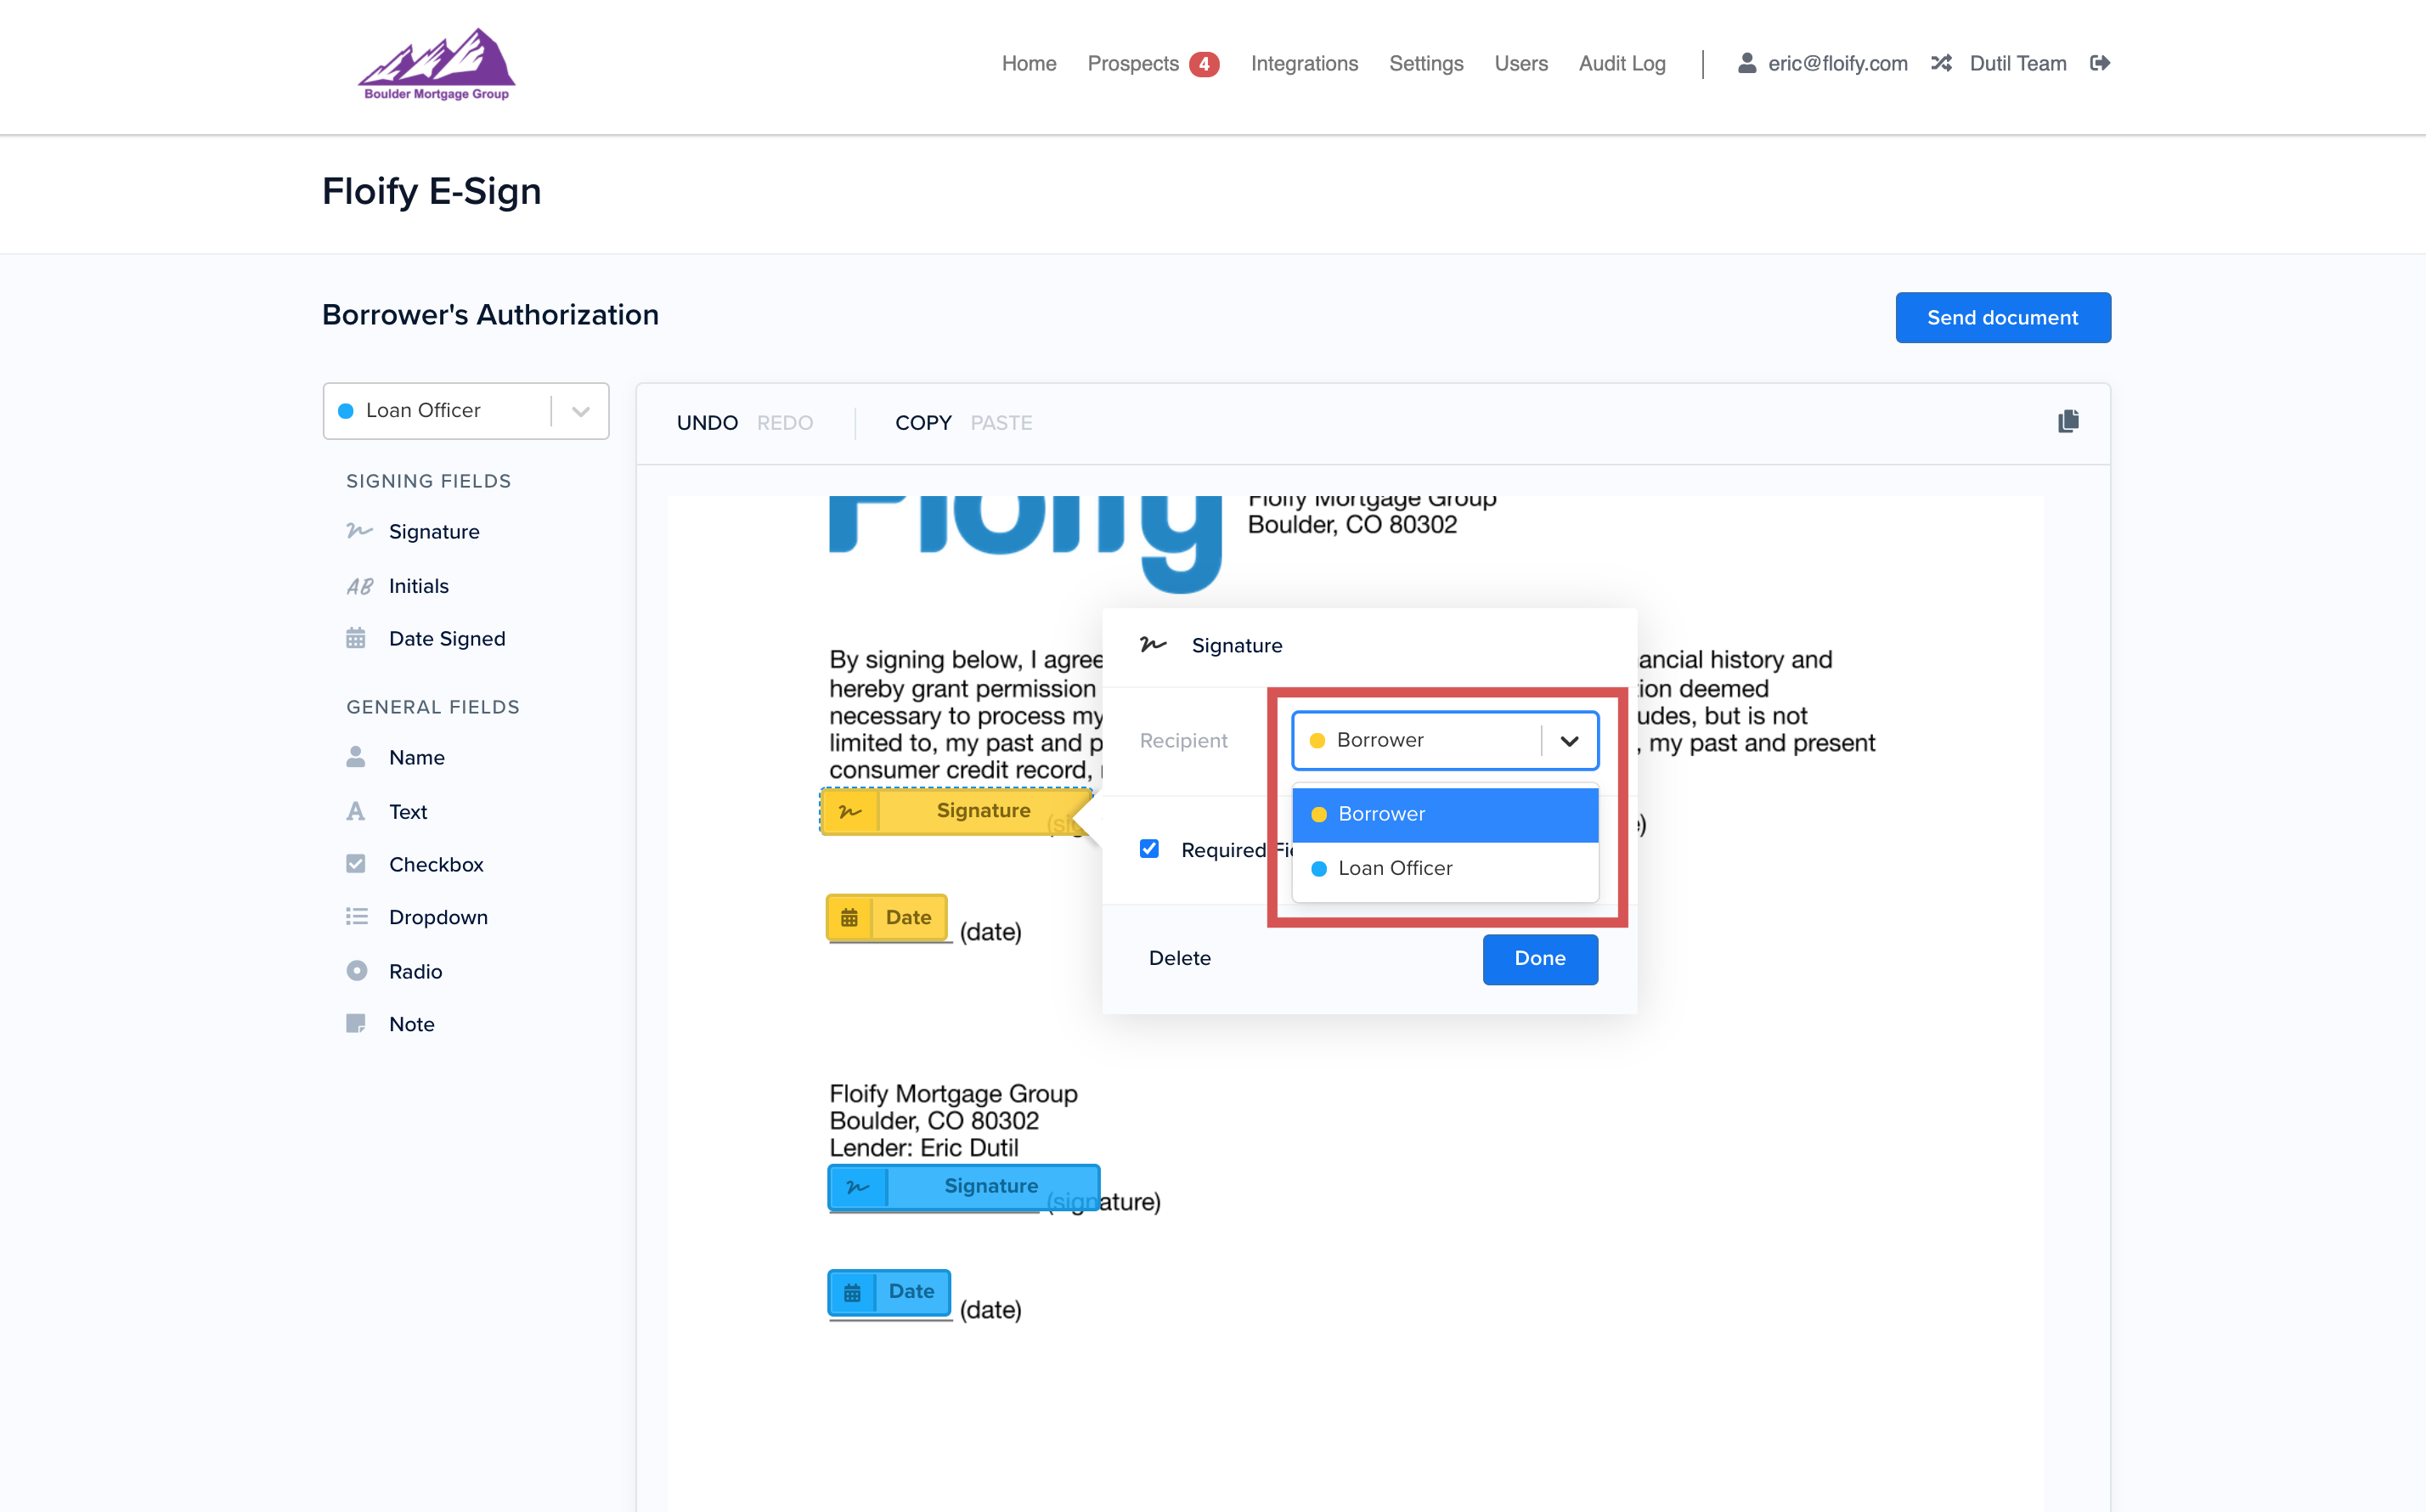
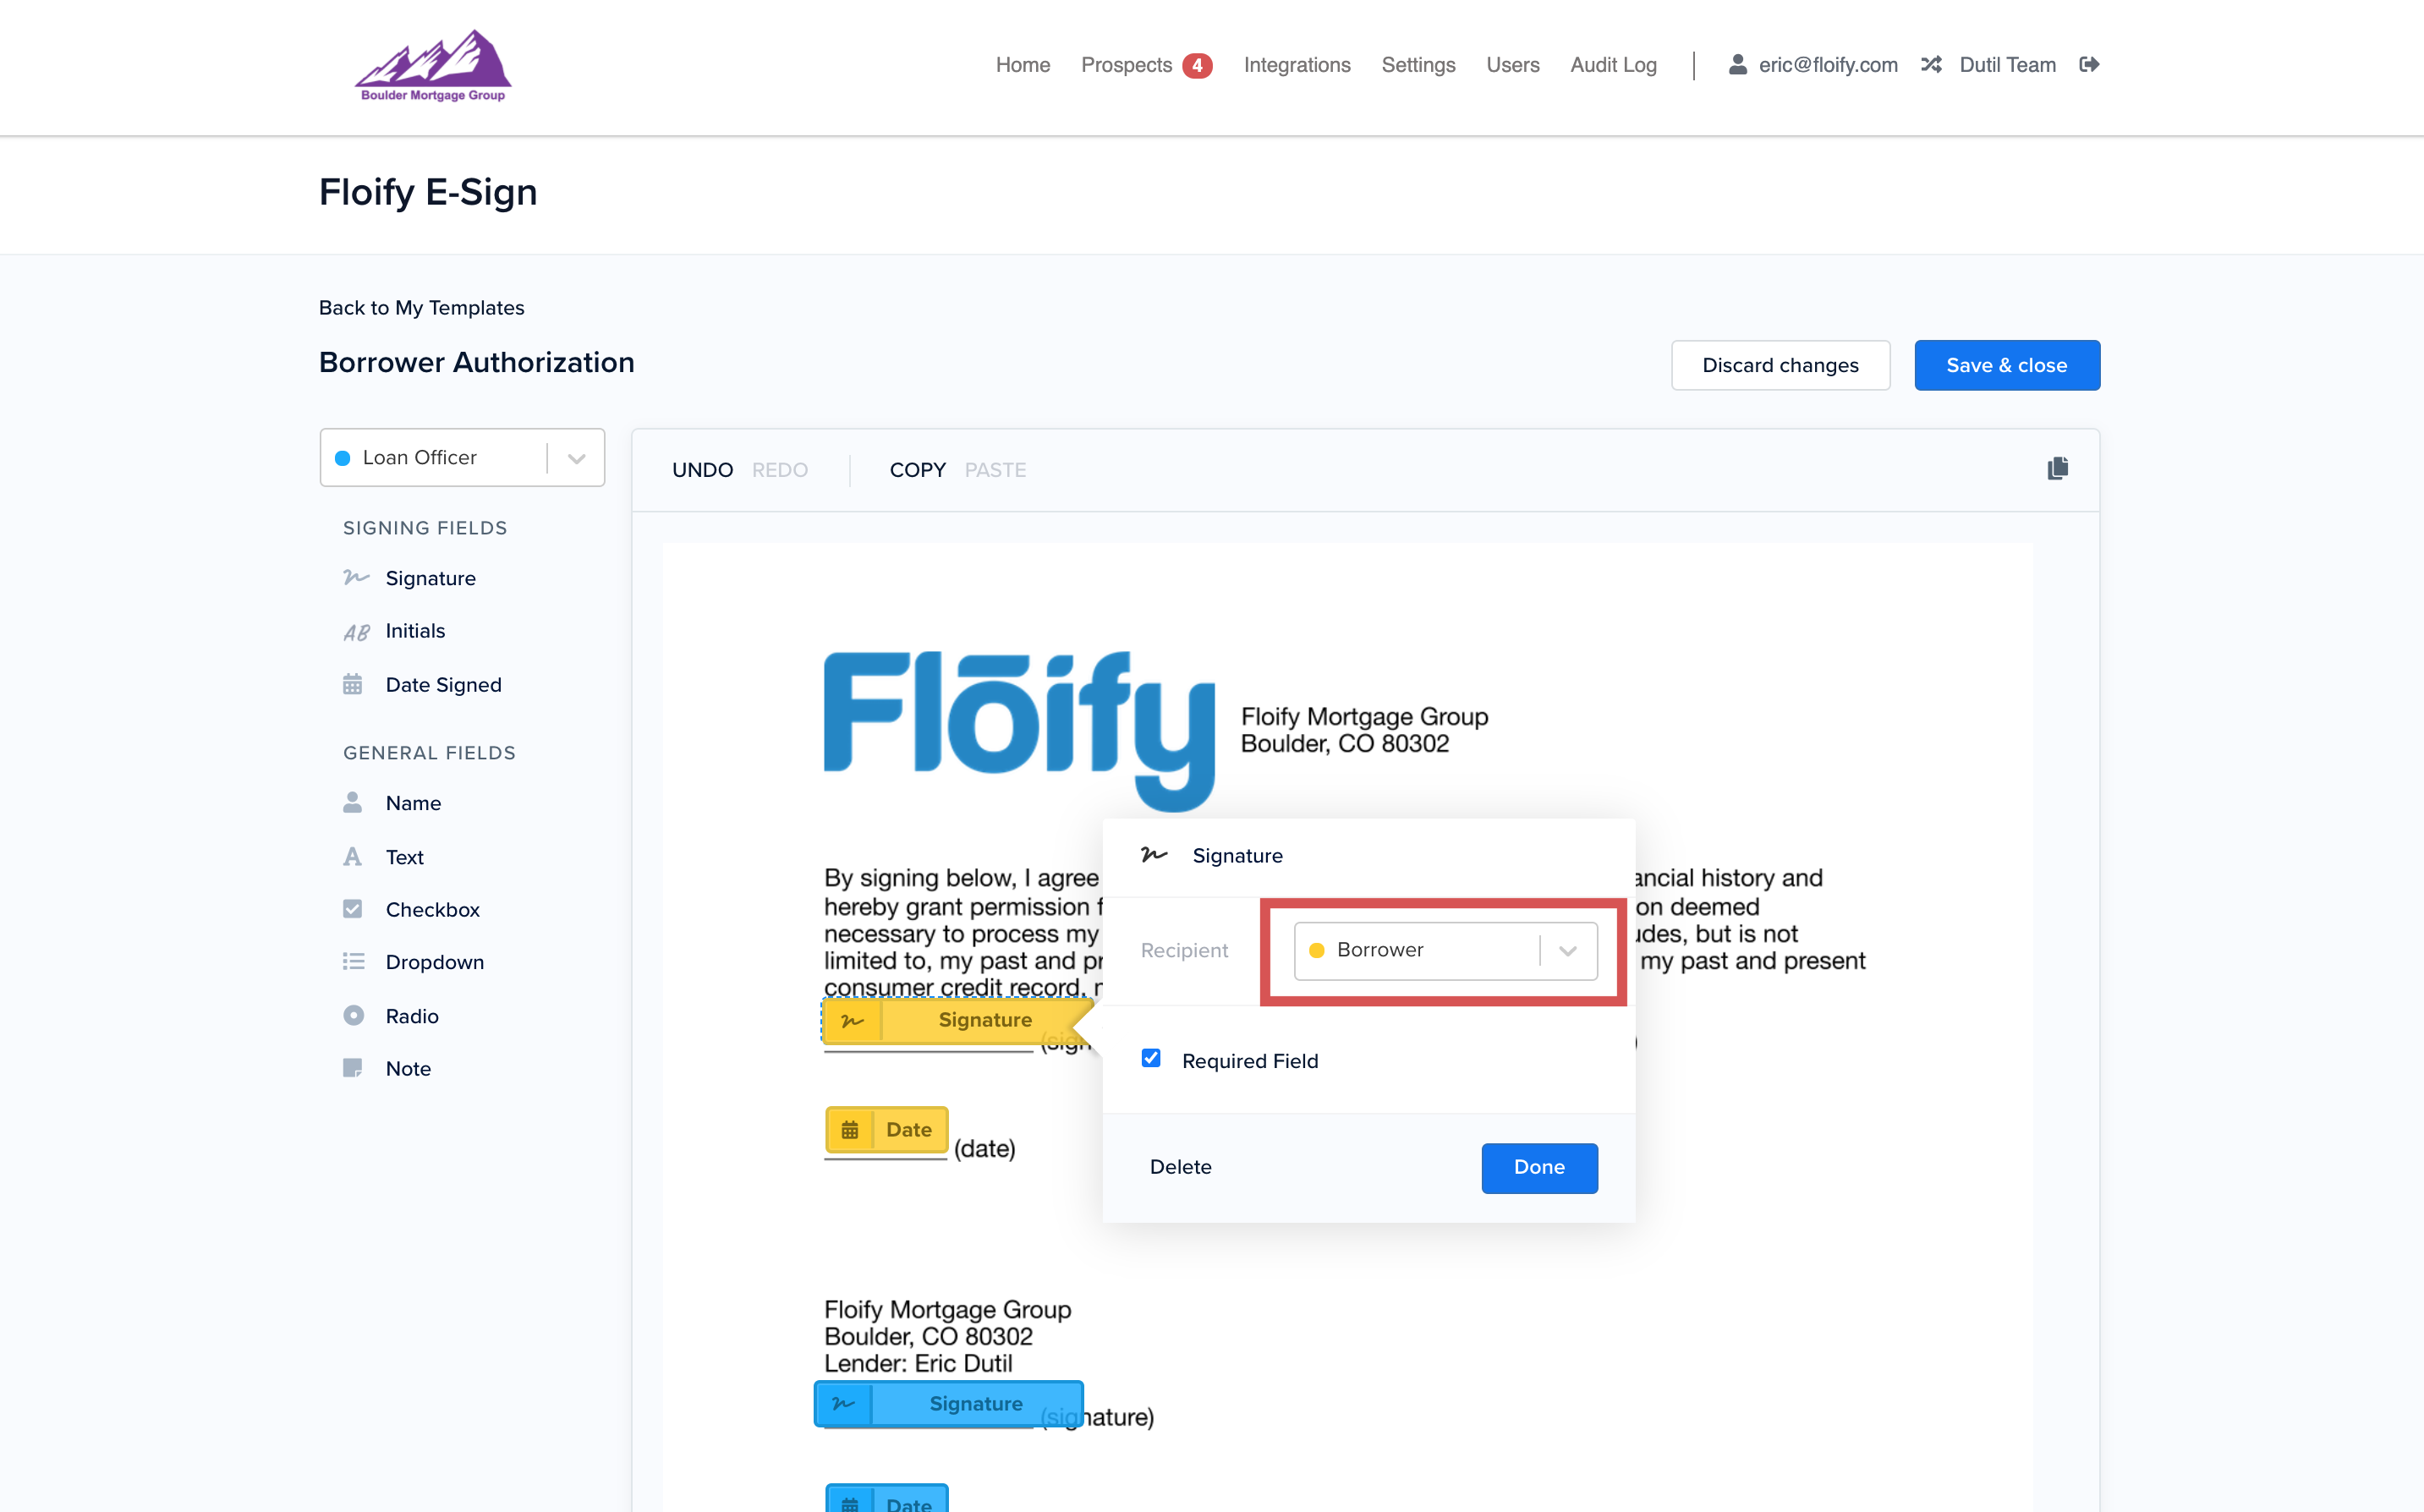
Change the recipient of a field already on the template by clicking the field and using the dropdown menu to select a different recipient:
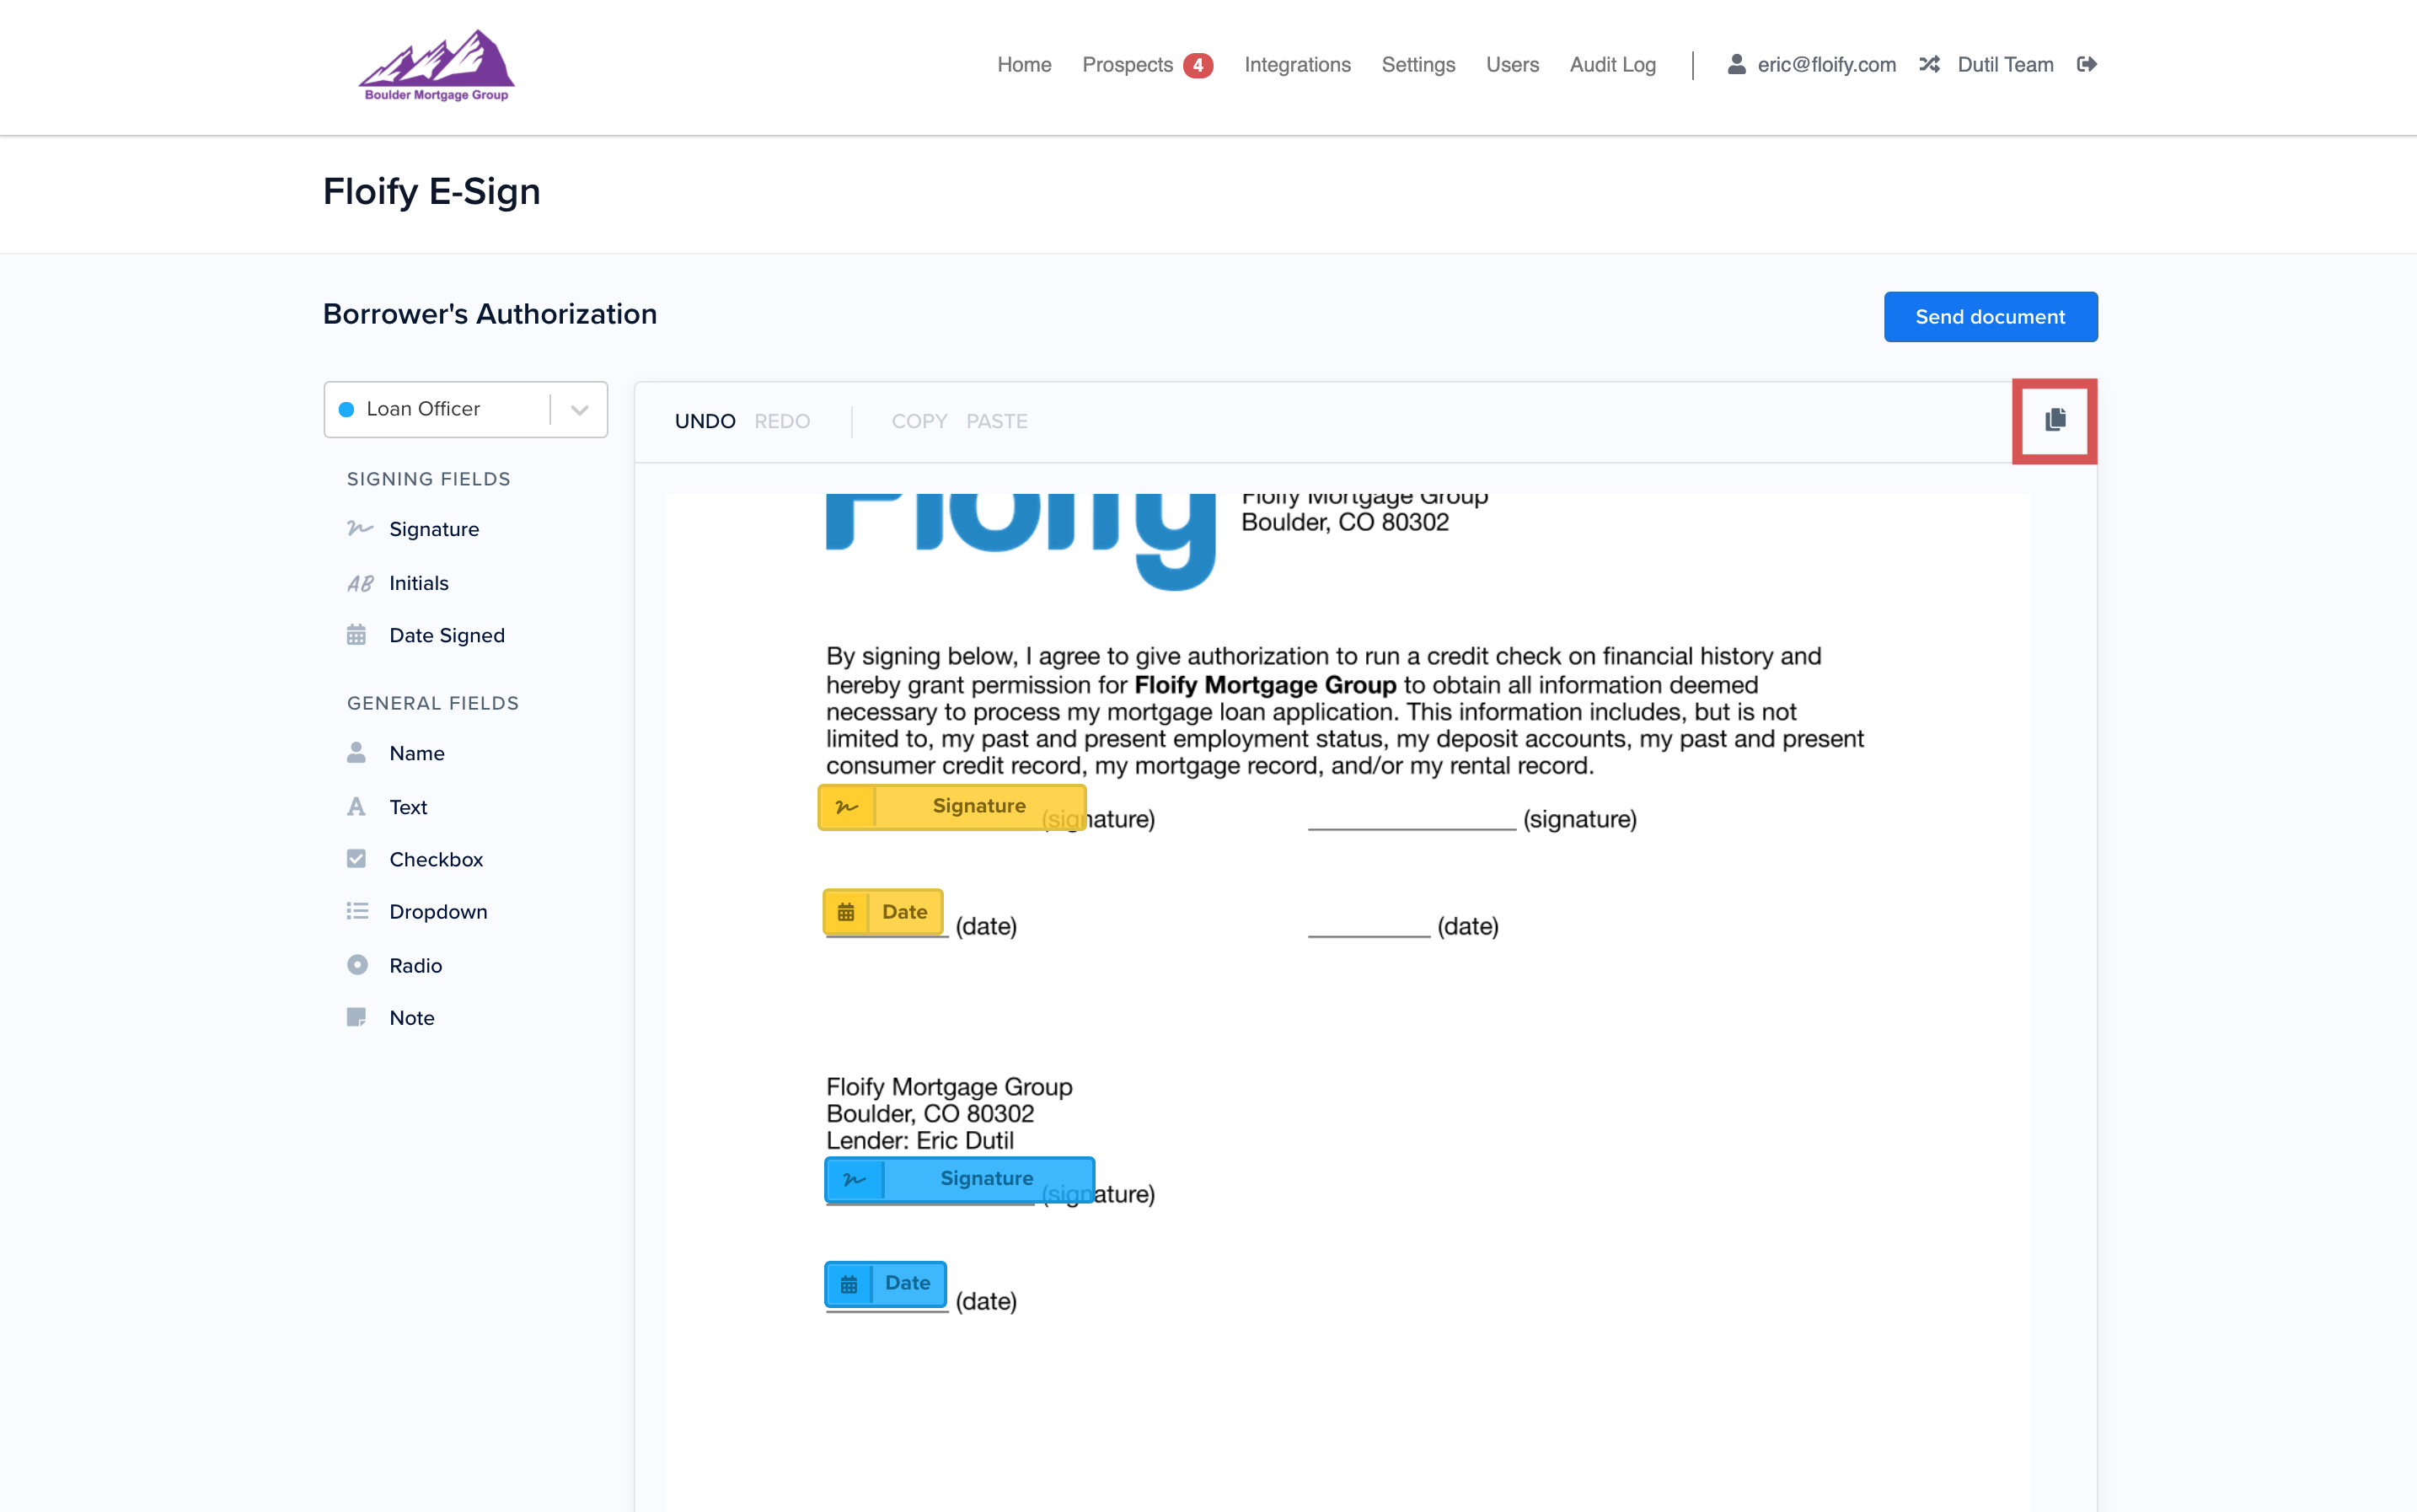
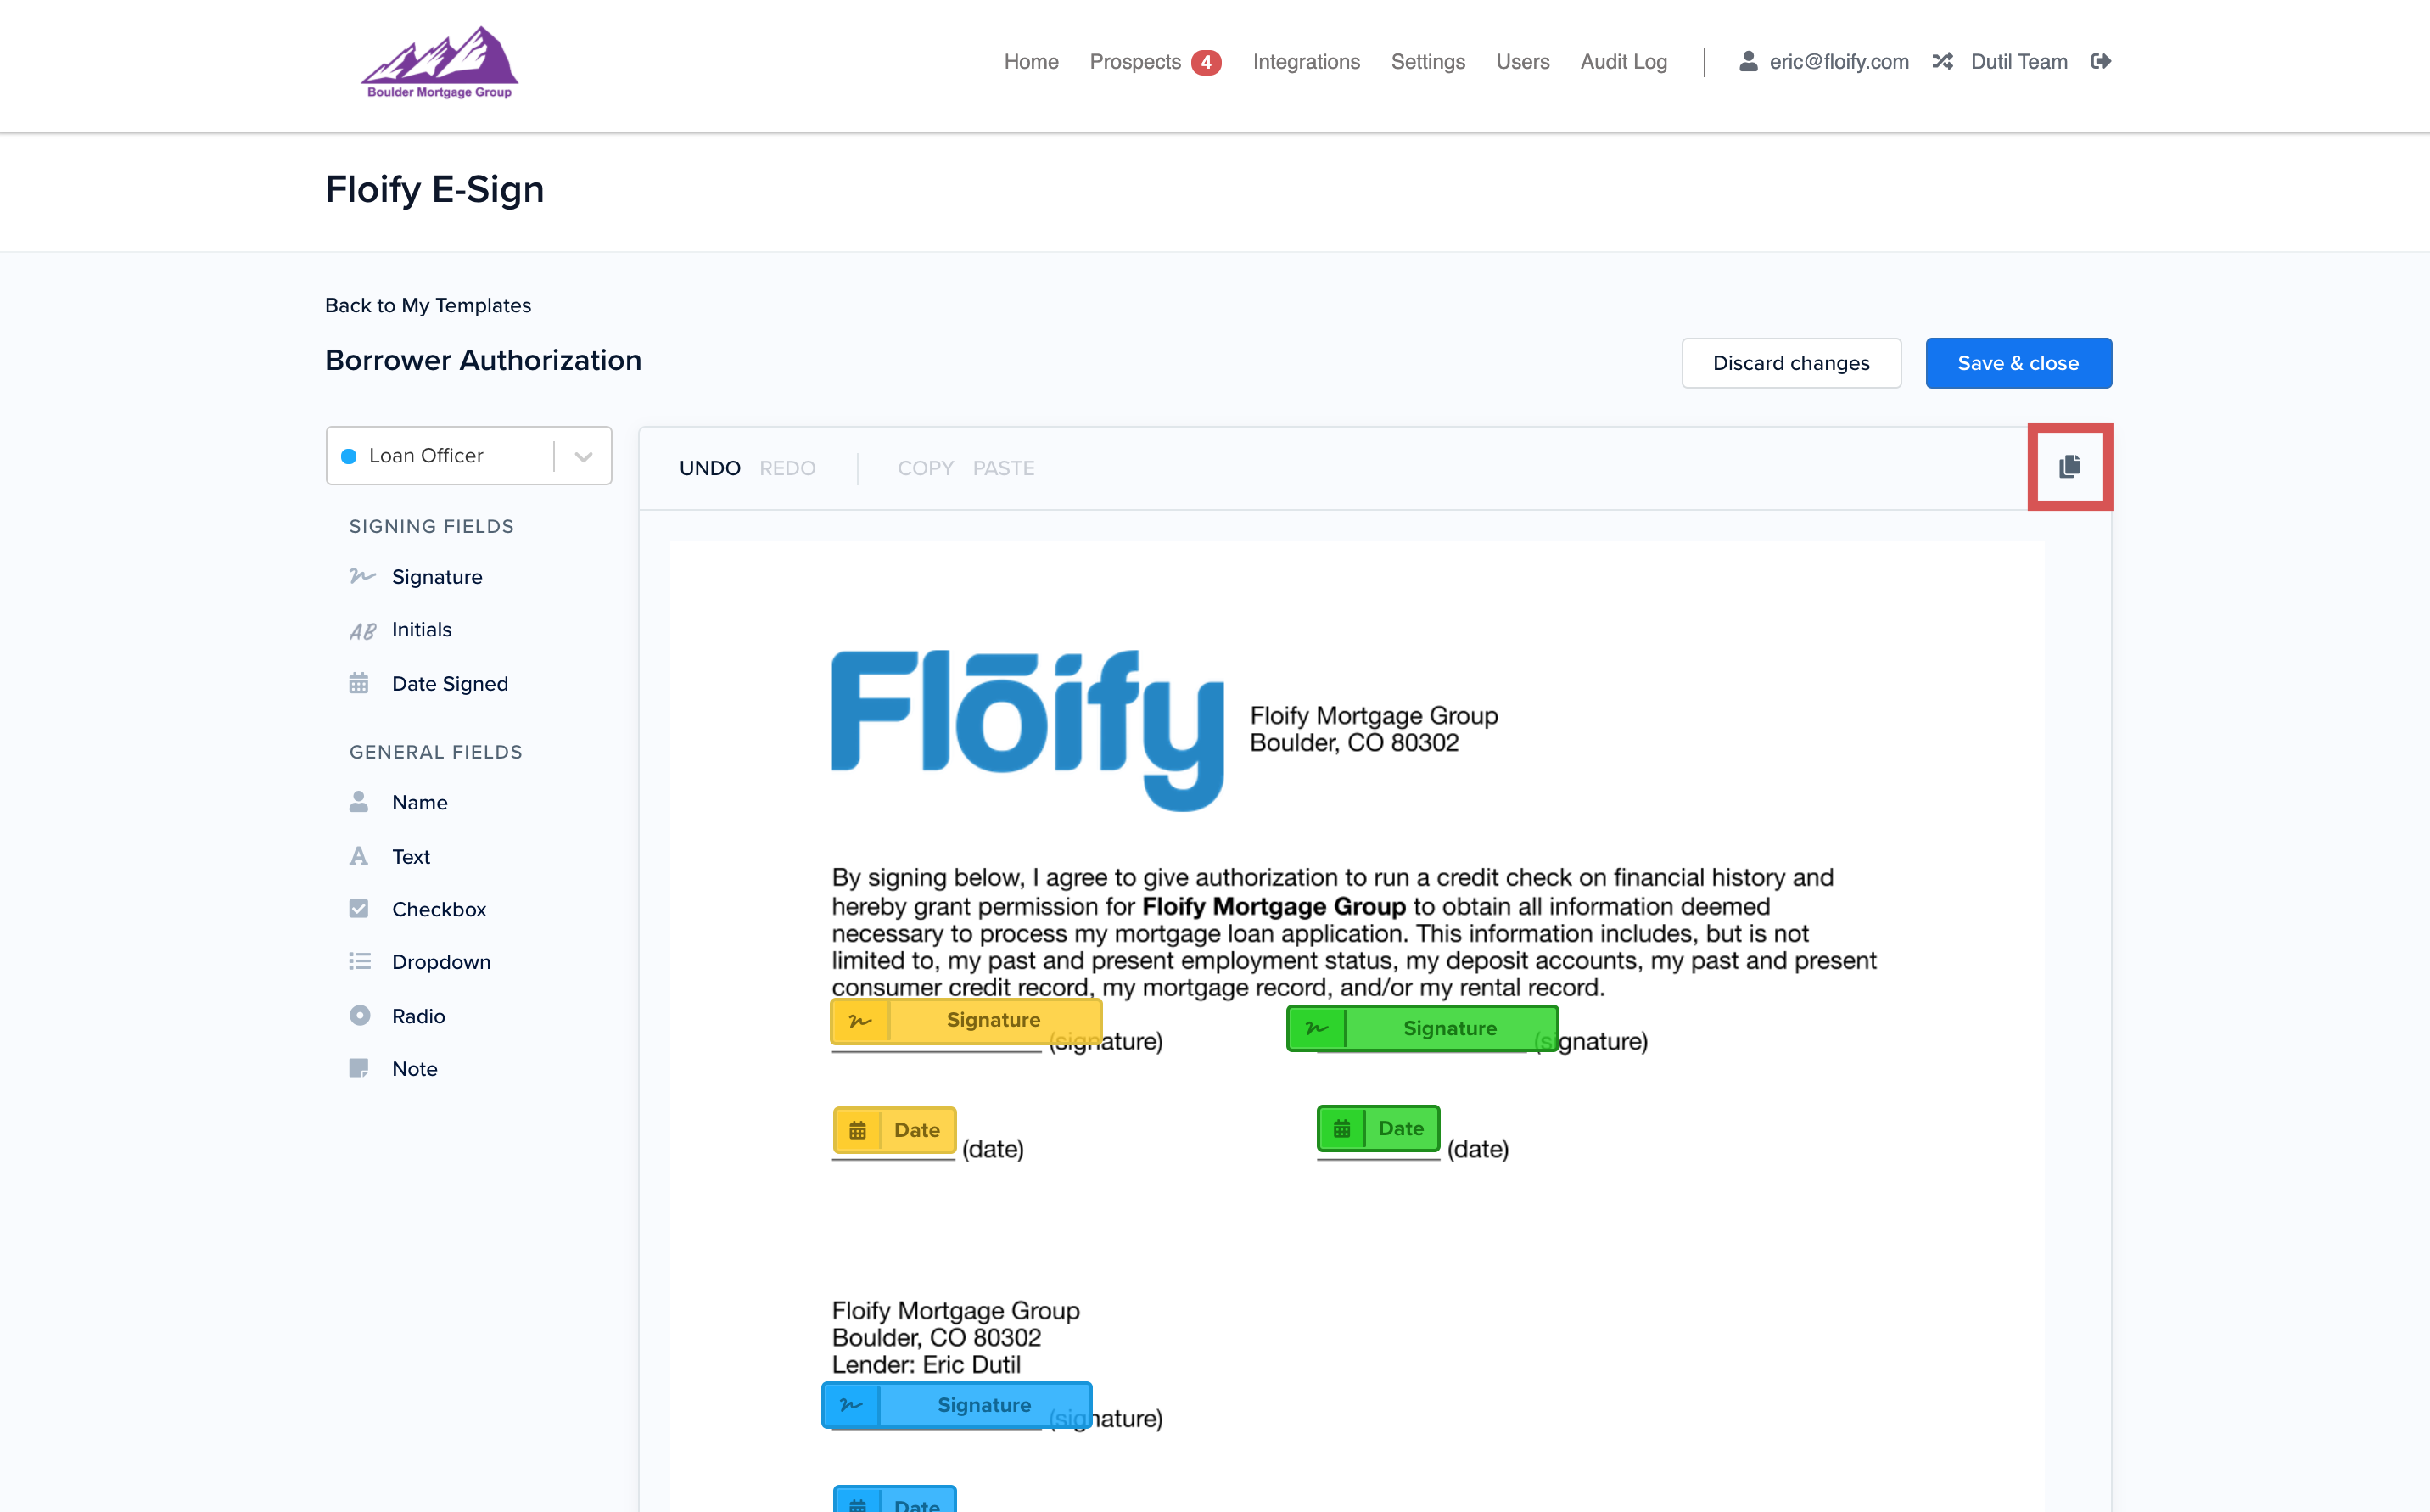
Easily navigate to additional pages in the template by selecting the pages icon in the right corner:
Once the template is completed with fields and recipients, select the Send Document option:

This sends the document to the borrower's Docs Owed section of the loan flow where the borrower can click the E-Sign icon to adopt a signature and sign.
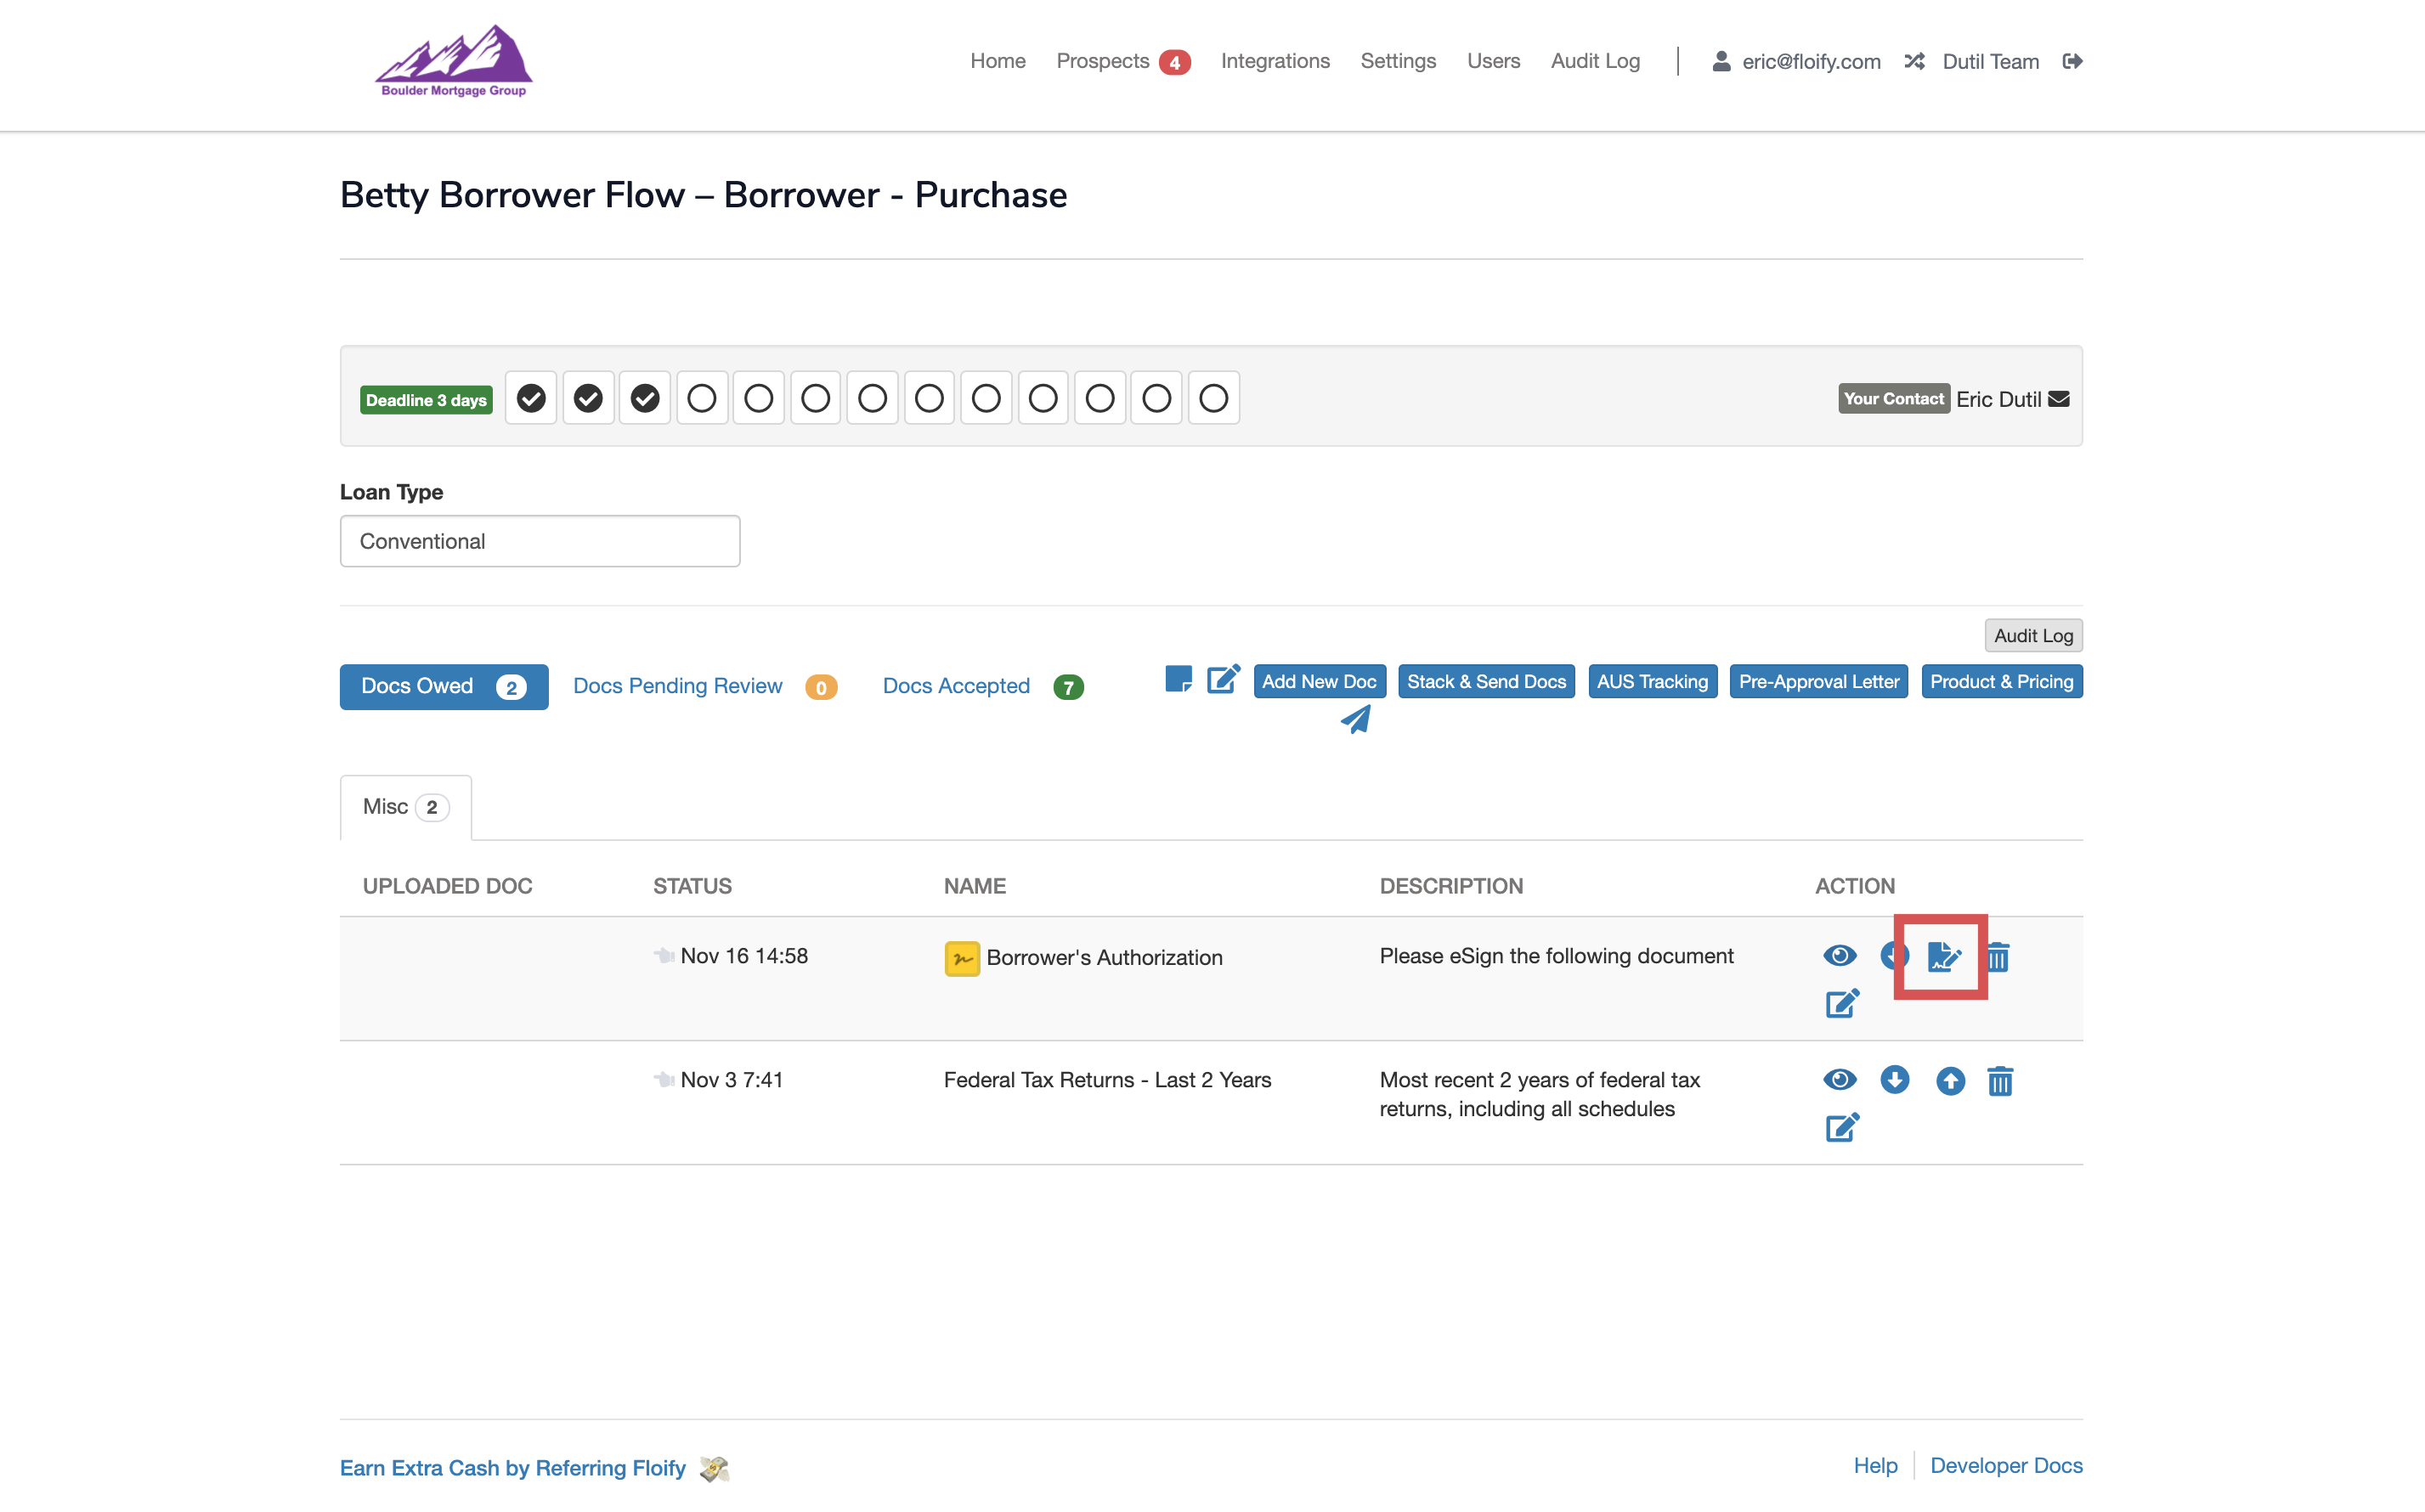
If you need to sign the document, you will select the E-Sign icon within the loan flow:
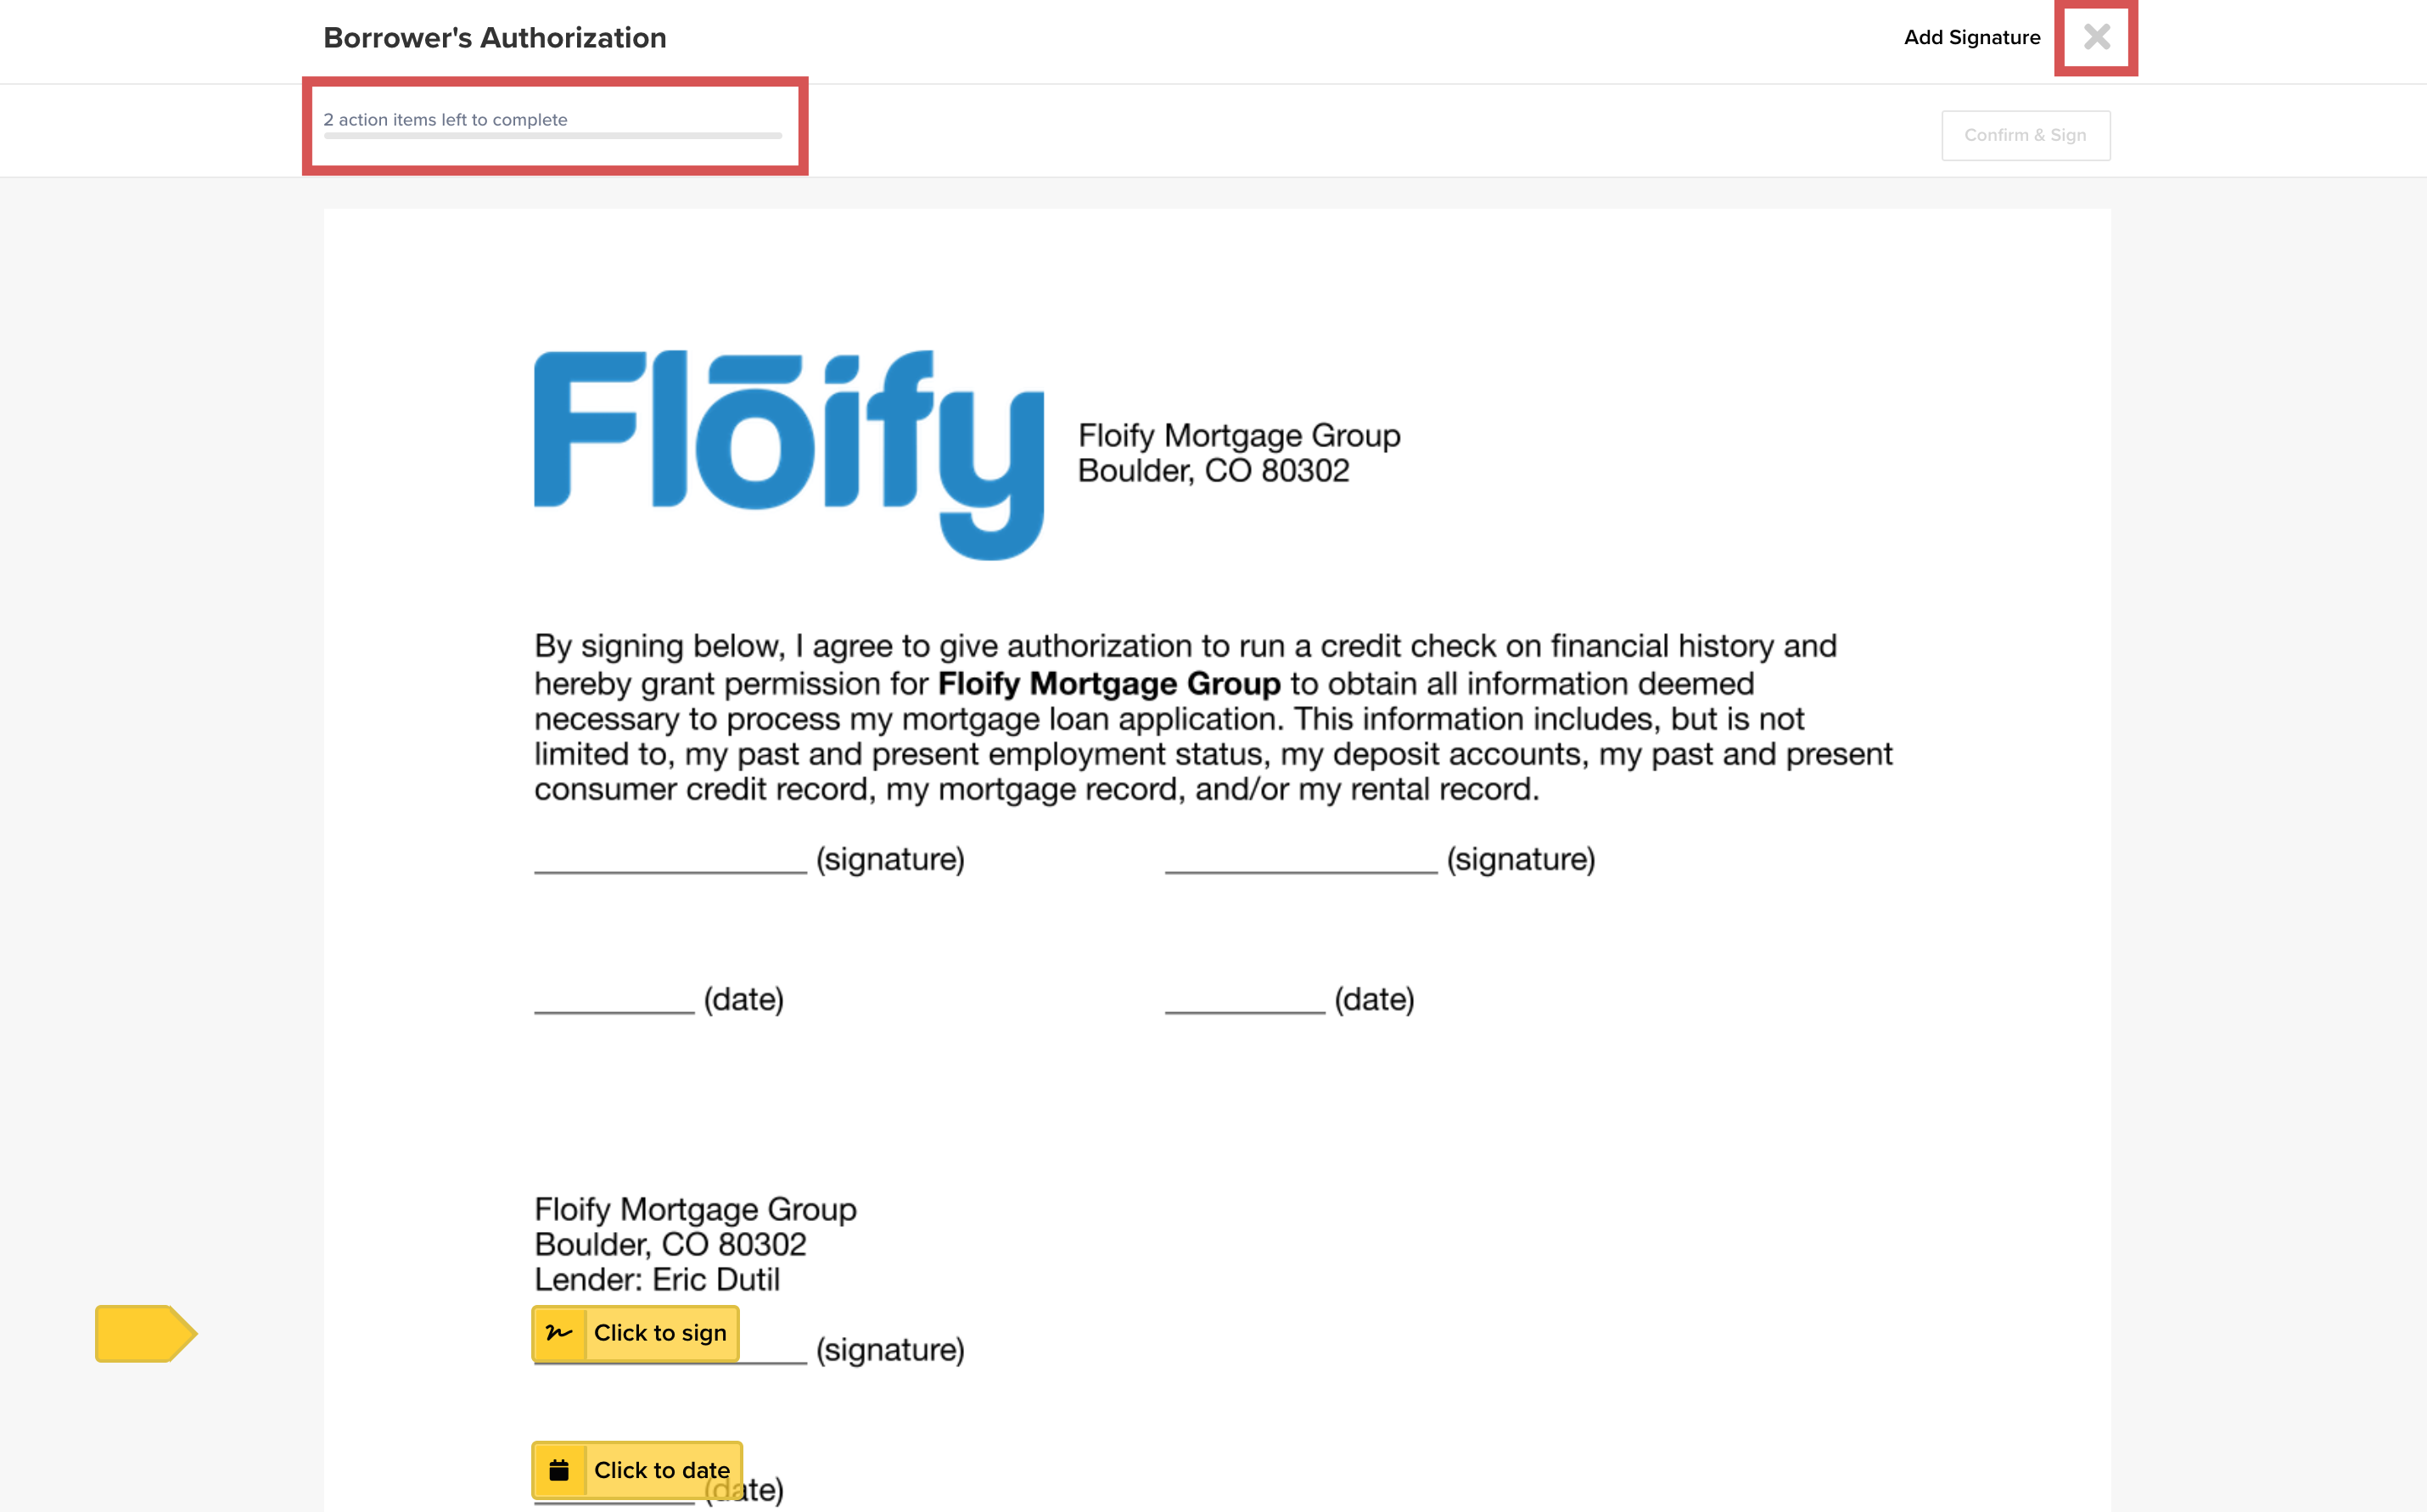
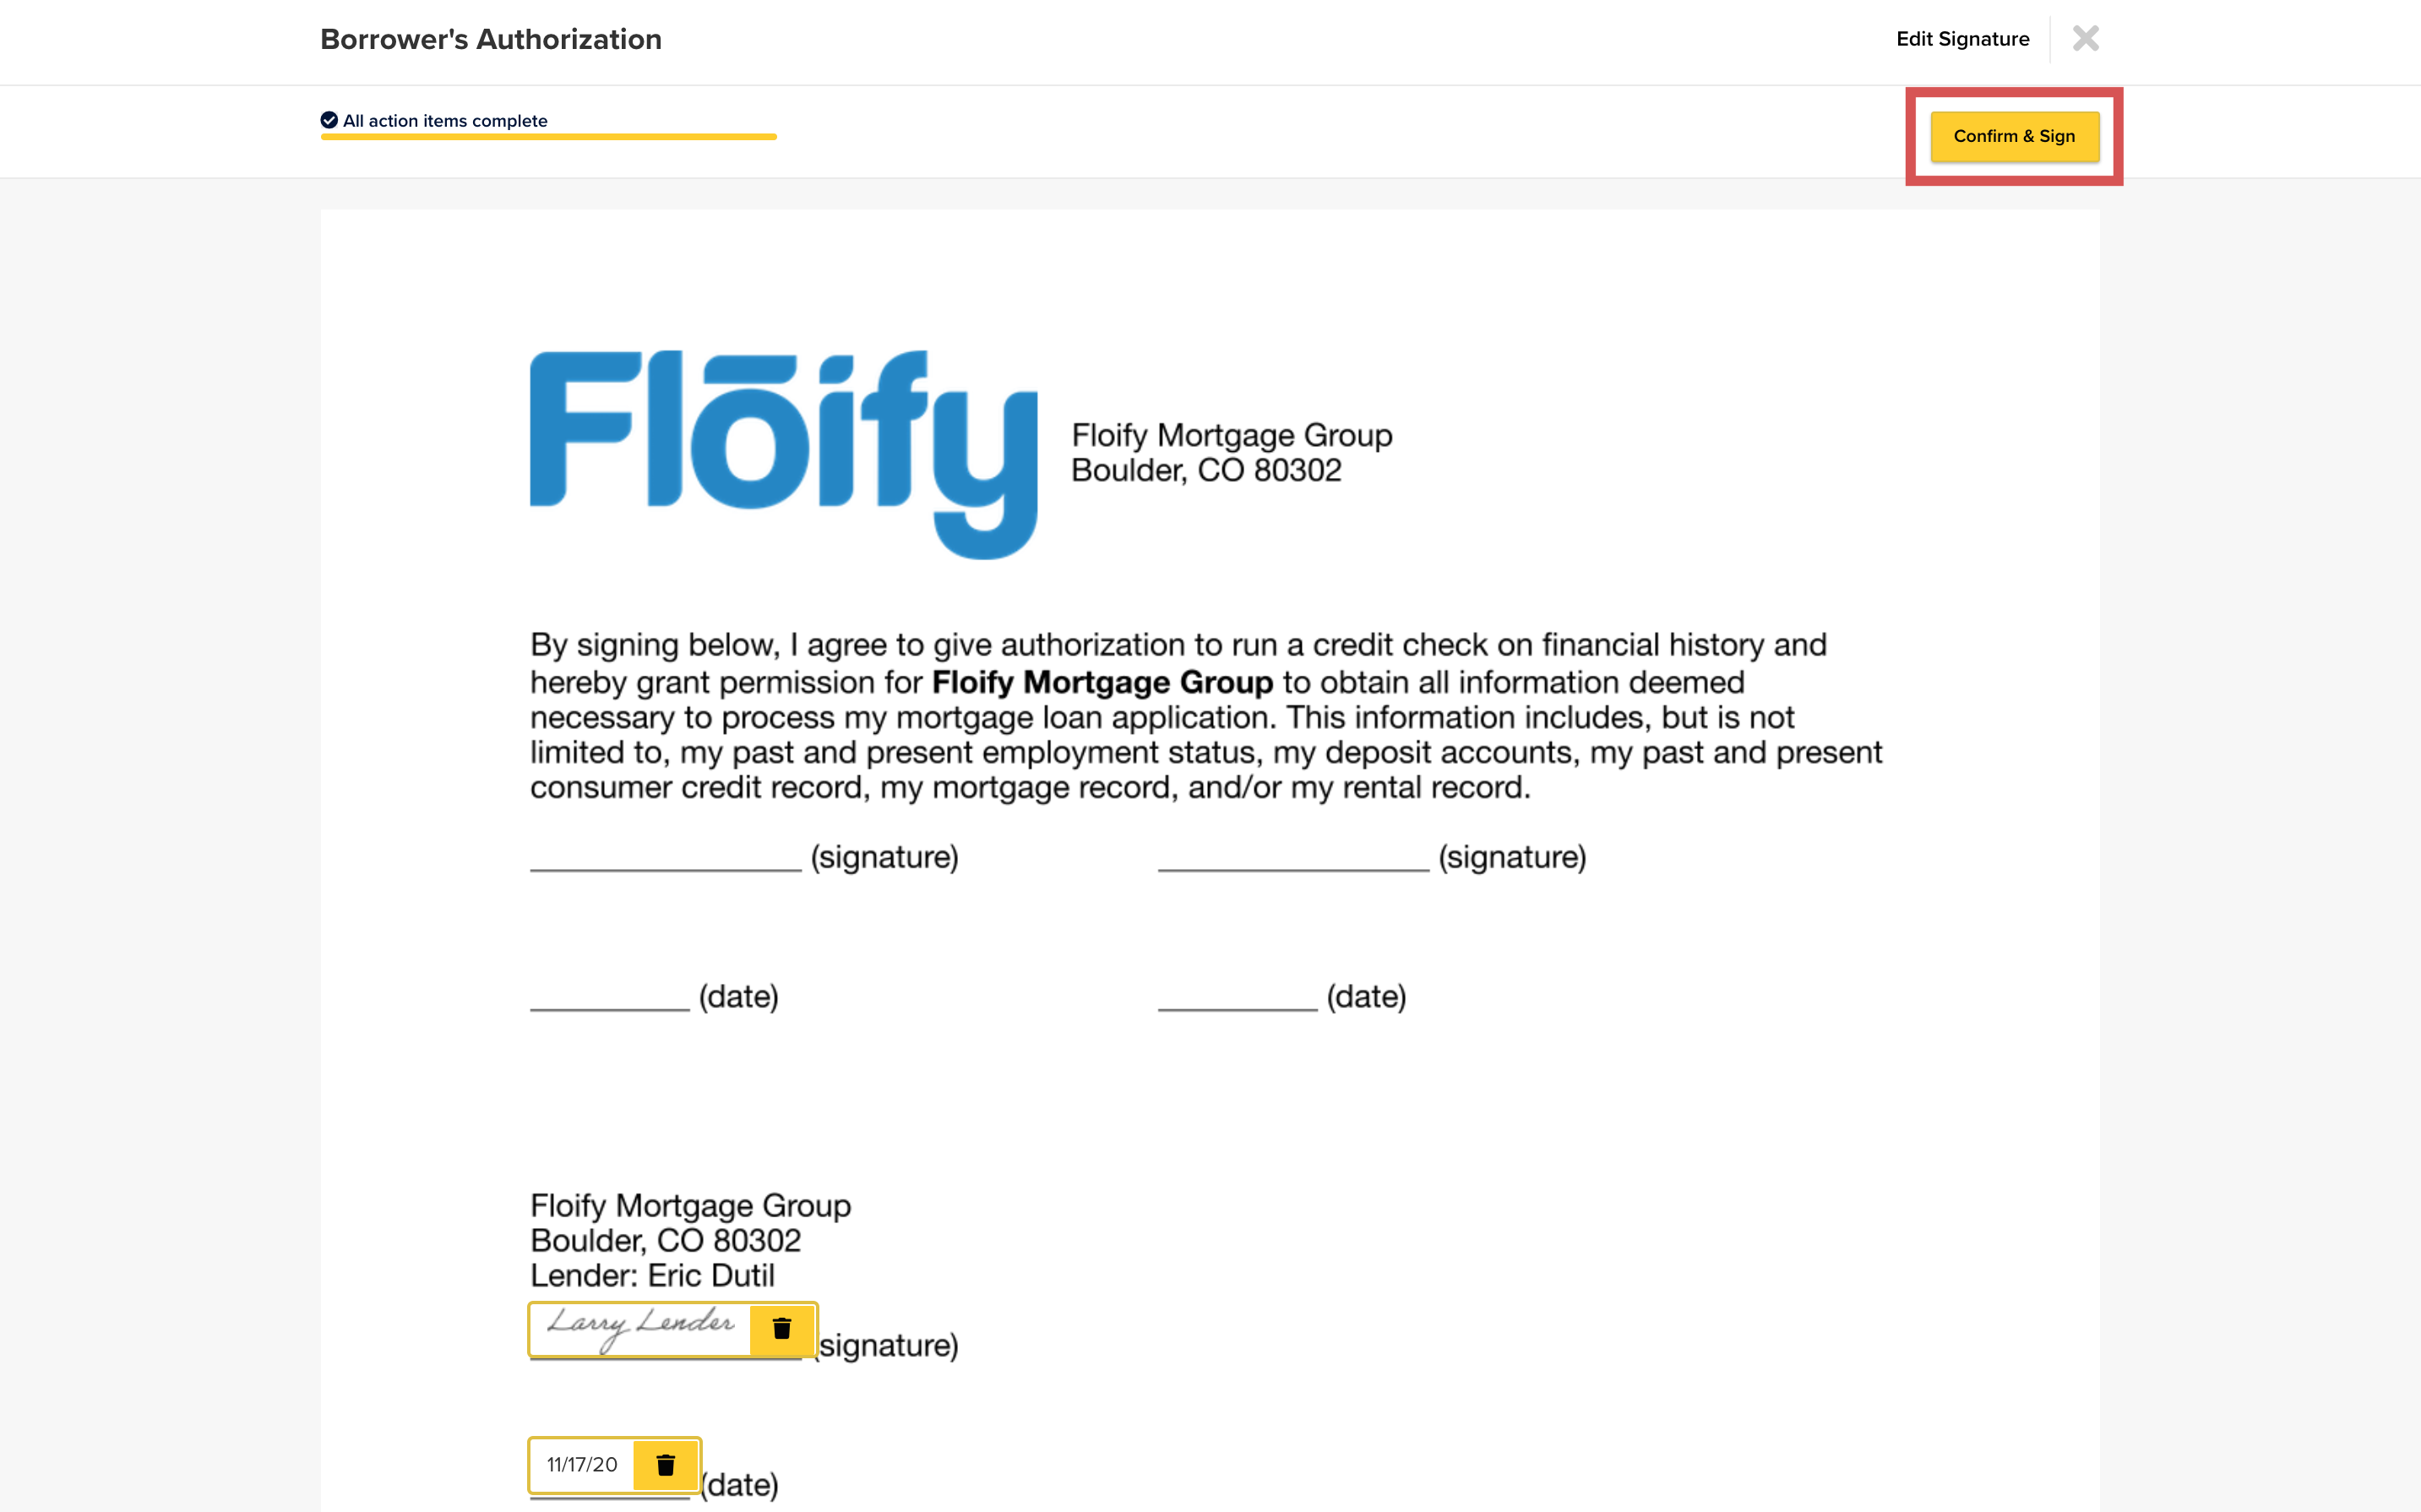
Once in the document, you will see the fields available to complete. There will be a status bar at the top left showing how many actions are still needed. The close icon in the upper right-hand corner will take you back to the Docs Owed:
Select the option to Confirm and Sign once all the fields have been completed:
Once signed, the document will remain in the Docs Owed until all recipients have completed the signing process:
Set Up a Floify E-Signature Template
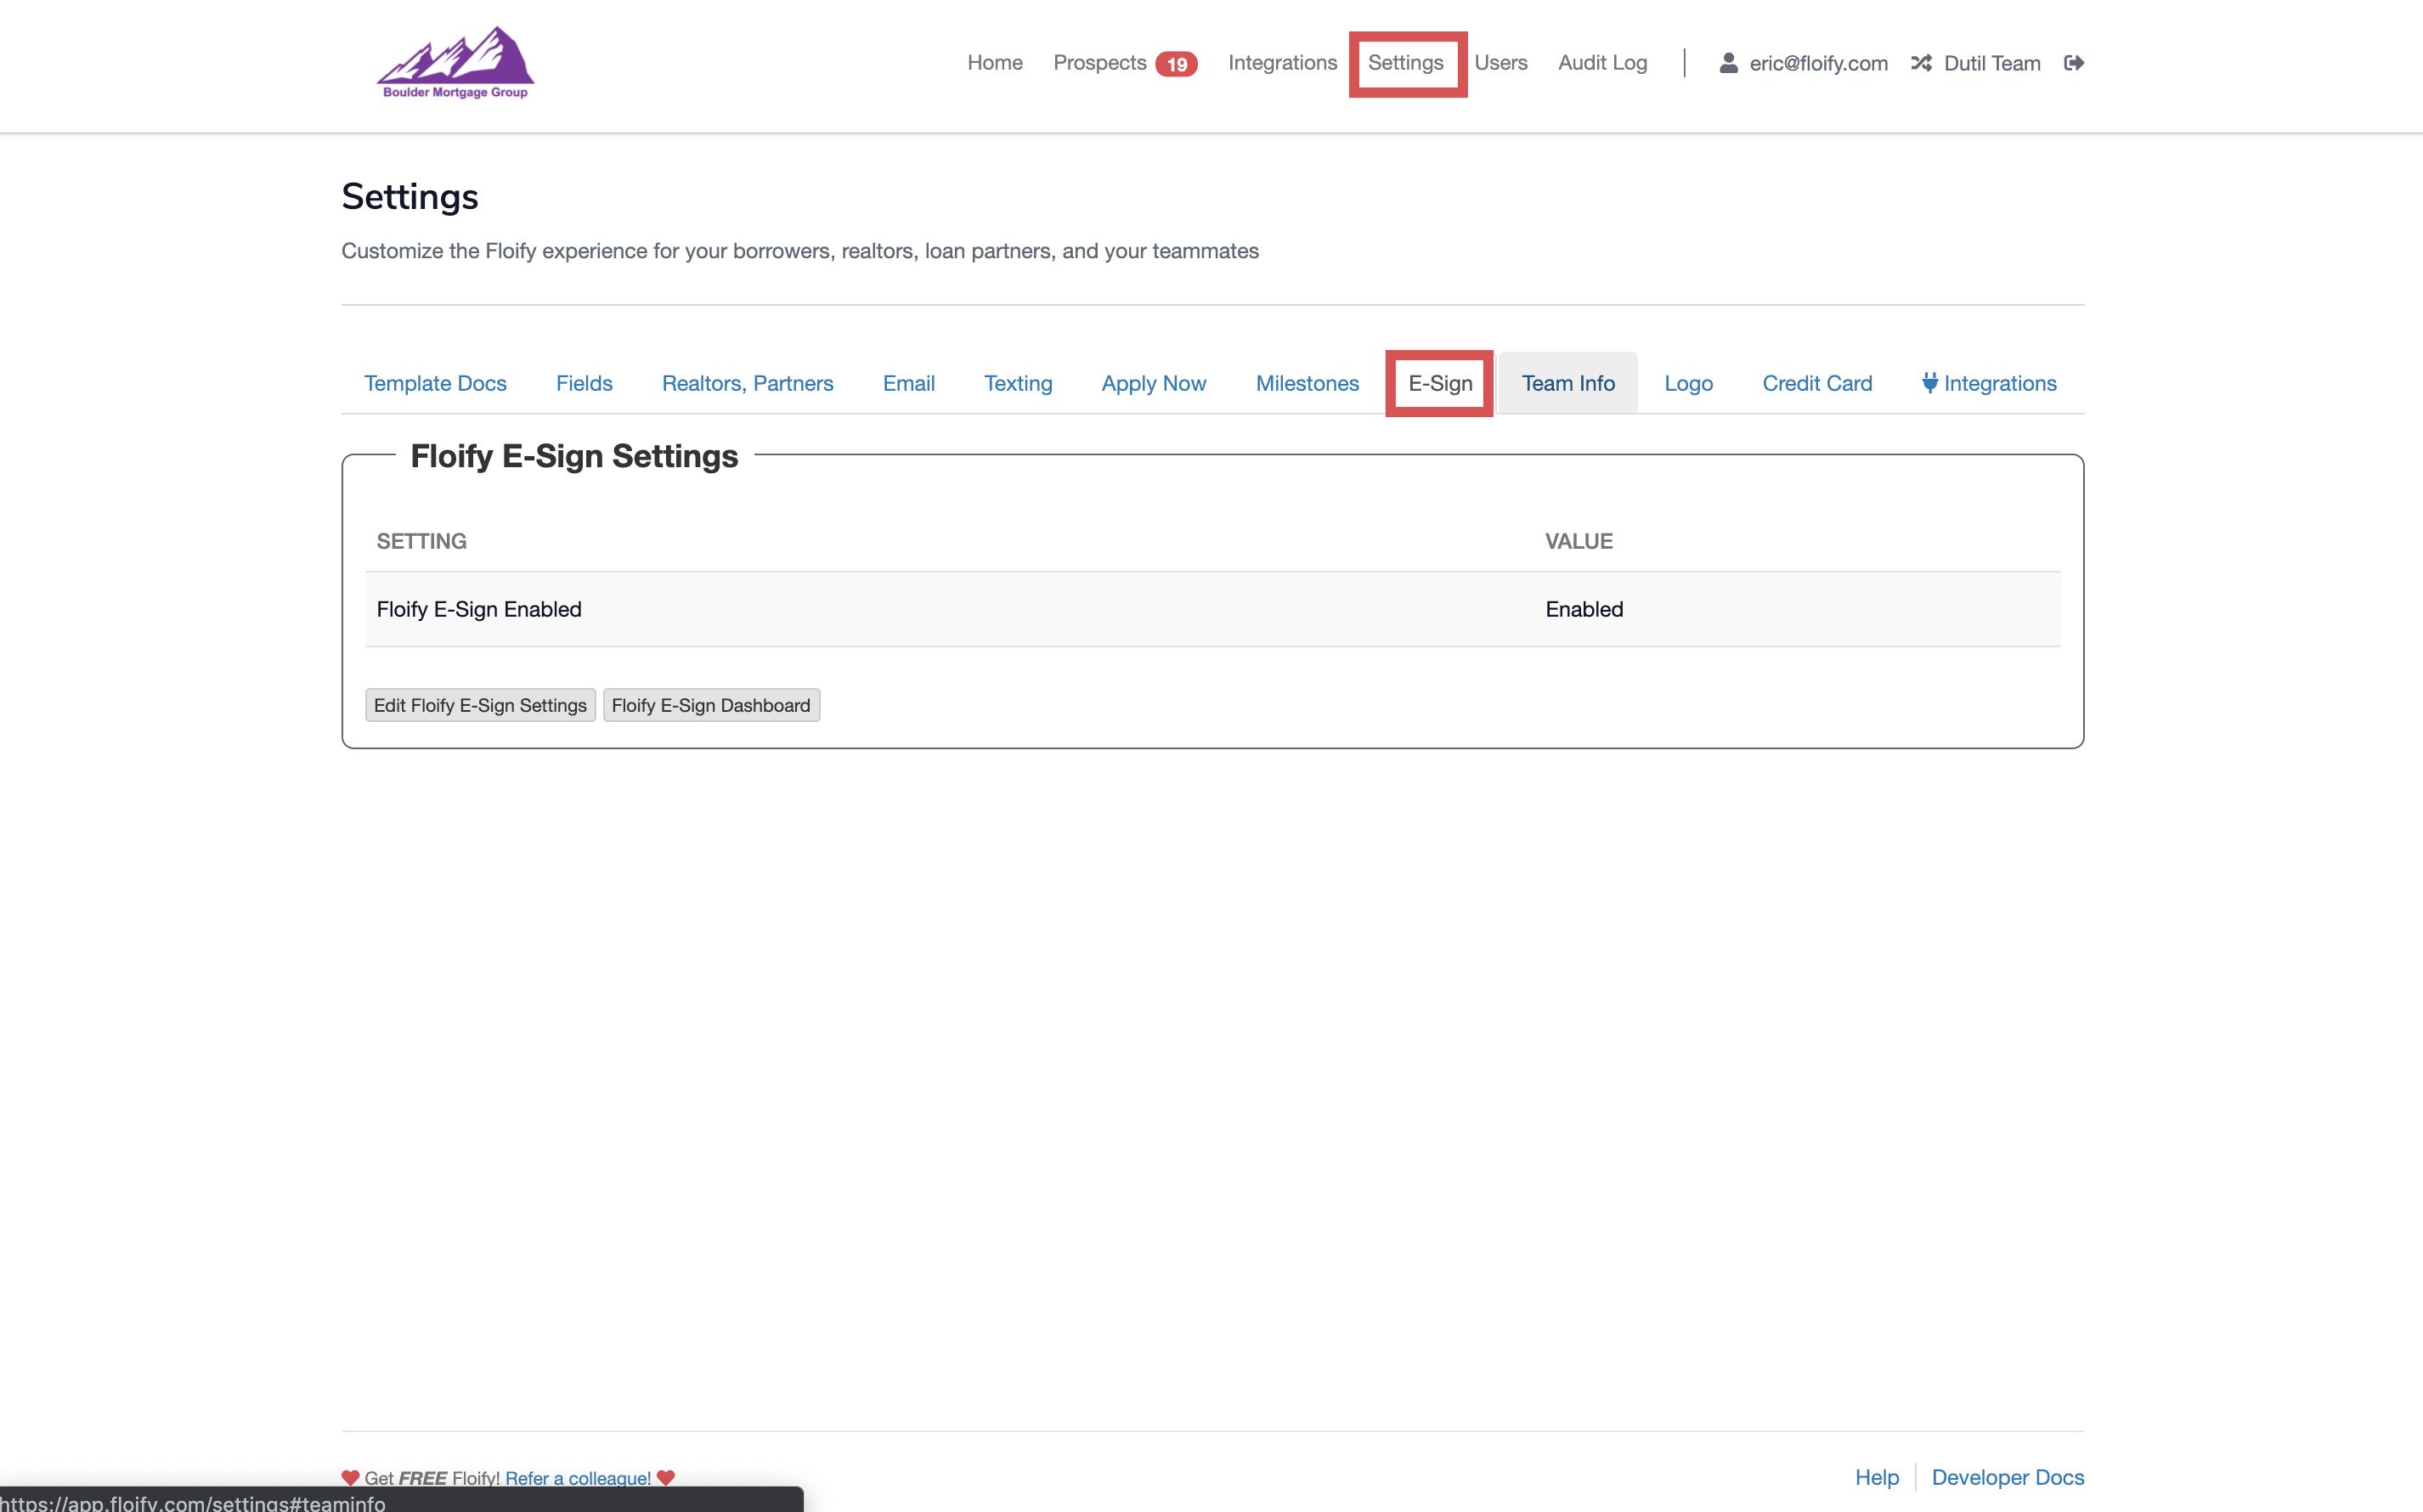
To manage your e-signature templates, from your team pipeline, navigate to Settings and select the E-Sign option:
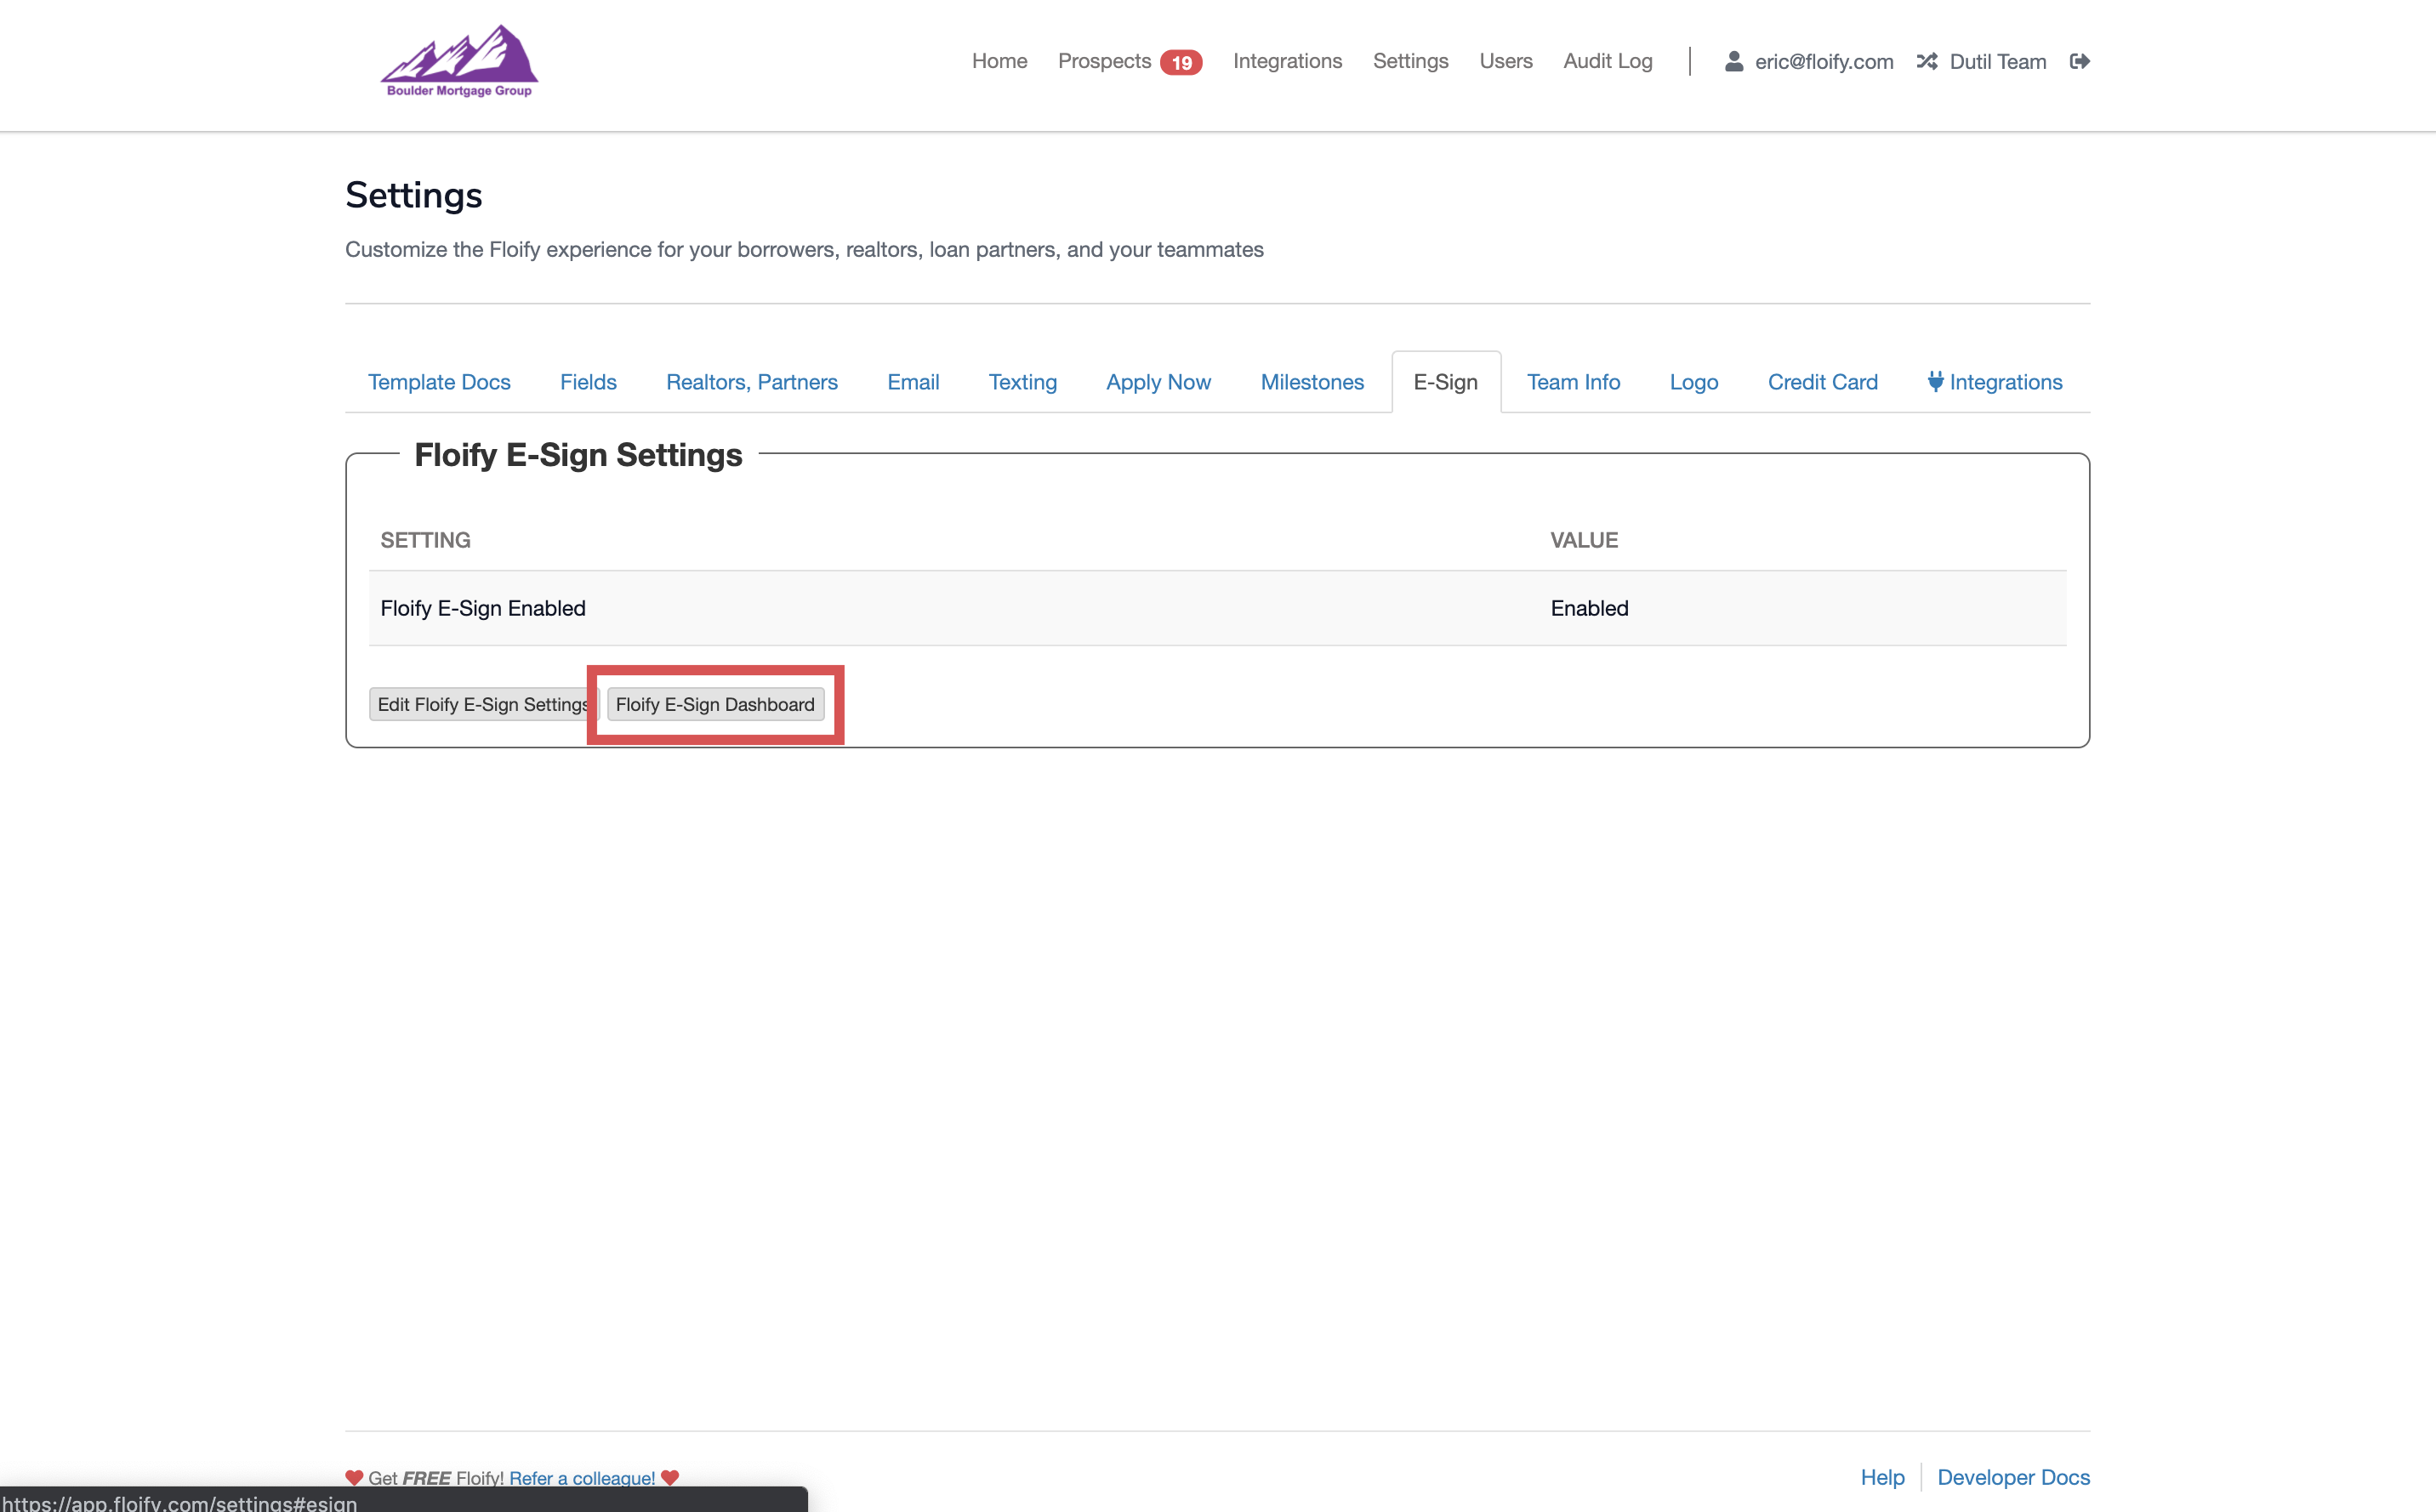
You'll see an option to navigate to the Floify E-Sign Dashboard:
Select Create template on the right hand side in blue to create a new template:

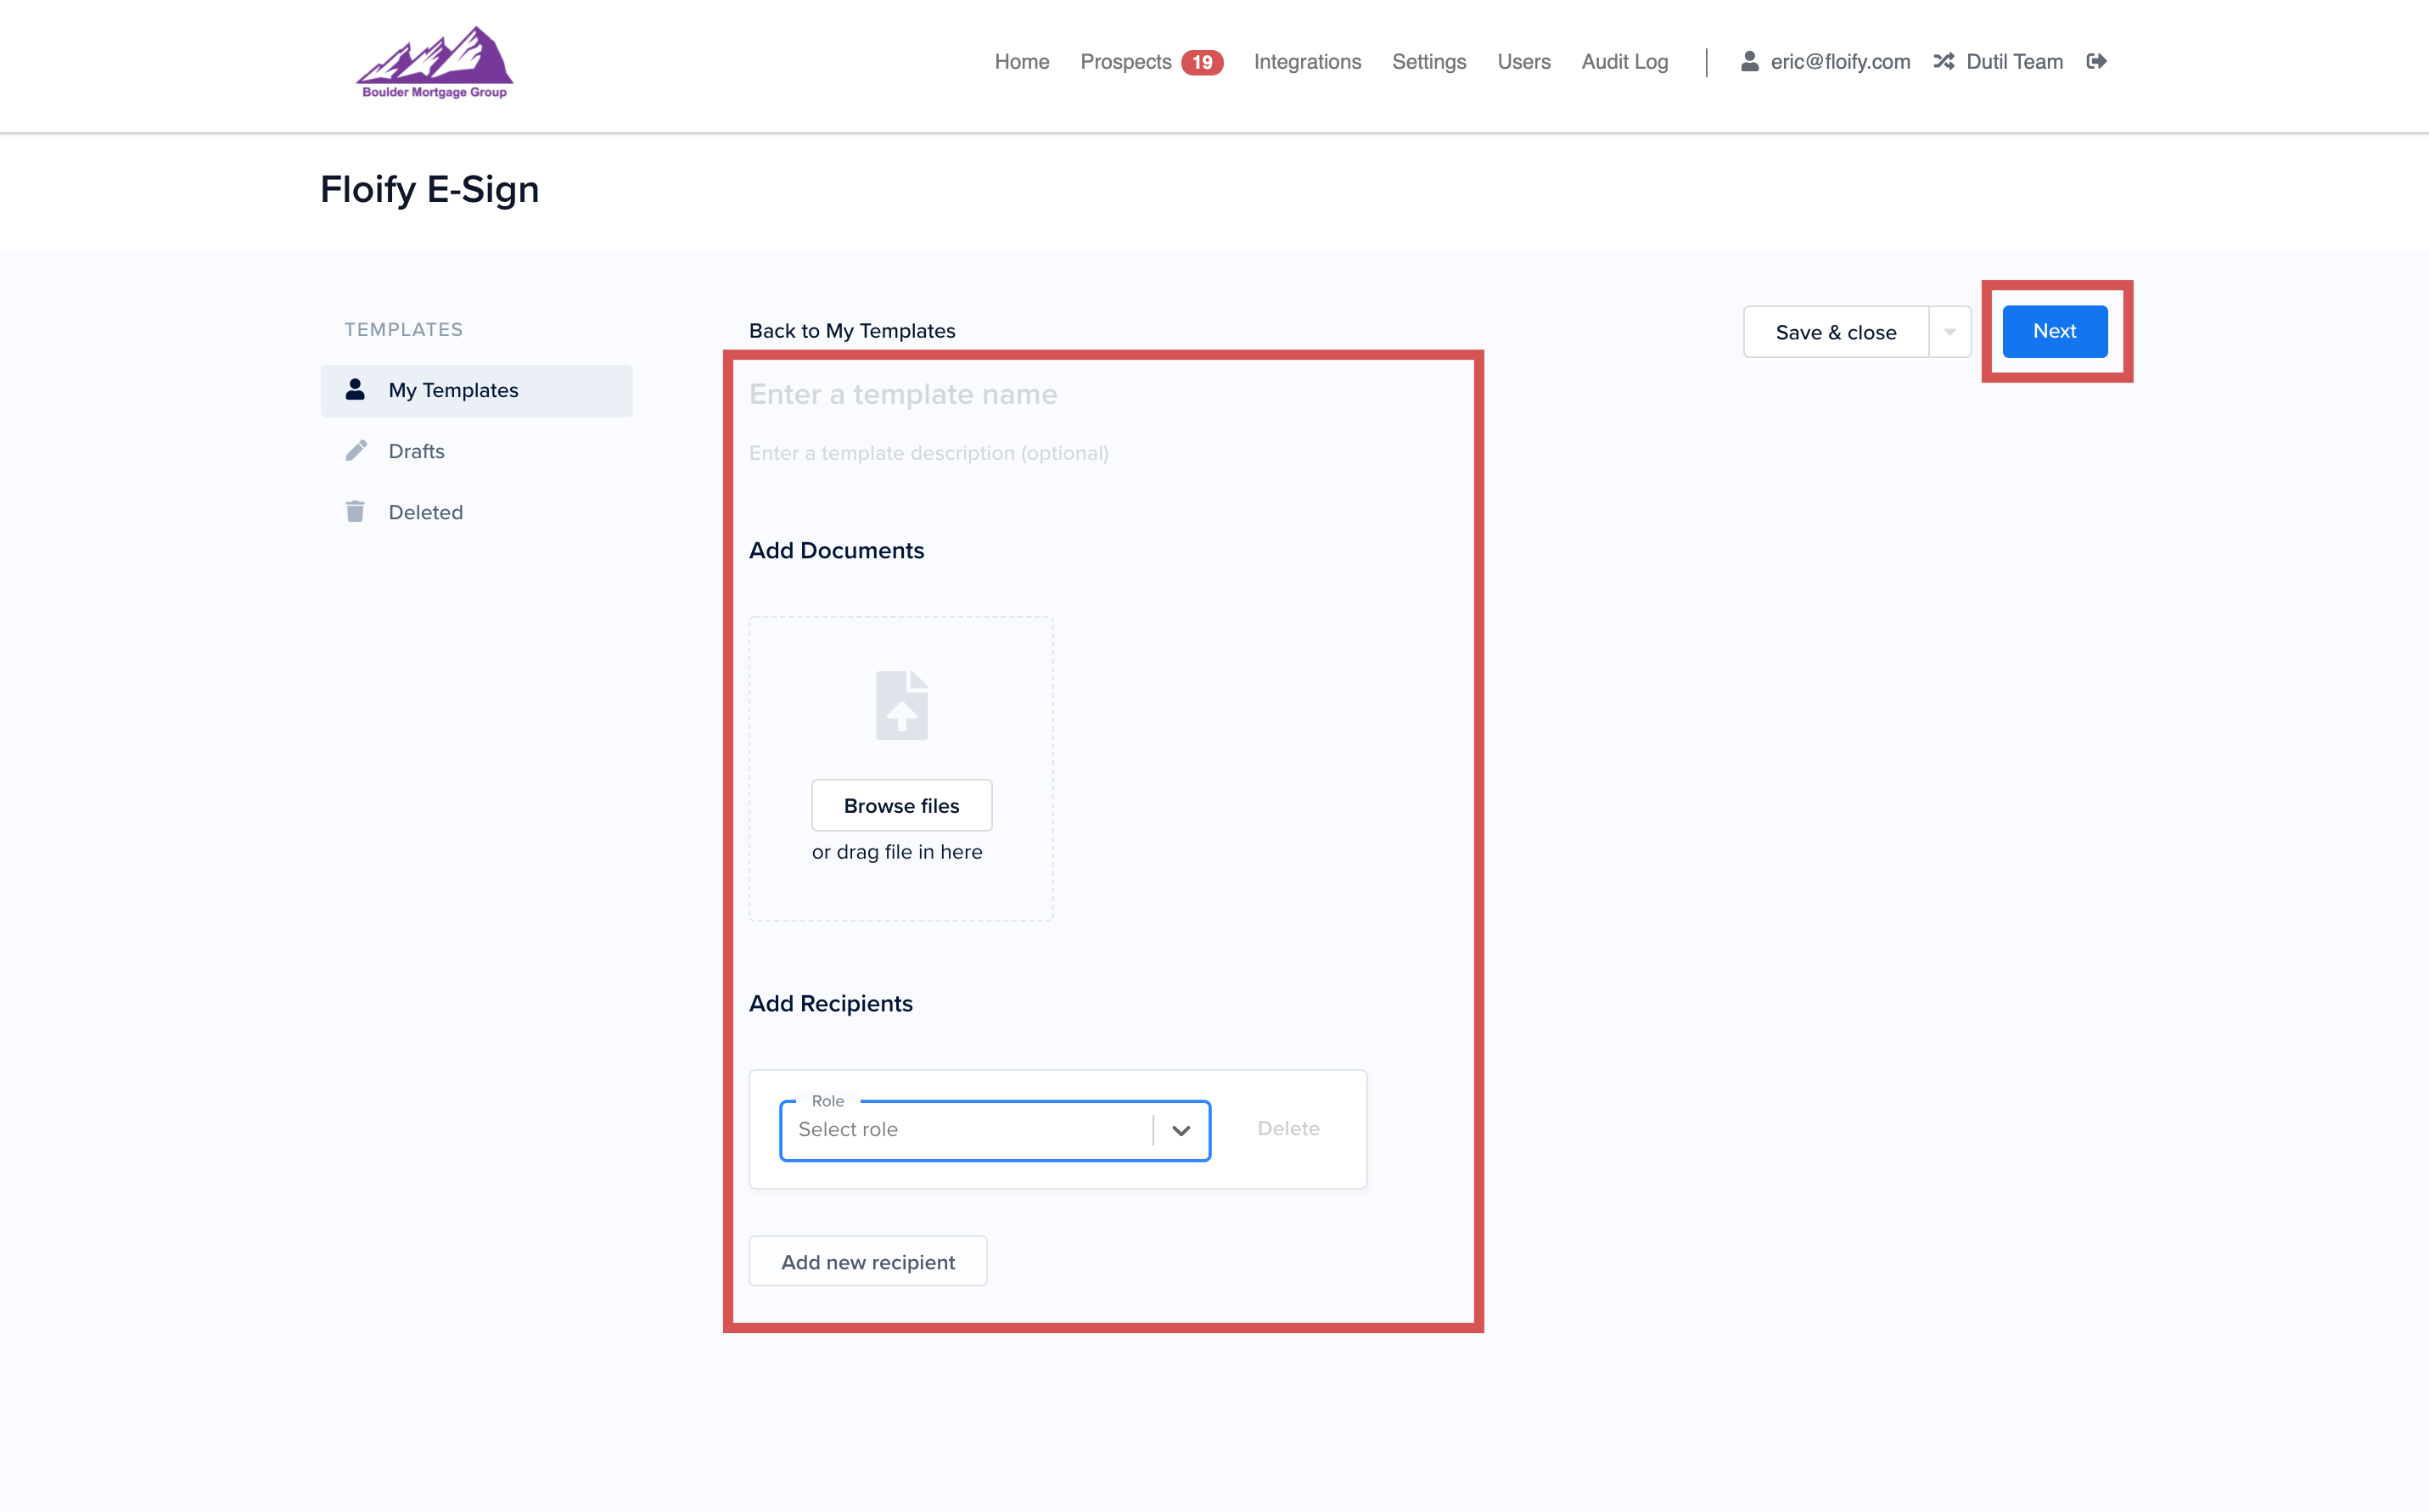
Enter a template name, template description (optional), attach a PDF for your template, and select the recipients you'd like to add. Select Next to continue:
Note: You can add new recipients by selecting the 'Add New Recipient' button near the bottom of the page.
Select the recipient with the dropdown list on the left side of the document. Drag and drop the e-sign fields on the left side onto your template. Follow the guides below to change recipients, delete fields, and copy/paste fields. Each recipient will be designated a specific color:
Note: The fields that are available for use are Signature, Initials, Date Signed, Name, Text, Checkbox, Dropdown, Radio, and Note.
Click a field on the template, and select the Delete option to remove the field from the template:

Change the recipient of a field already on the template by clicking the field and using the dropdown menu to select the recipient:
You can also easily find additional pages in the template by selecting the icon near the right corner:
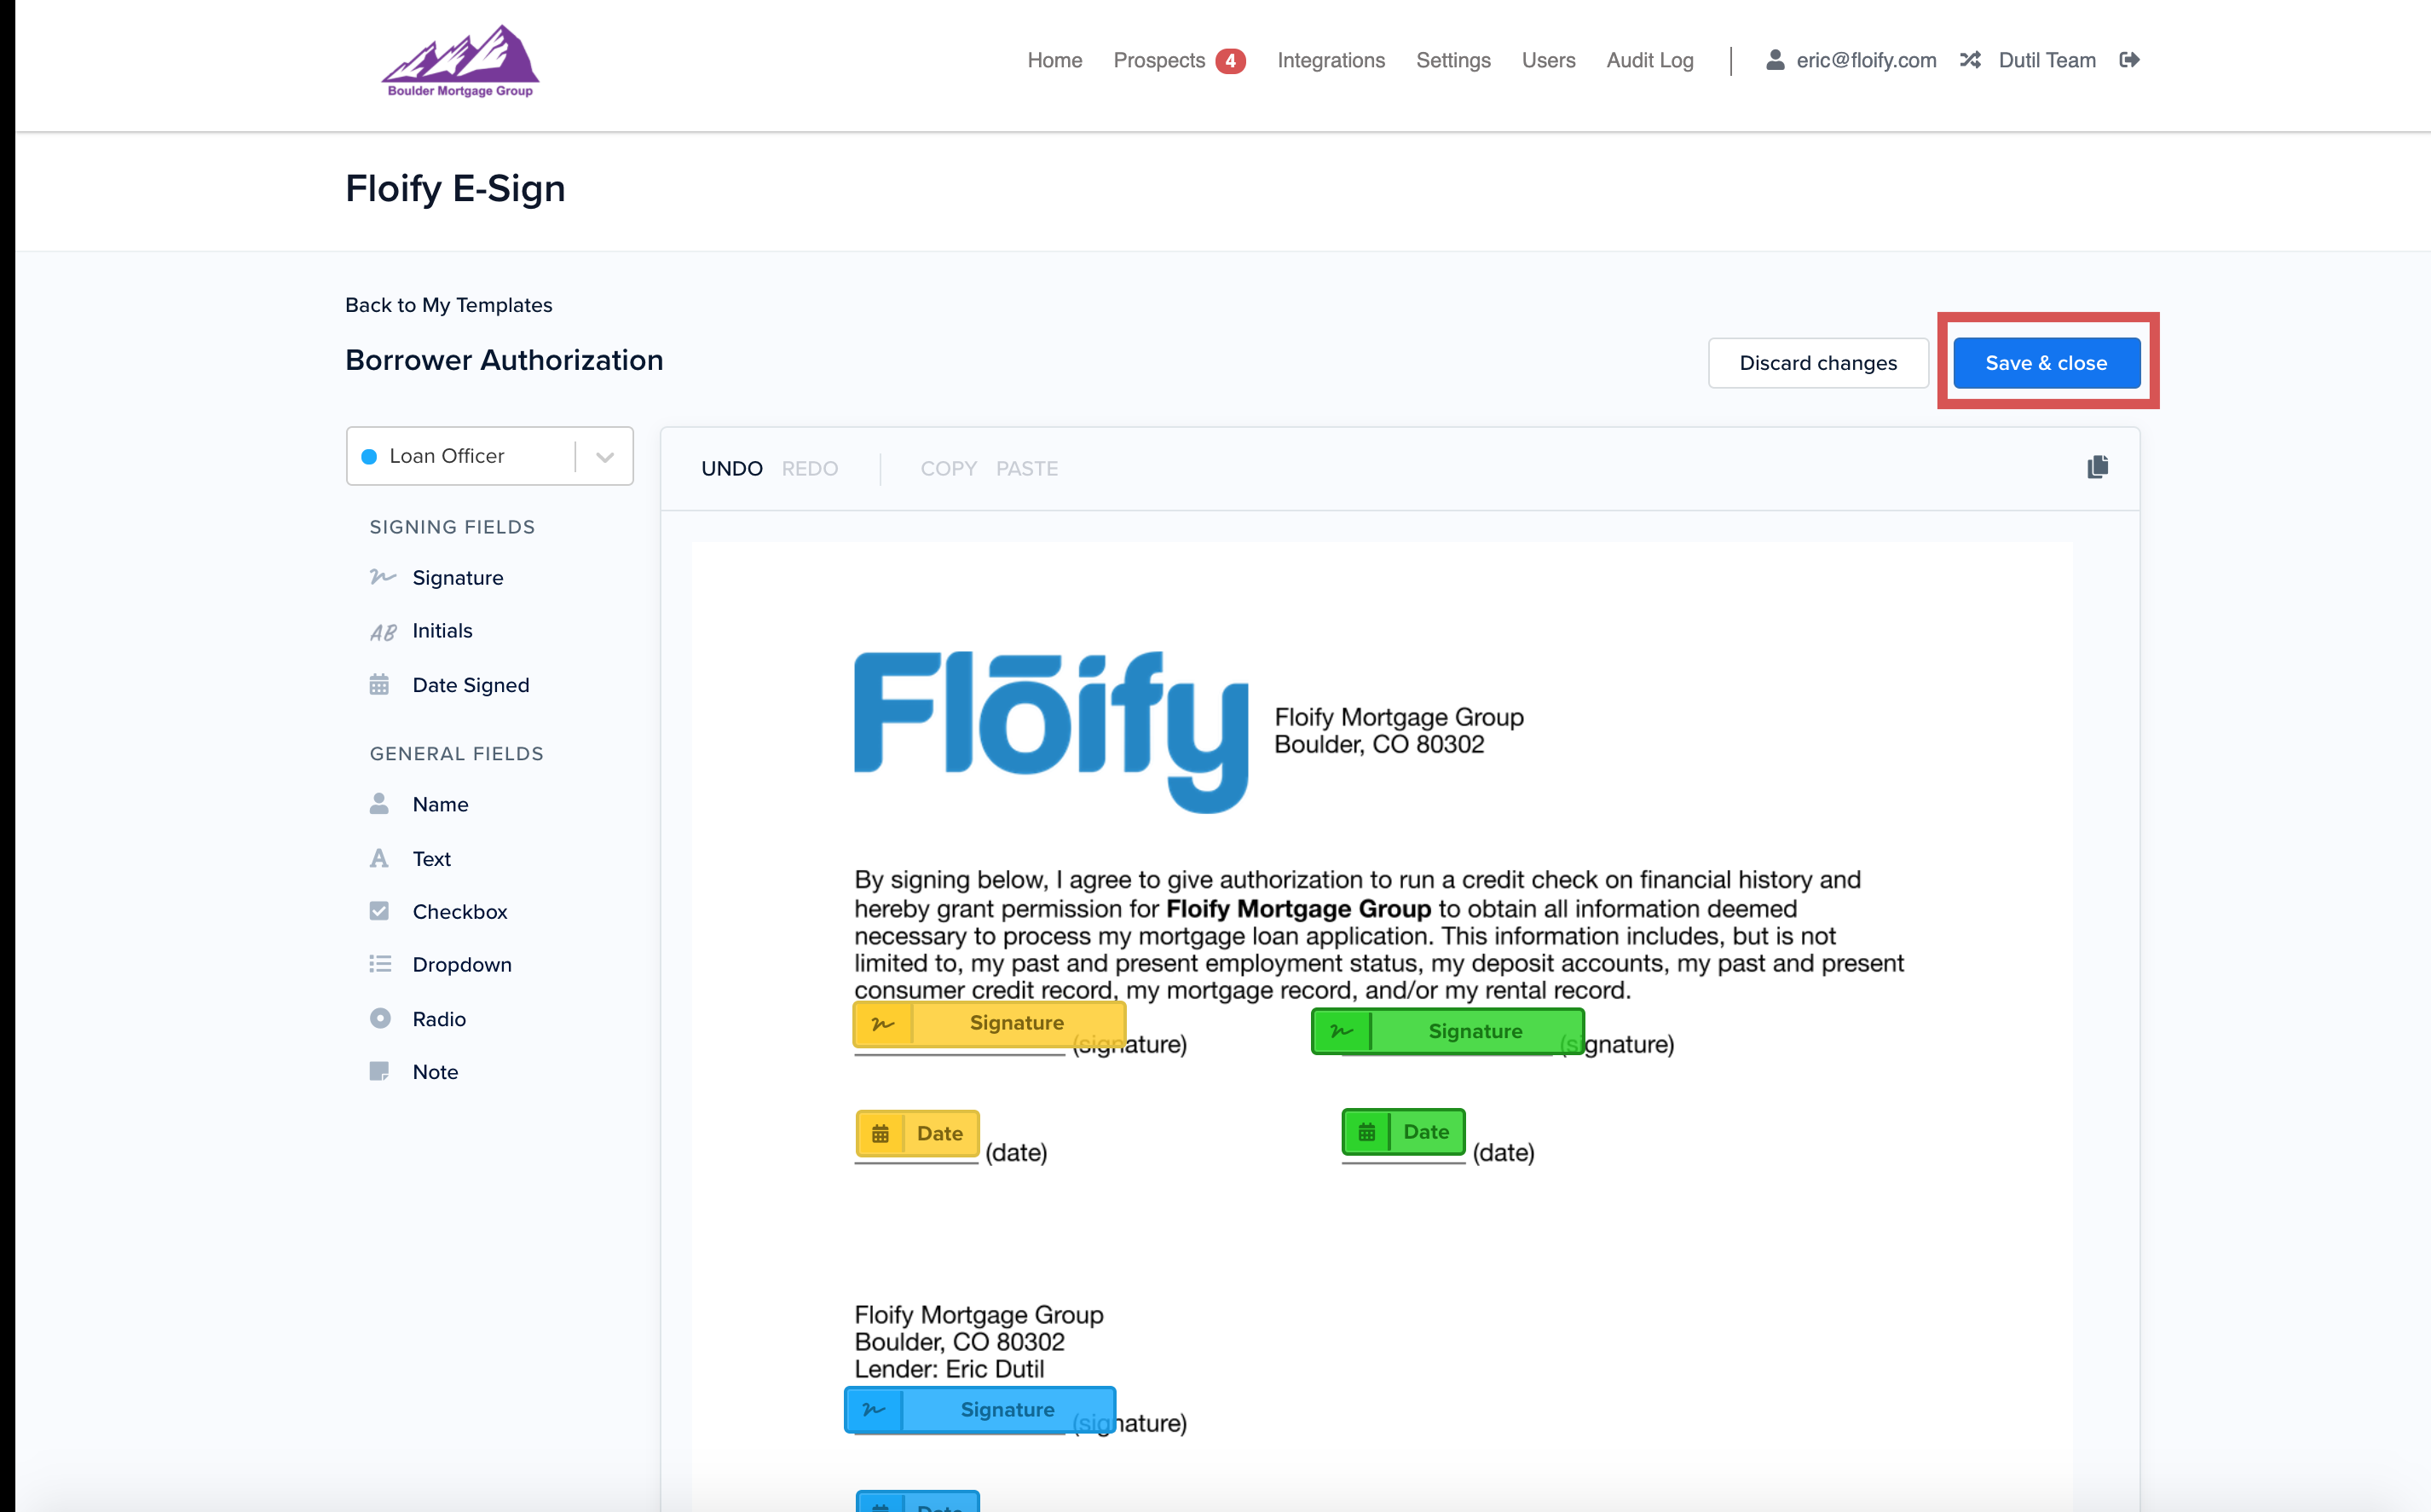
Select Save and Close in the top right hand corner in blue to save your template:
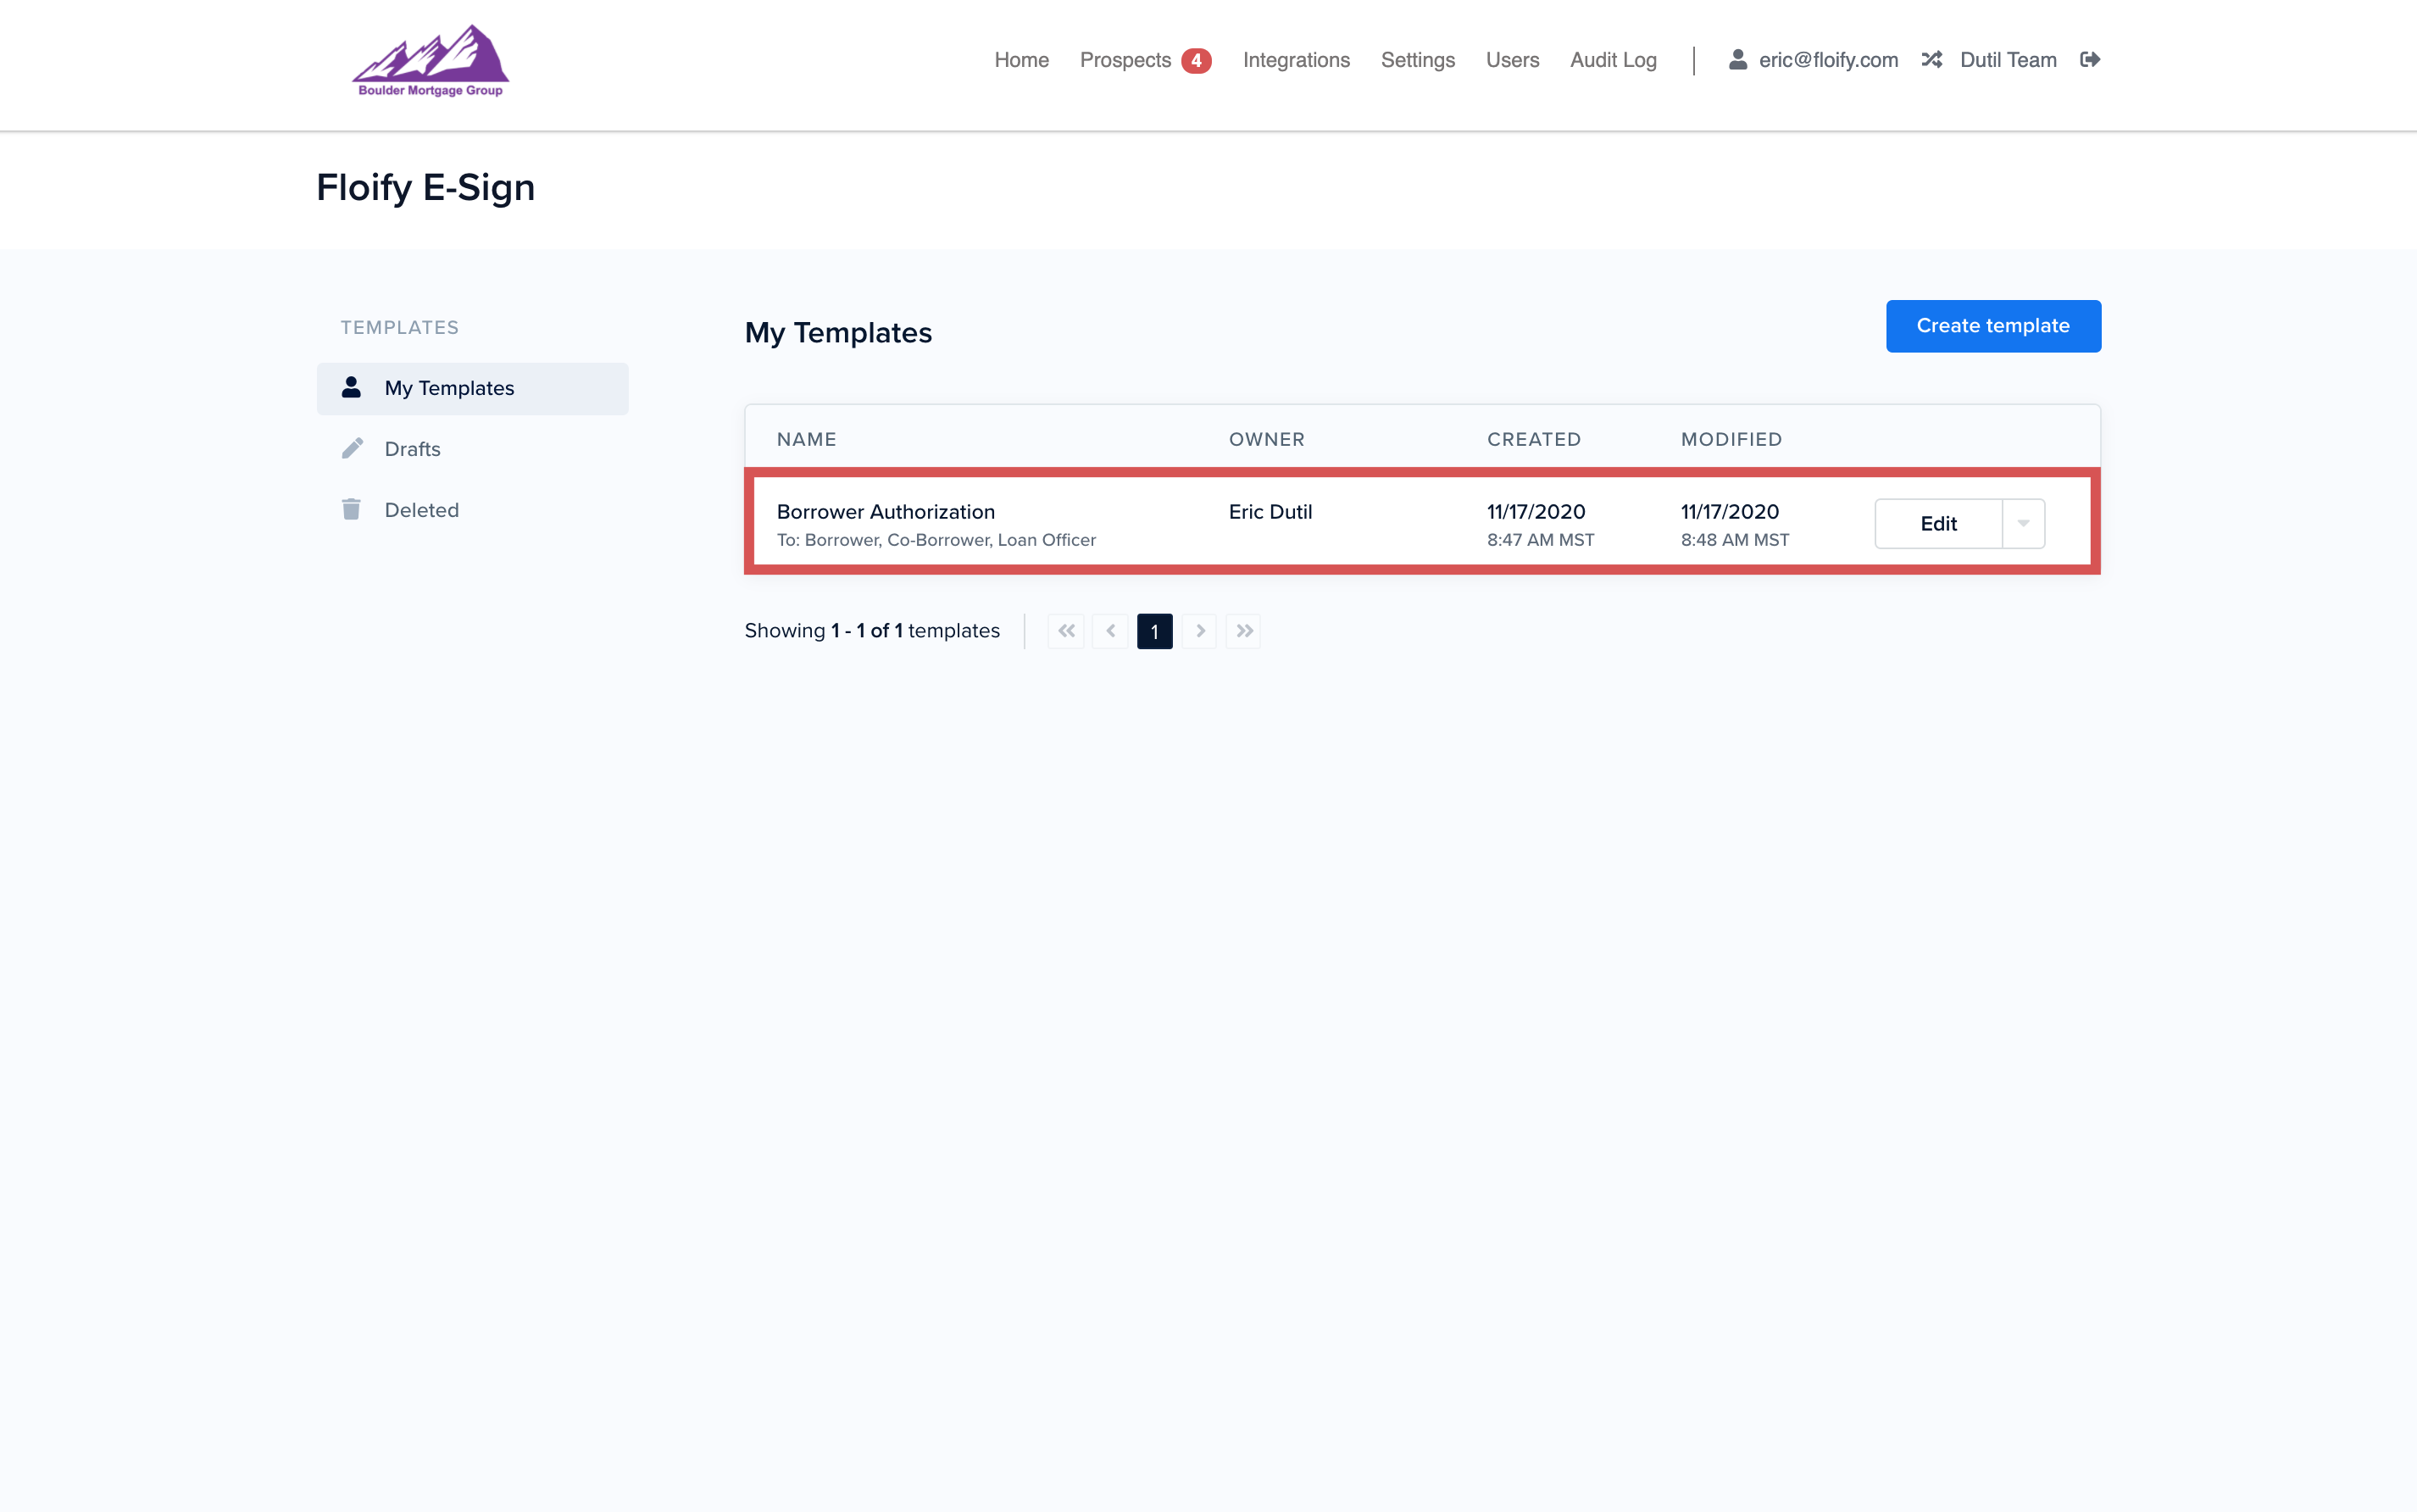
Once the template is saved, it will be visible to you under My Templates:
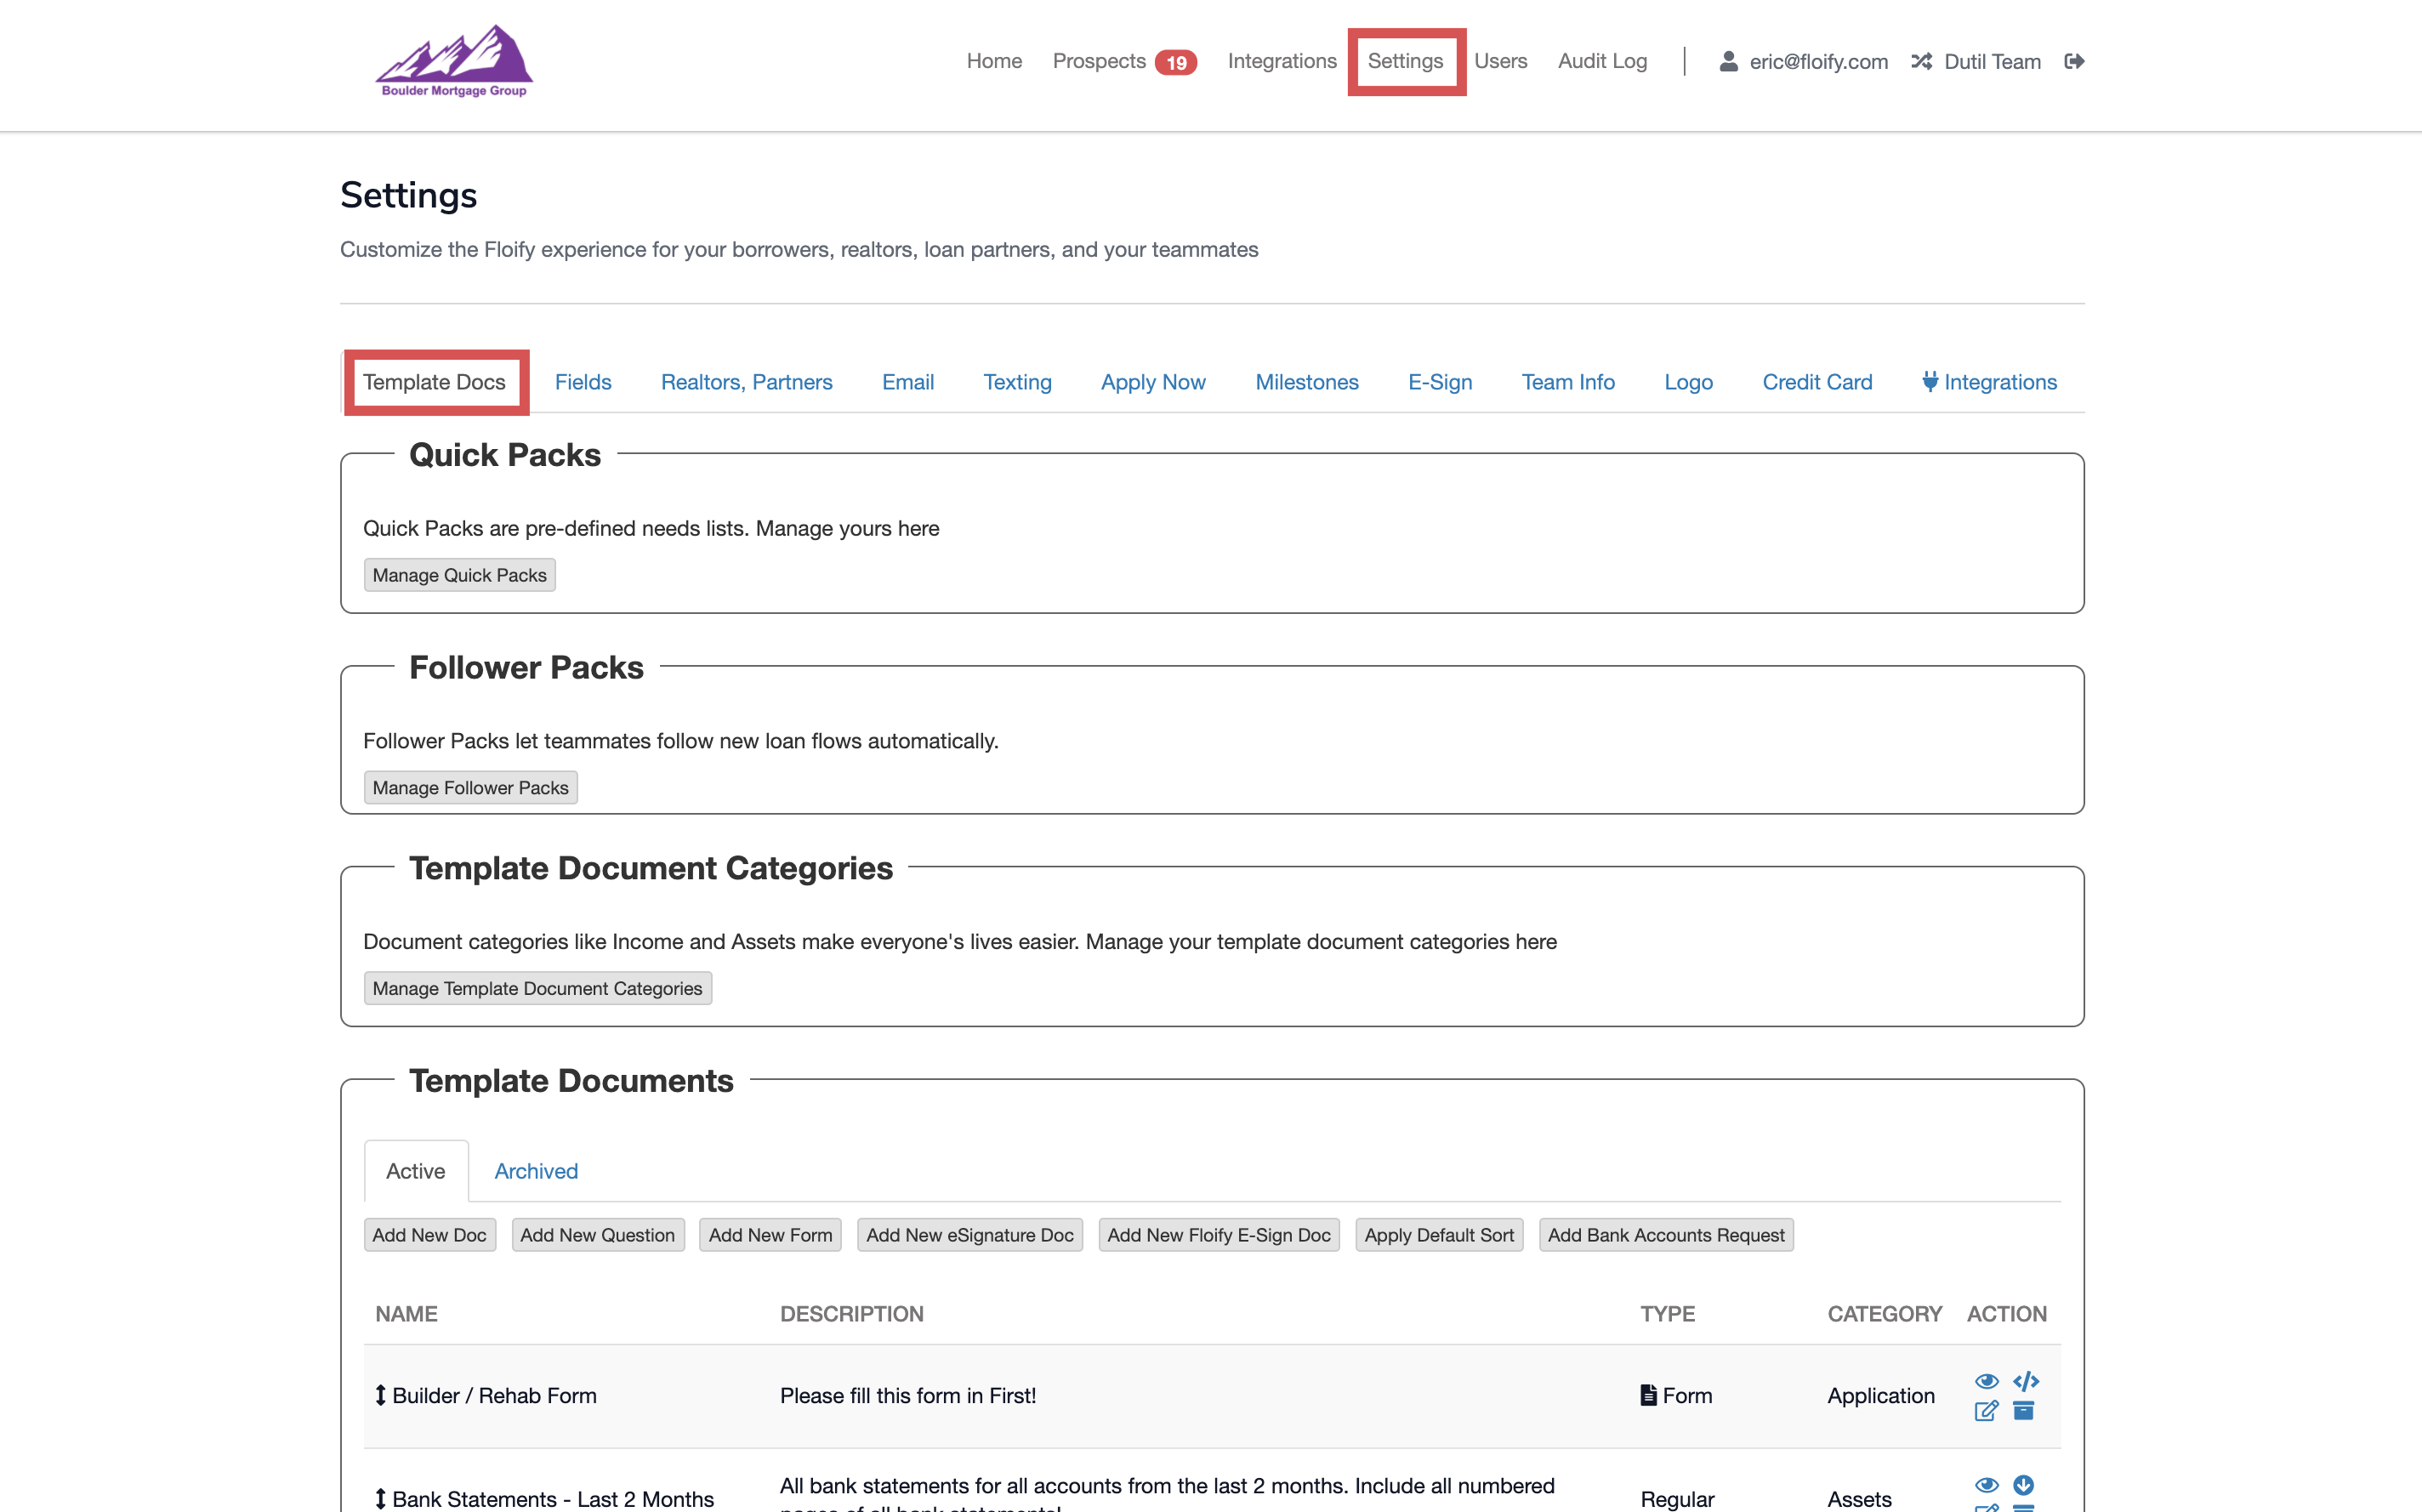
To add this as a Floify e-signature template to request, navigate to Settings > Template Docs:
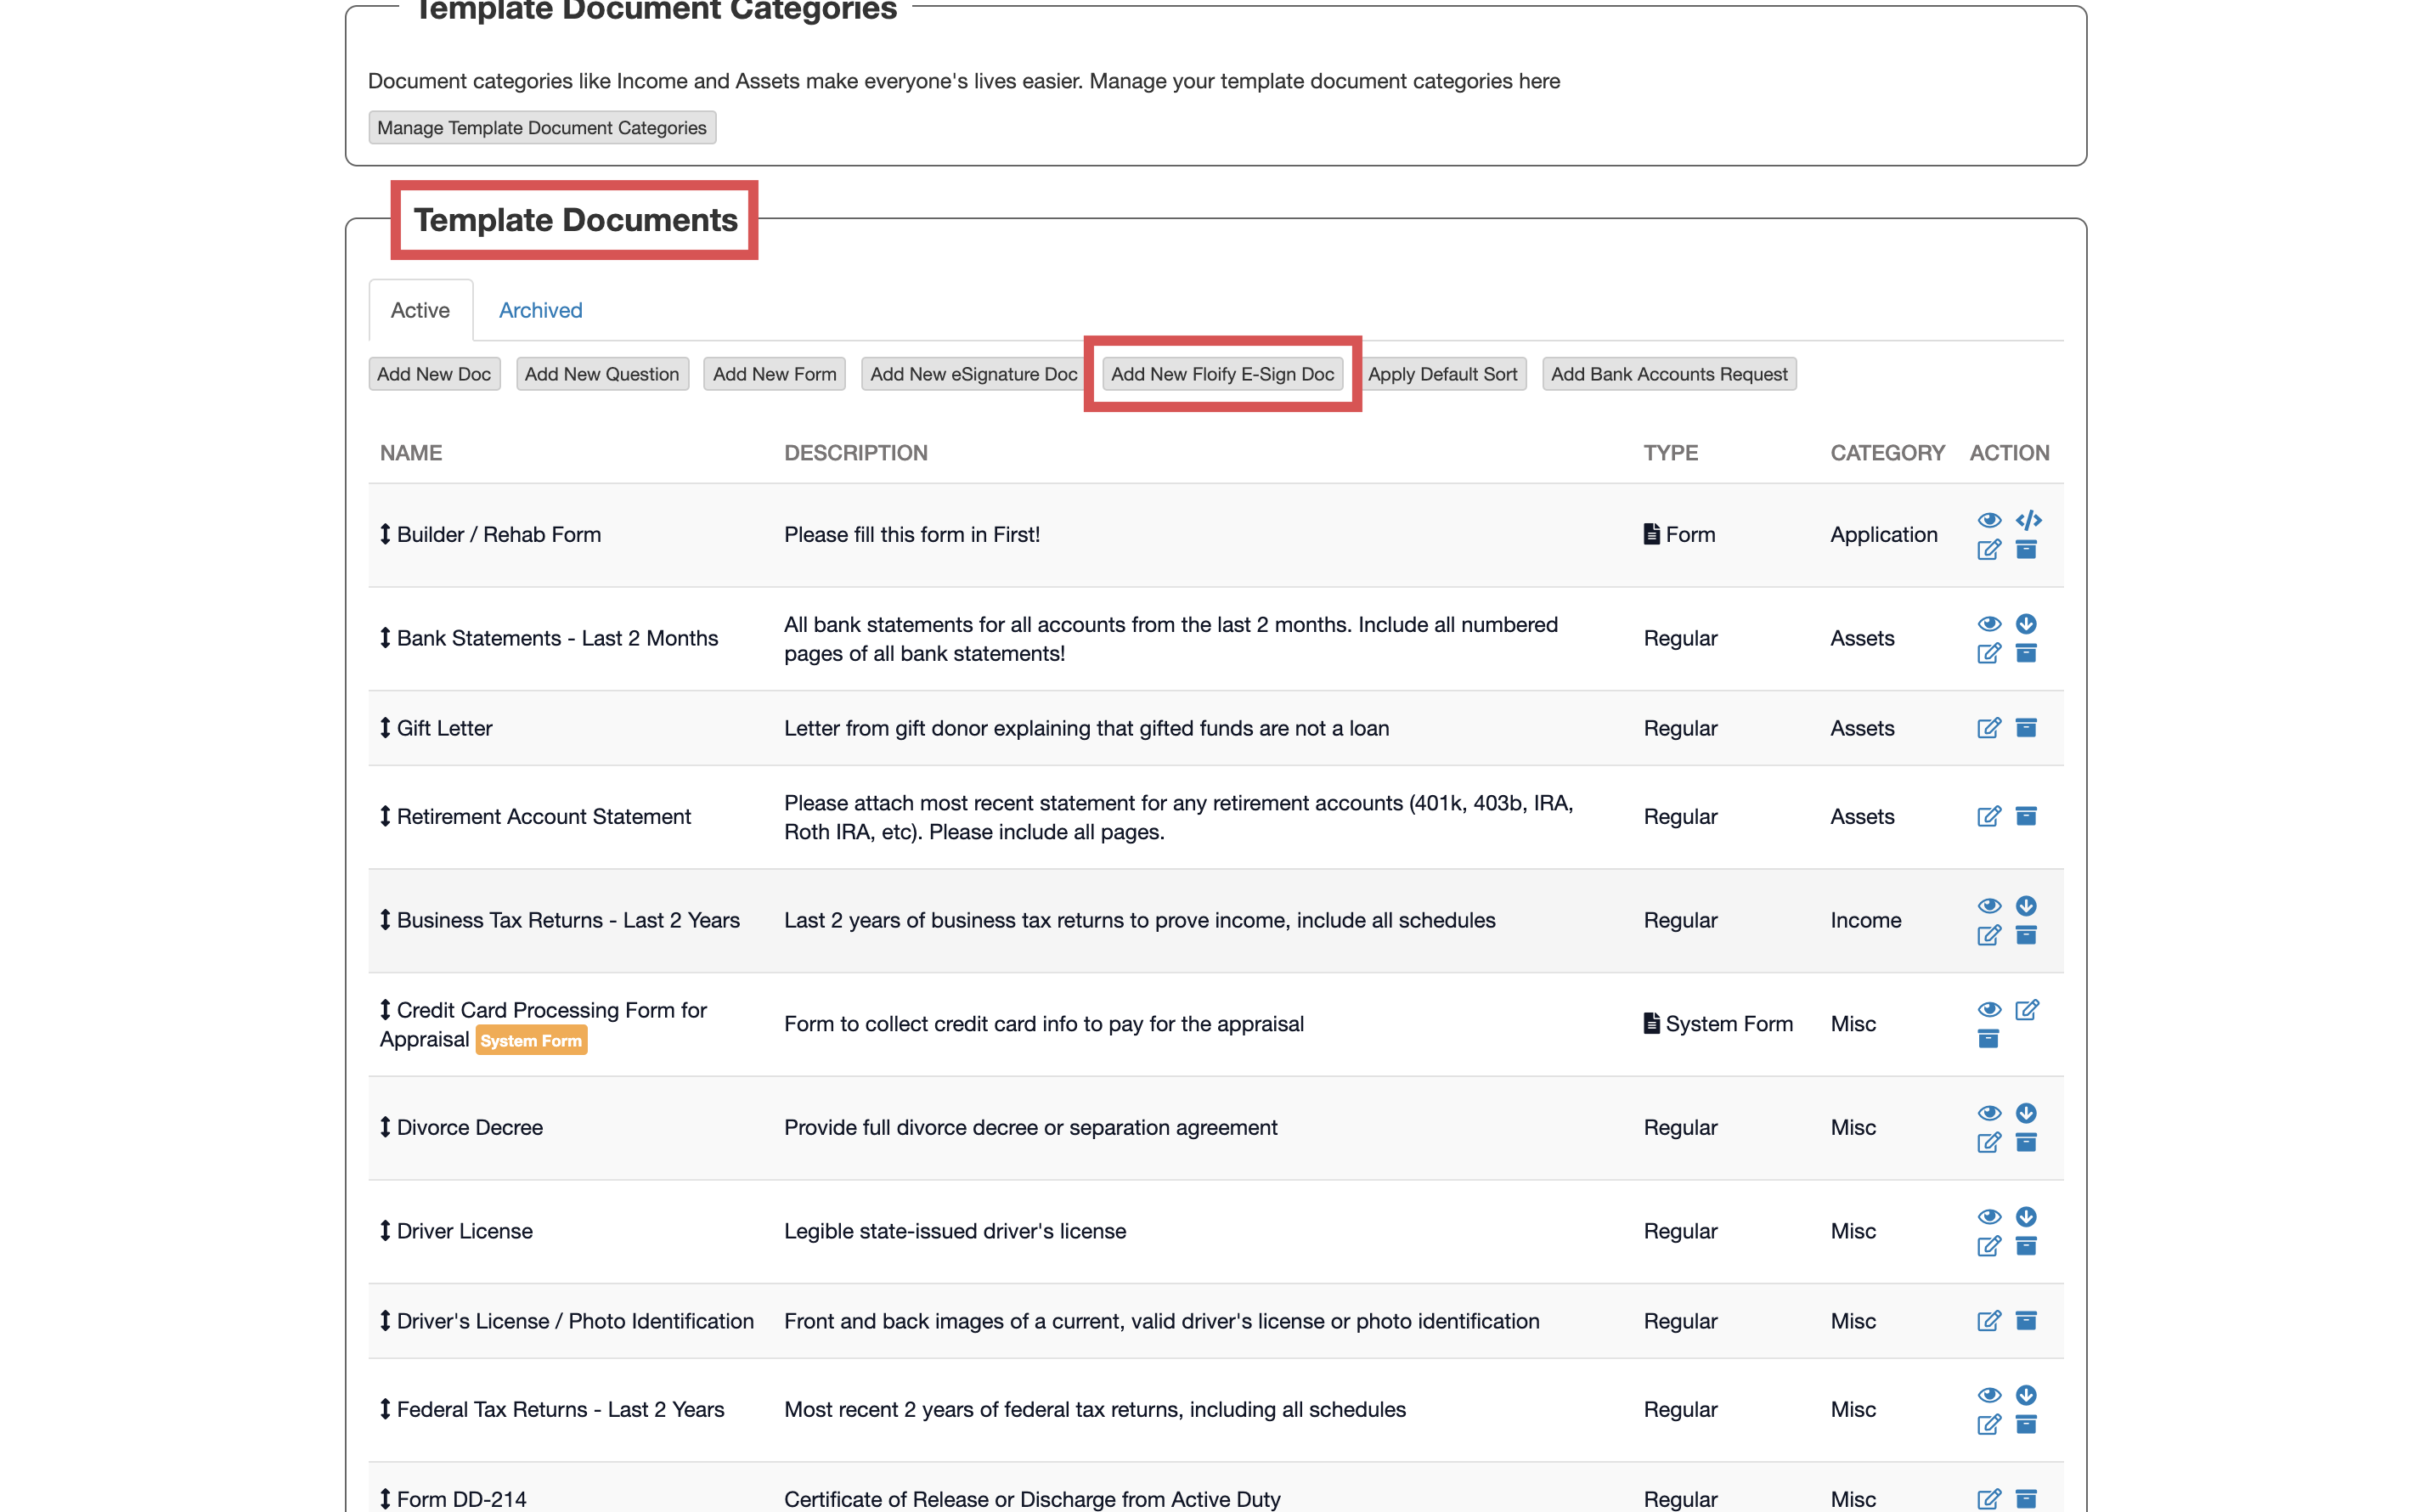
Scroll down to Template Documents and select the Add New Floify E-Sign Doc option:
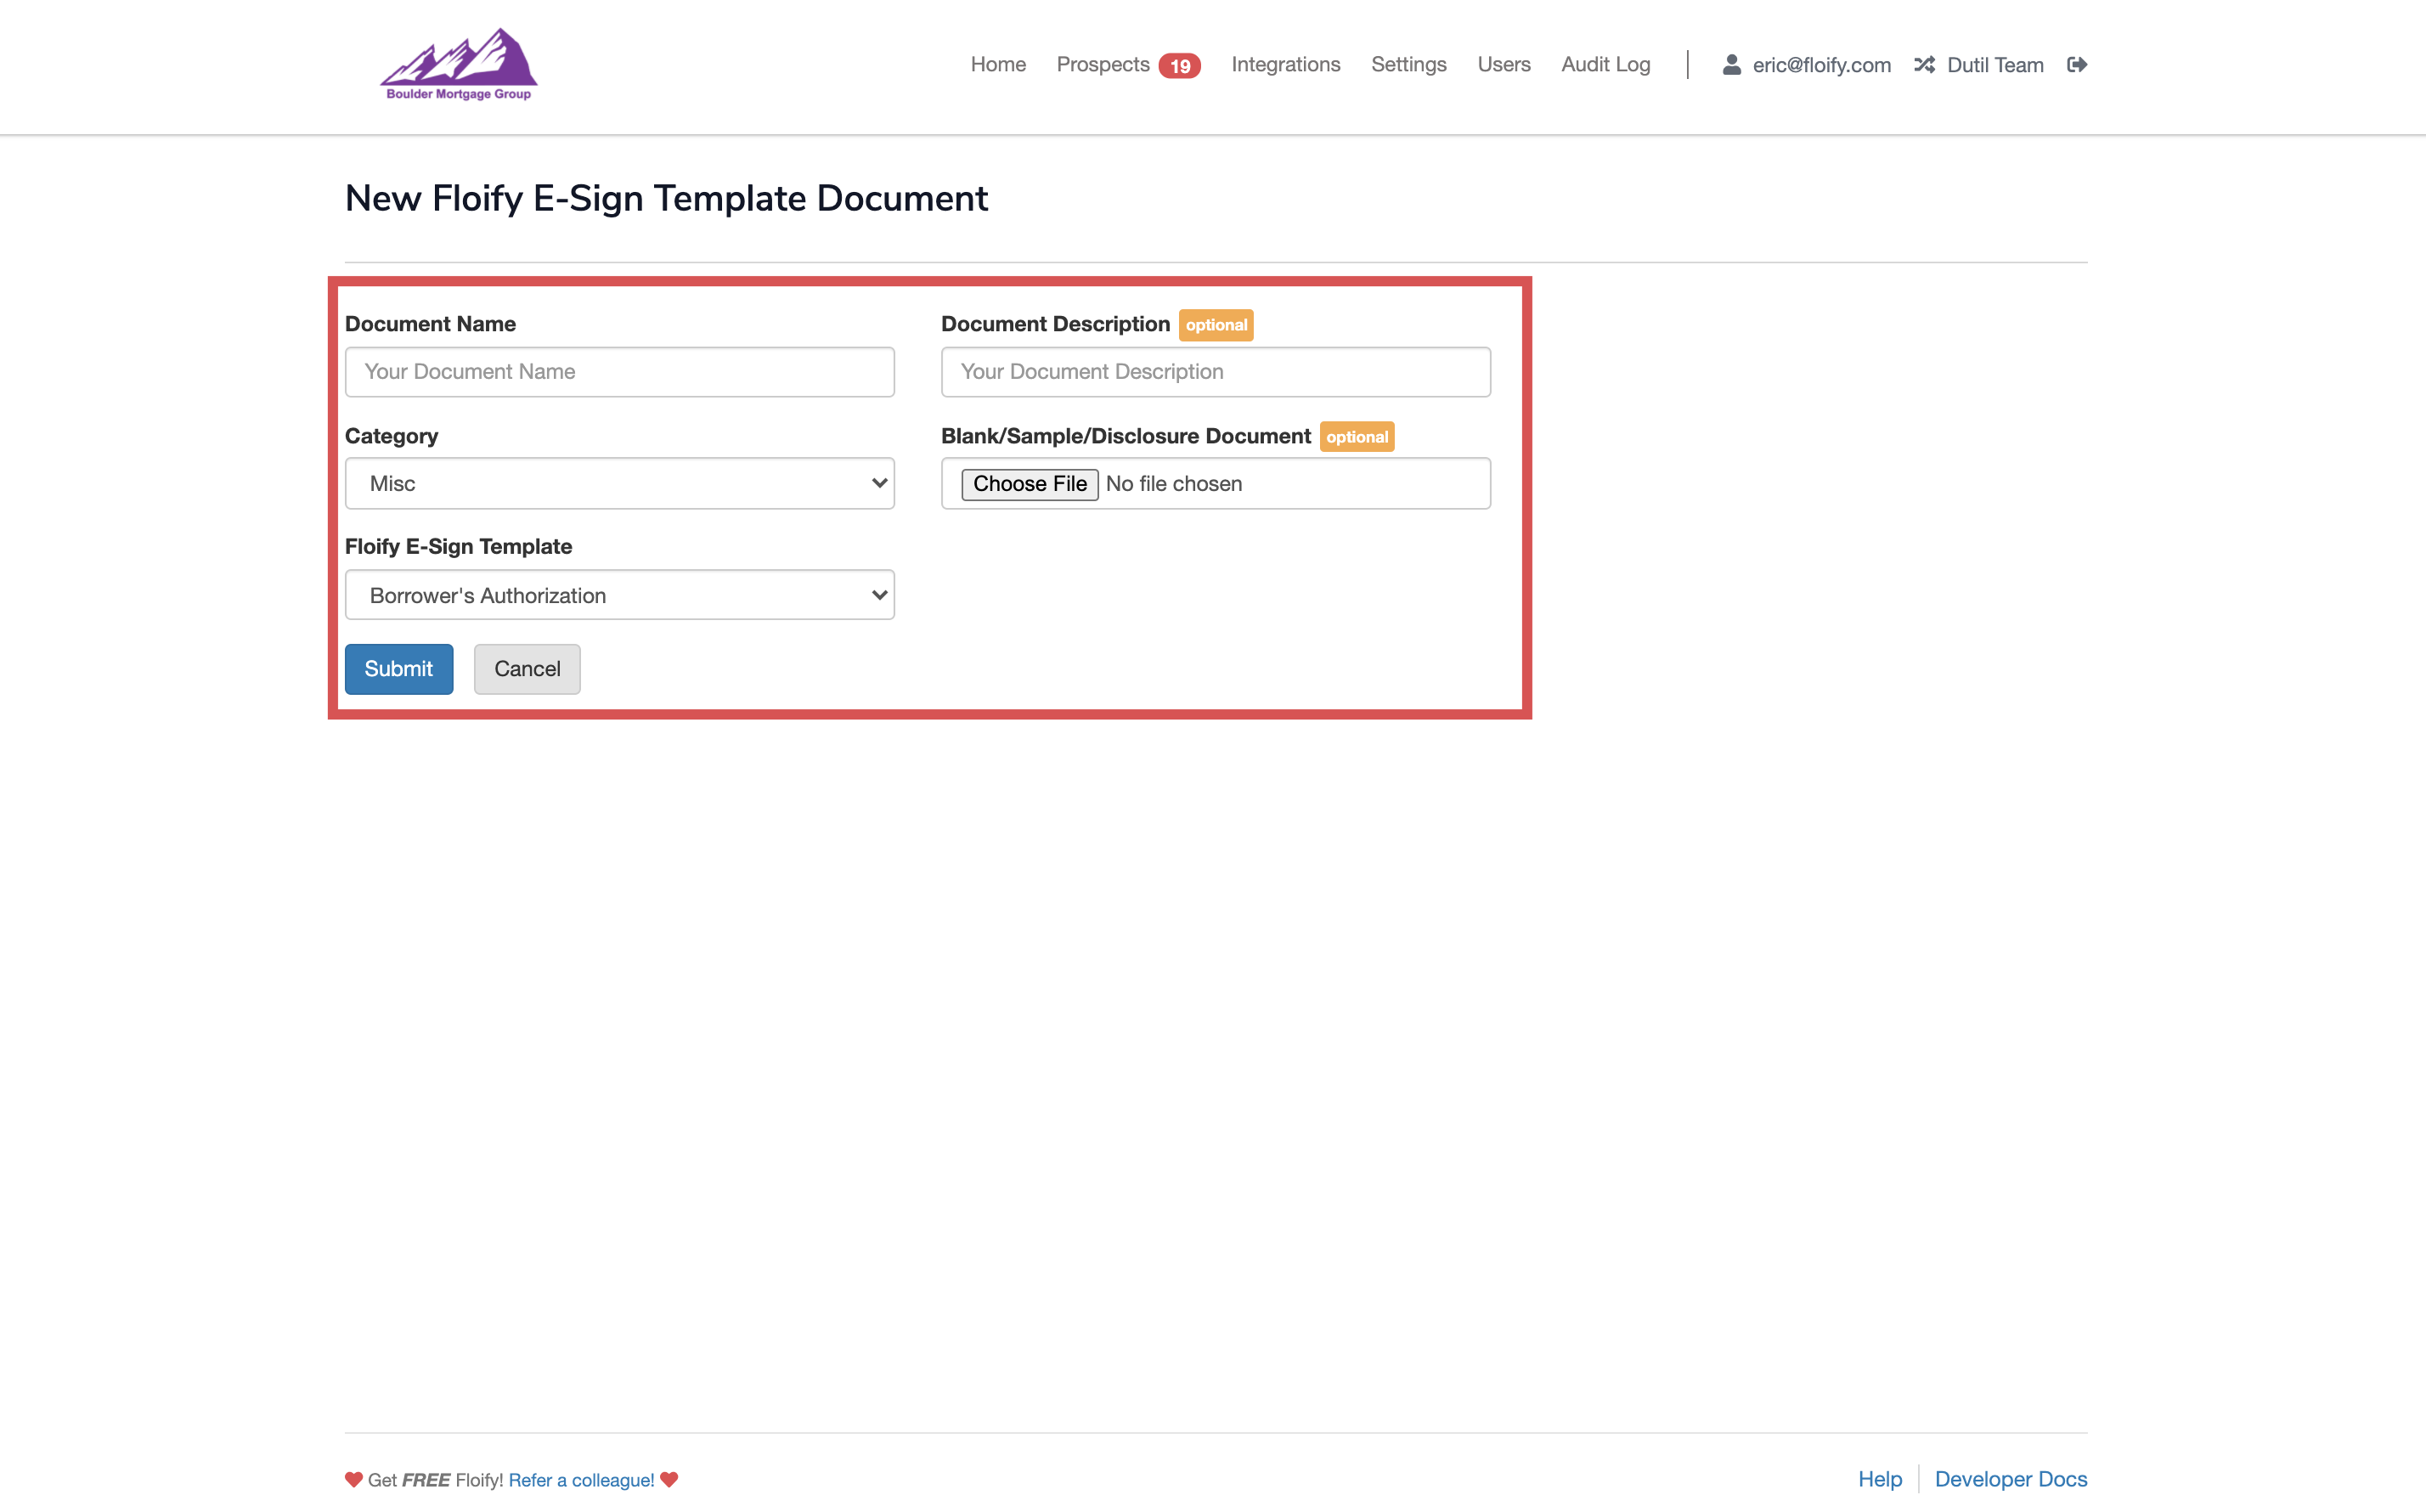
Enter your document name, document description, attach a PDF document, select a document category, and select your Floify E-Sign template. Make sure you select Submit to confirm the change:
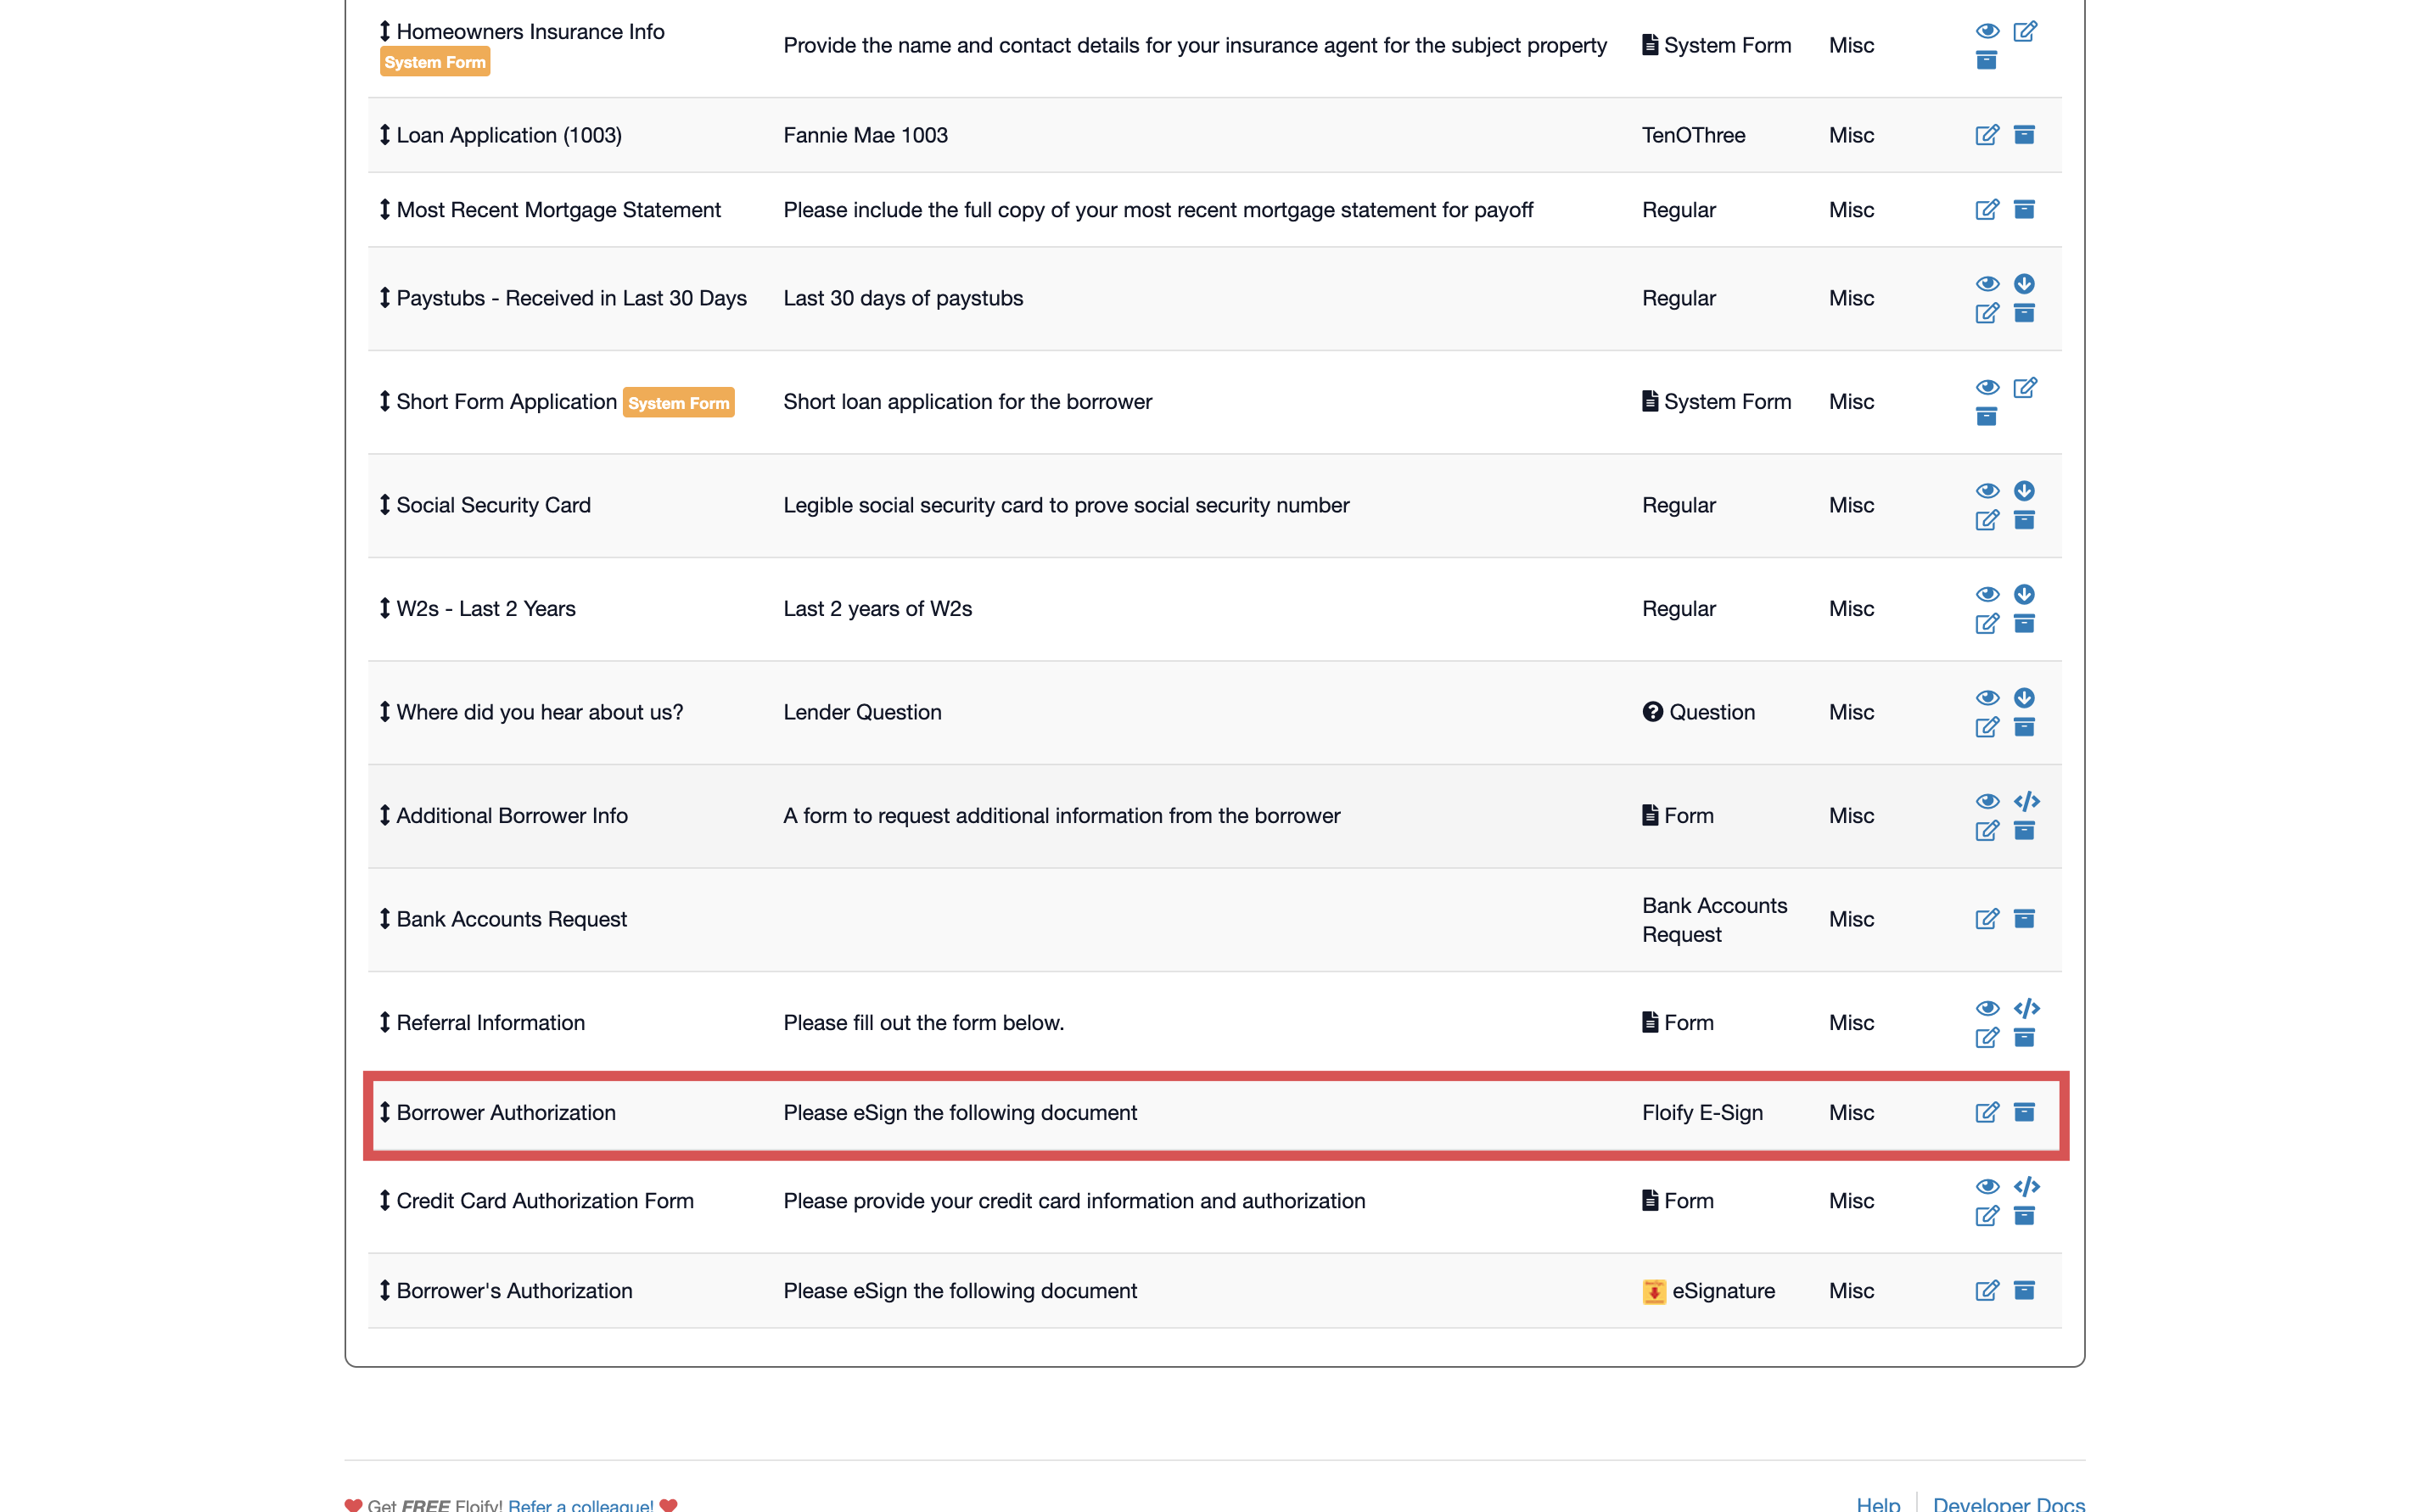
The document will now show up in your list of template documents and is available to request from your borrowers whenever you need:
E-Signing From the Borrower Portal
Once the borrower has logged in, they will see the e-signature document in their Docs Owed. The borrower will have action icons on the right to view the template, download the template, or sign the document:

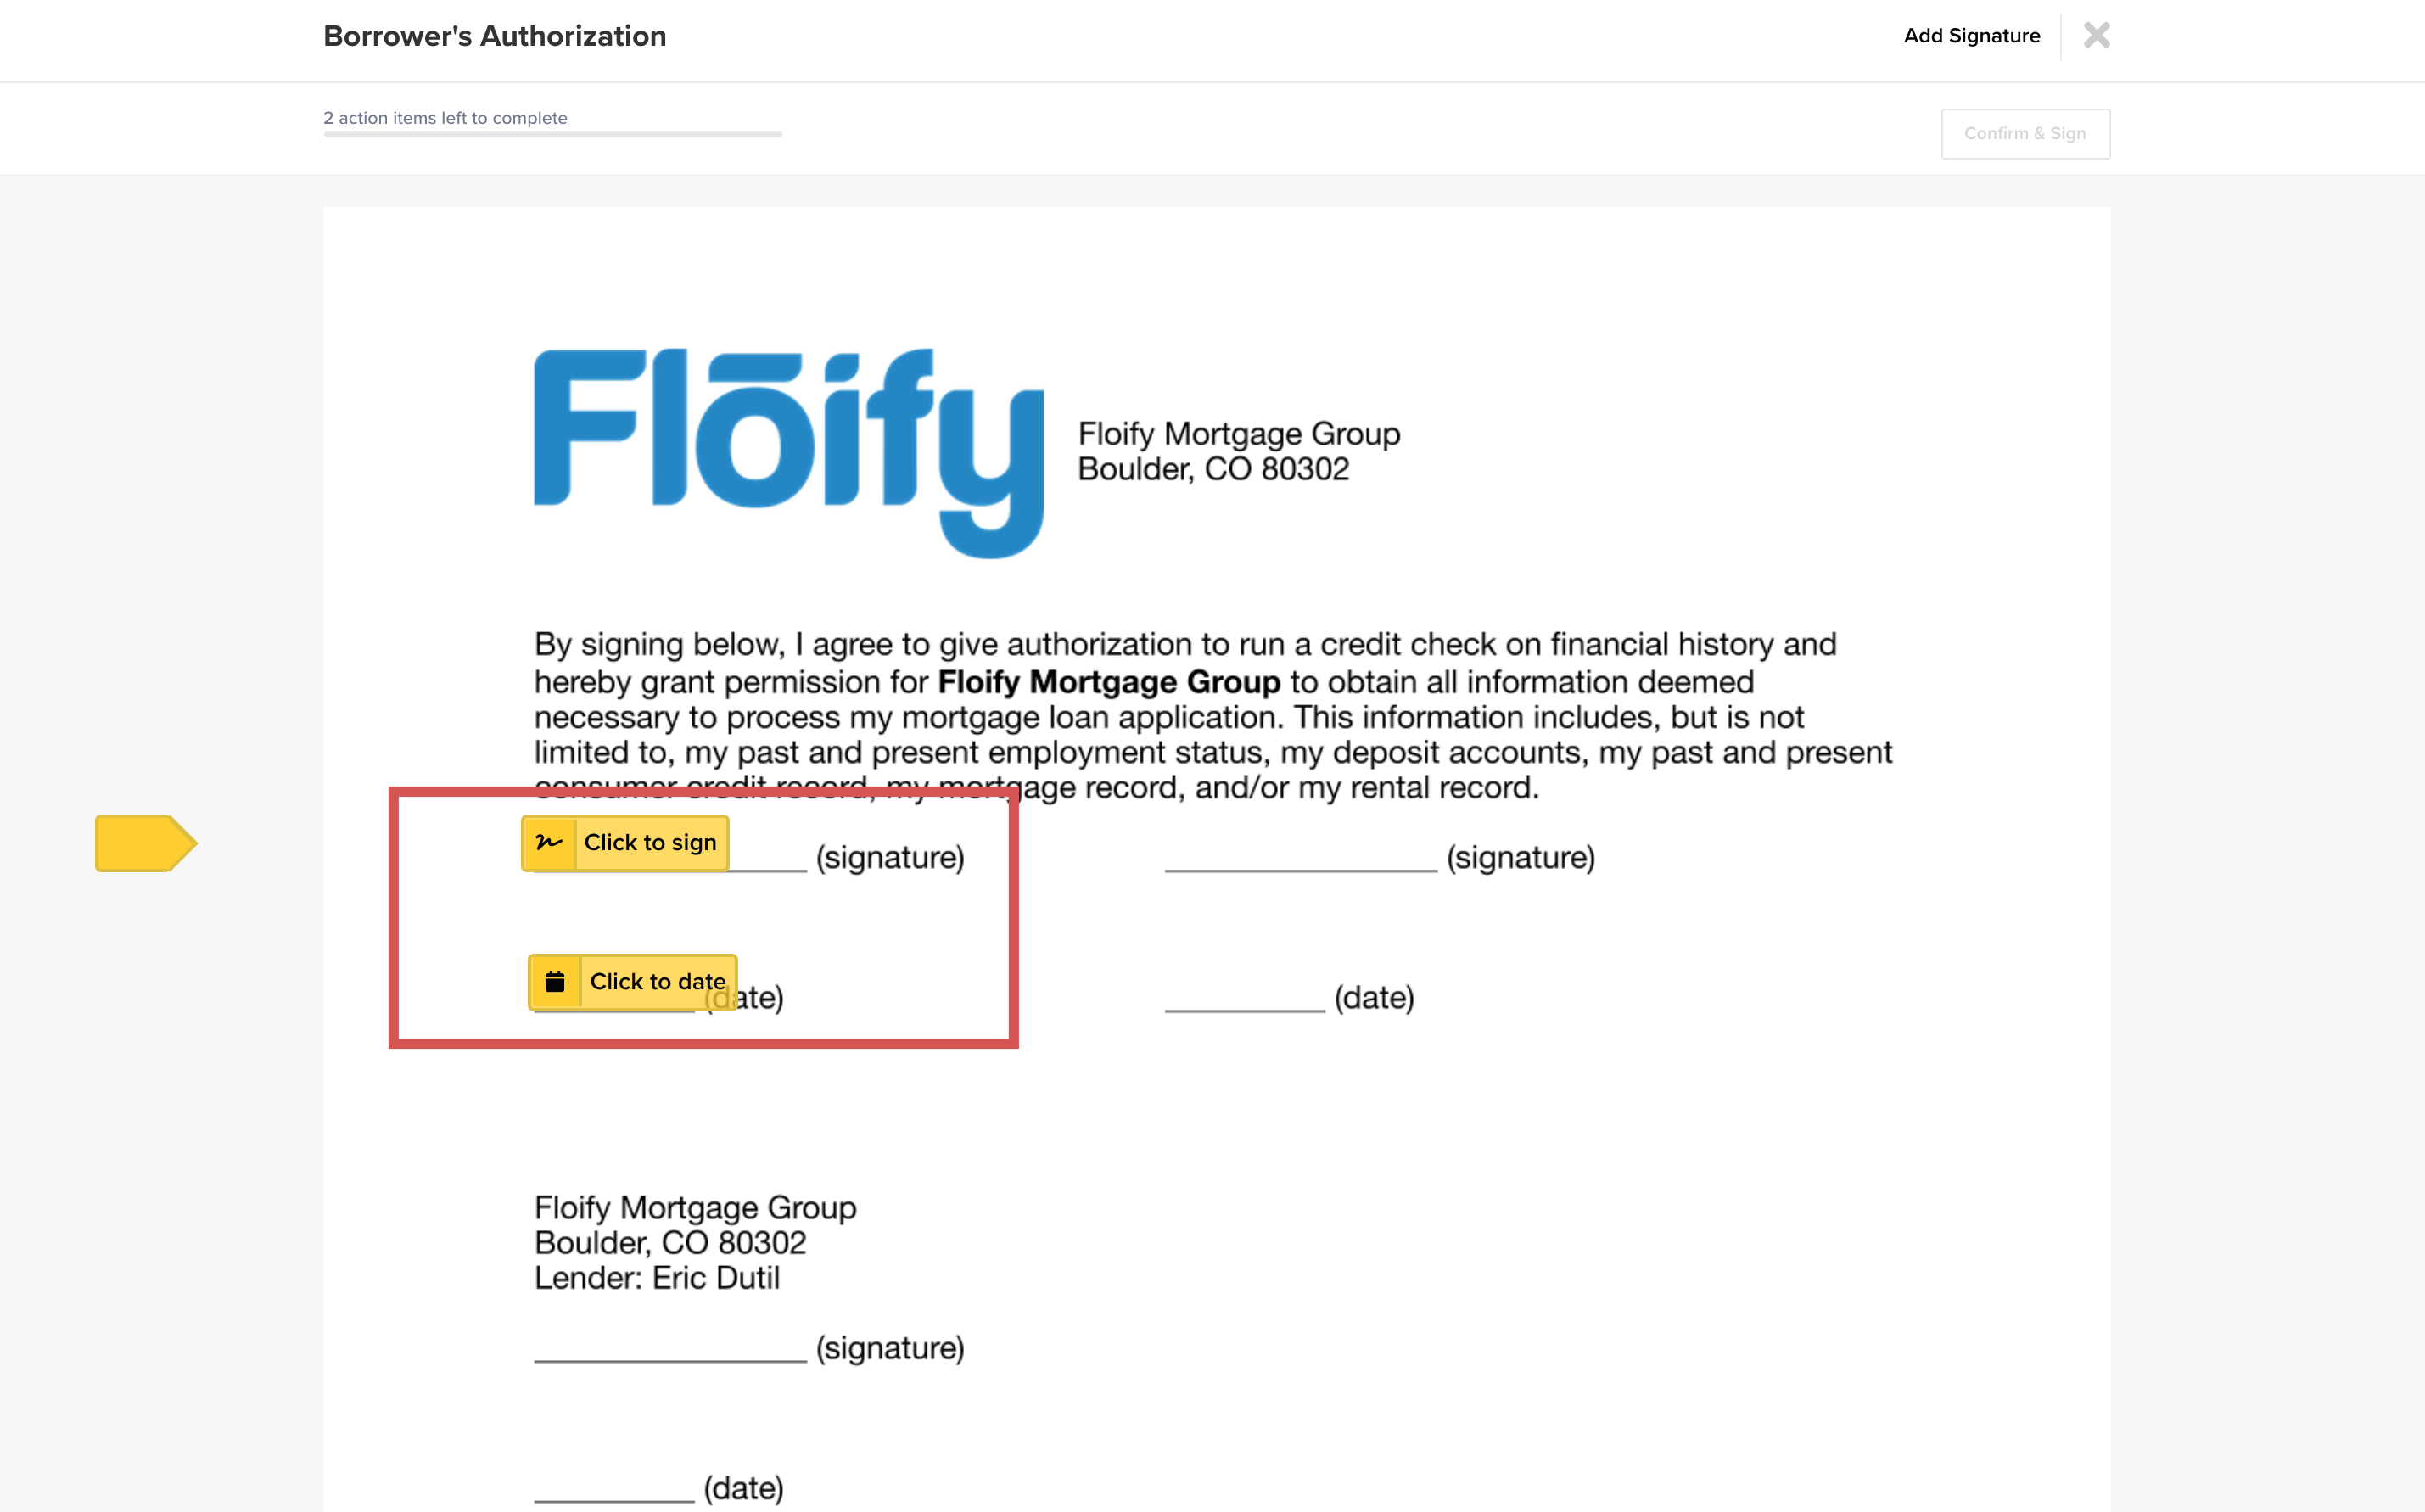
Clicking the E-Sign icon will take the borrower to sign the document. The borrower will click to sign, date, or fill out the applicable fields:
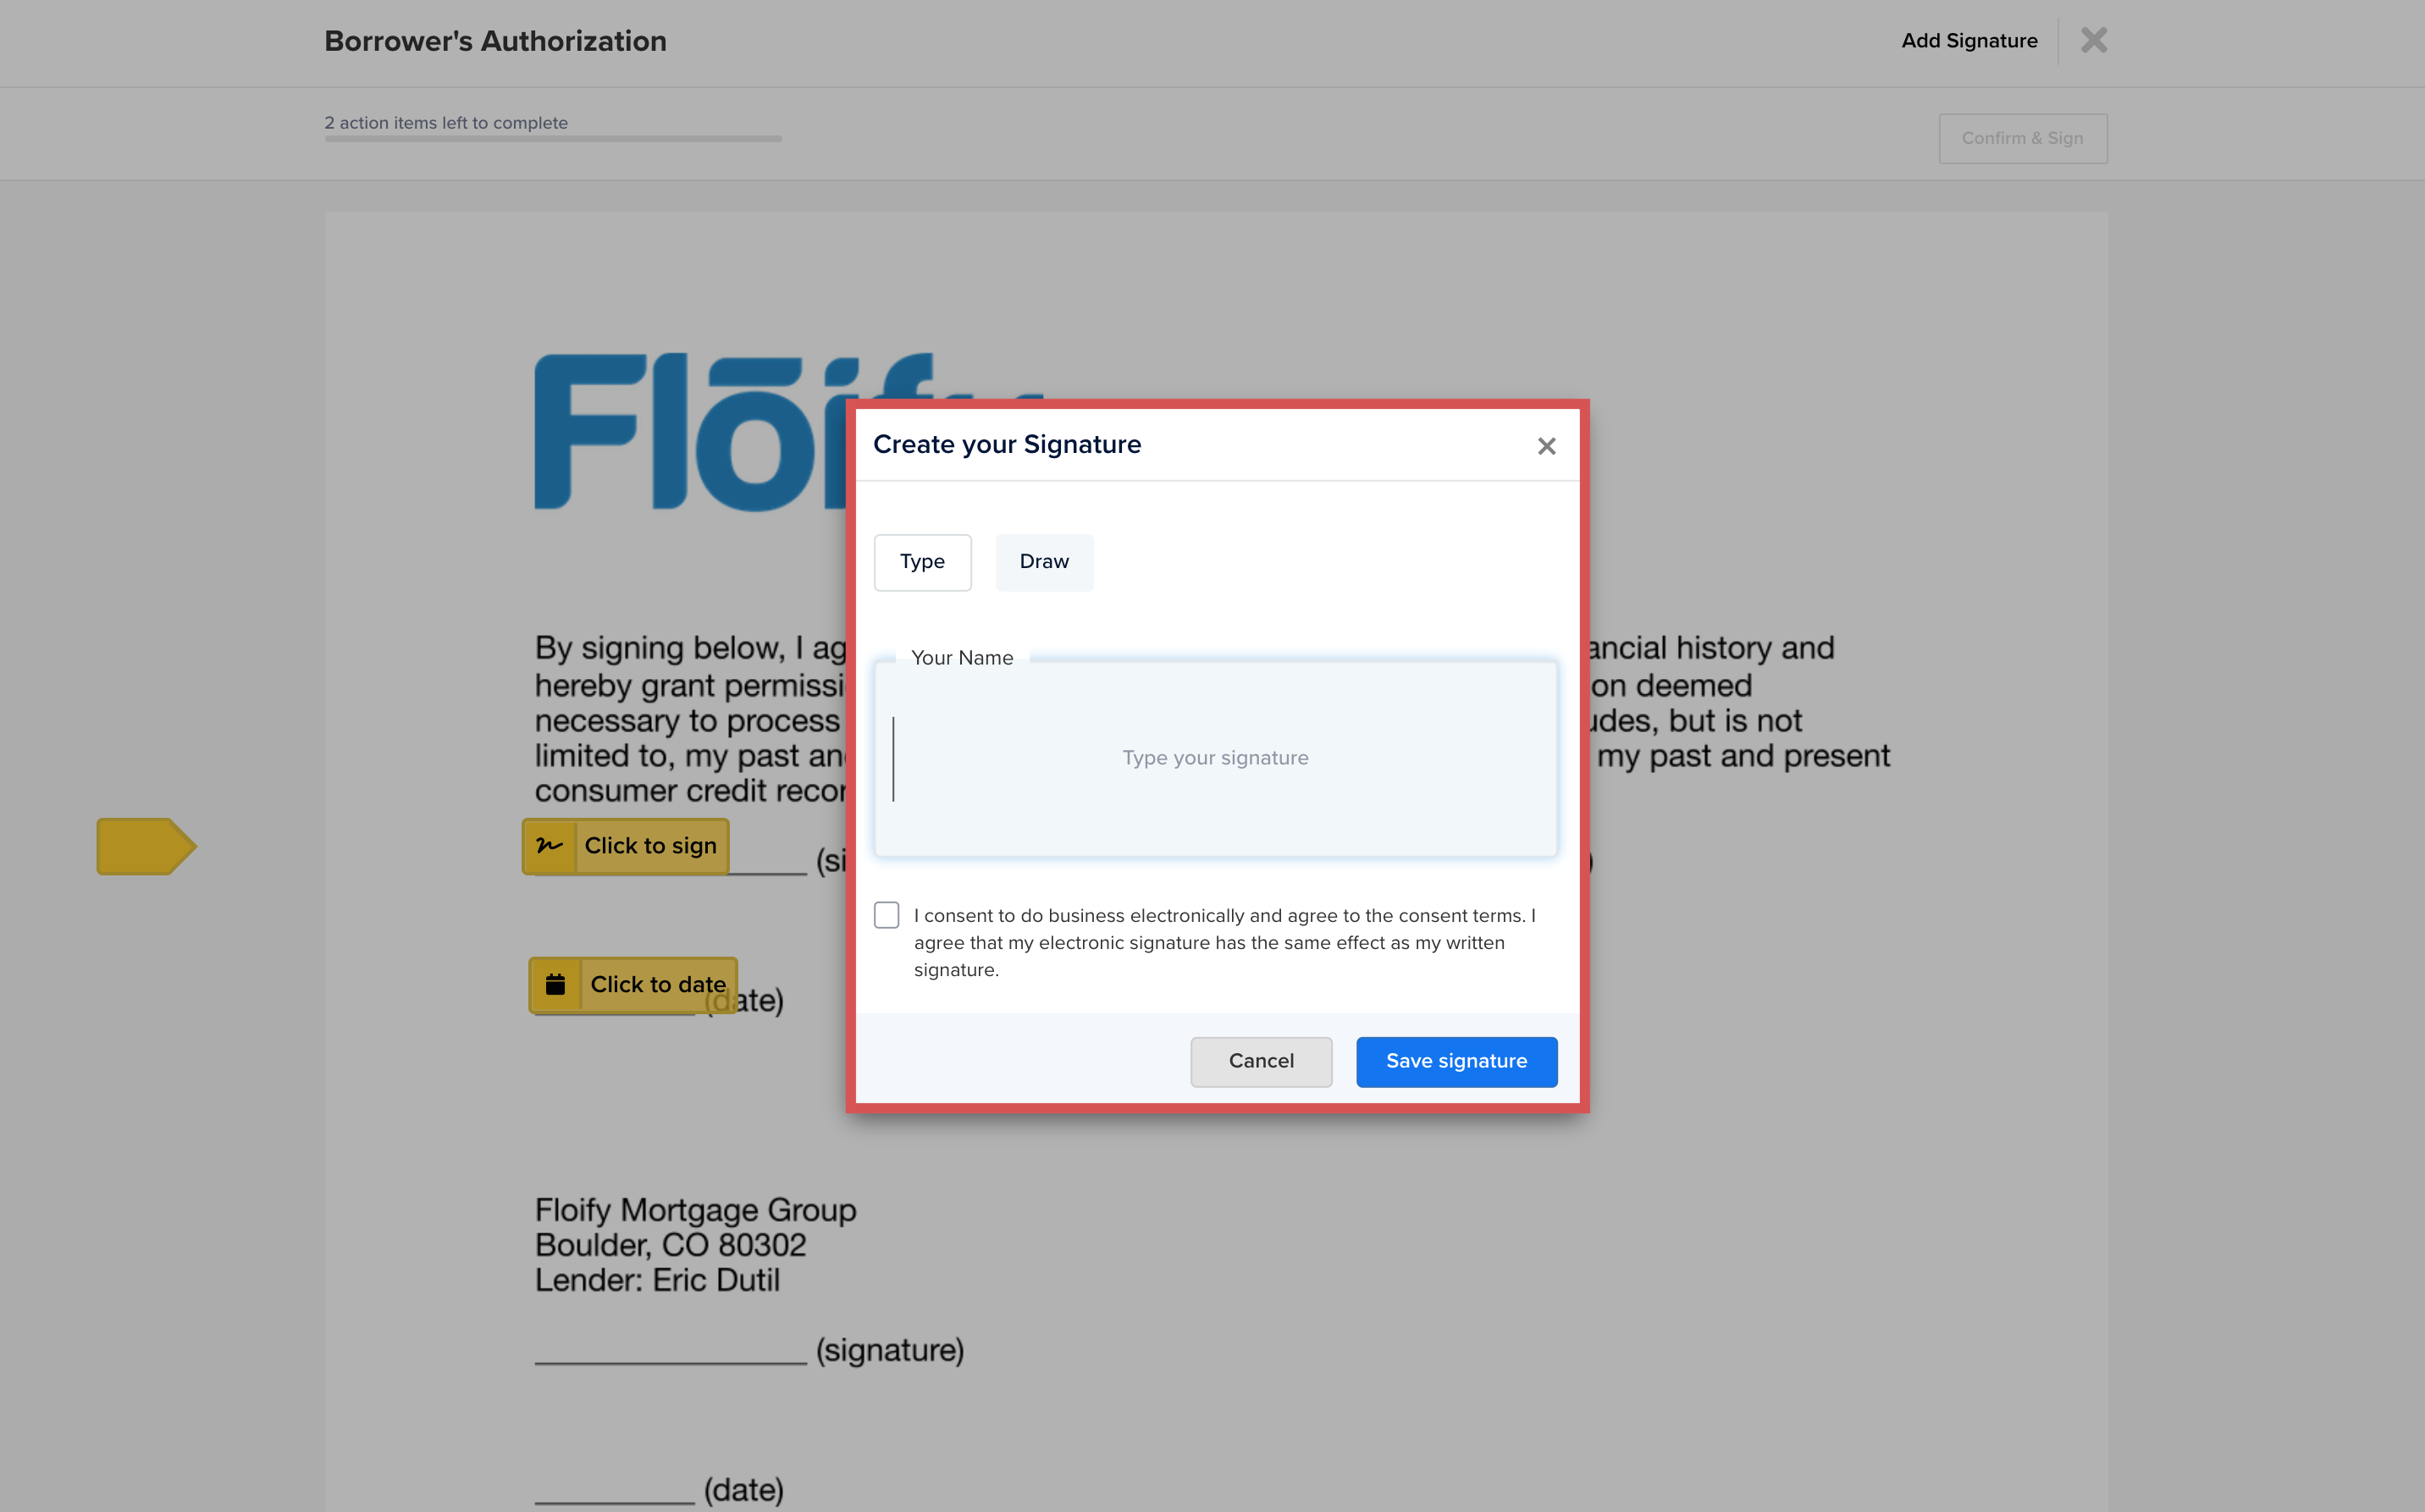
To sign, the borrower will first create their signature by typing or drawing, agree to the e-consent, and then select Save Signature. After saving, the borrower will be able to easily select the Click to action fields to complete the fields:
Once signed and completed by all recipients, the document will push to the Docs Pending Review area of the borrower's loan flow:

Please sign in to leave a comment.